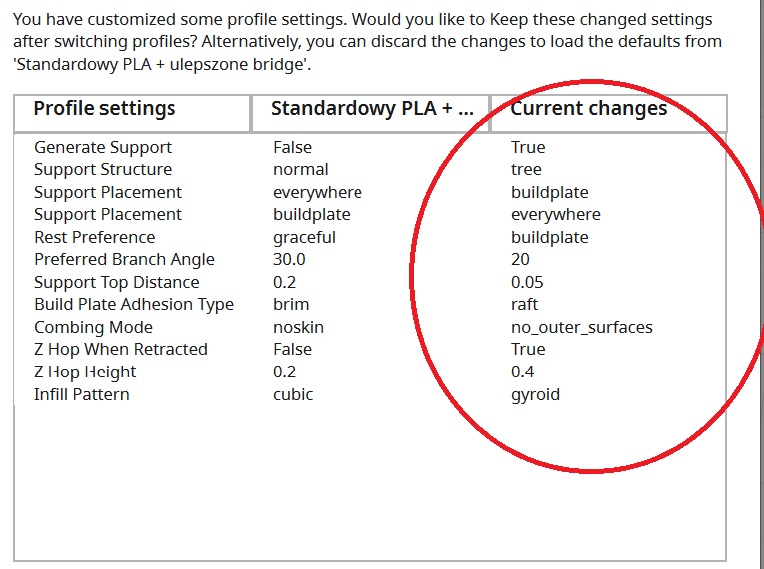
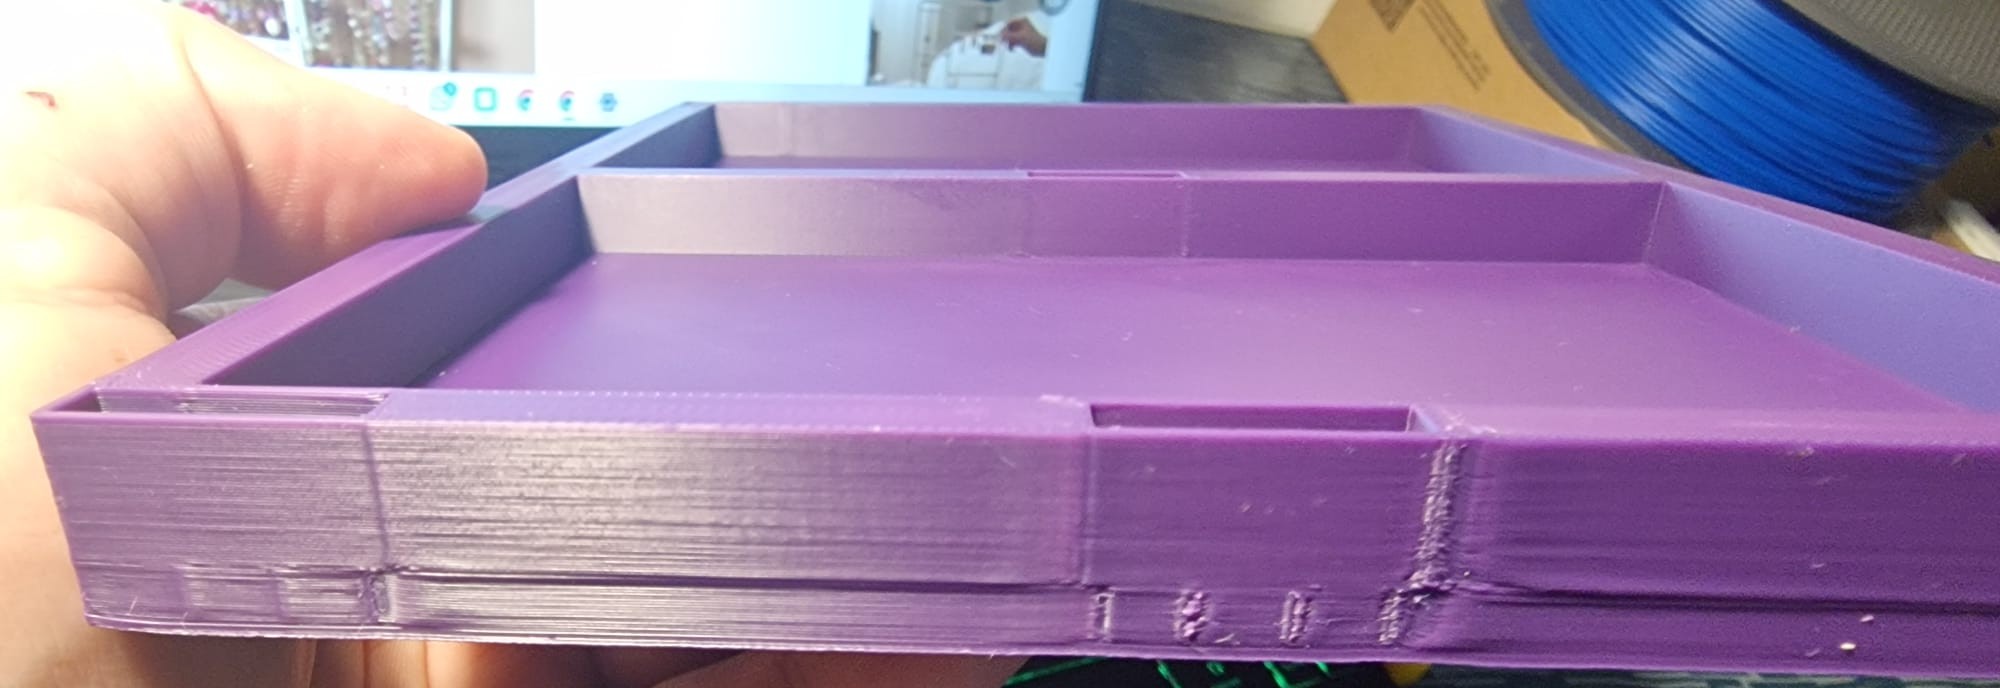
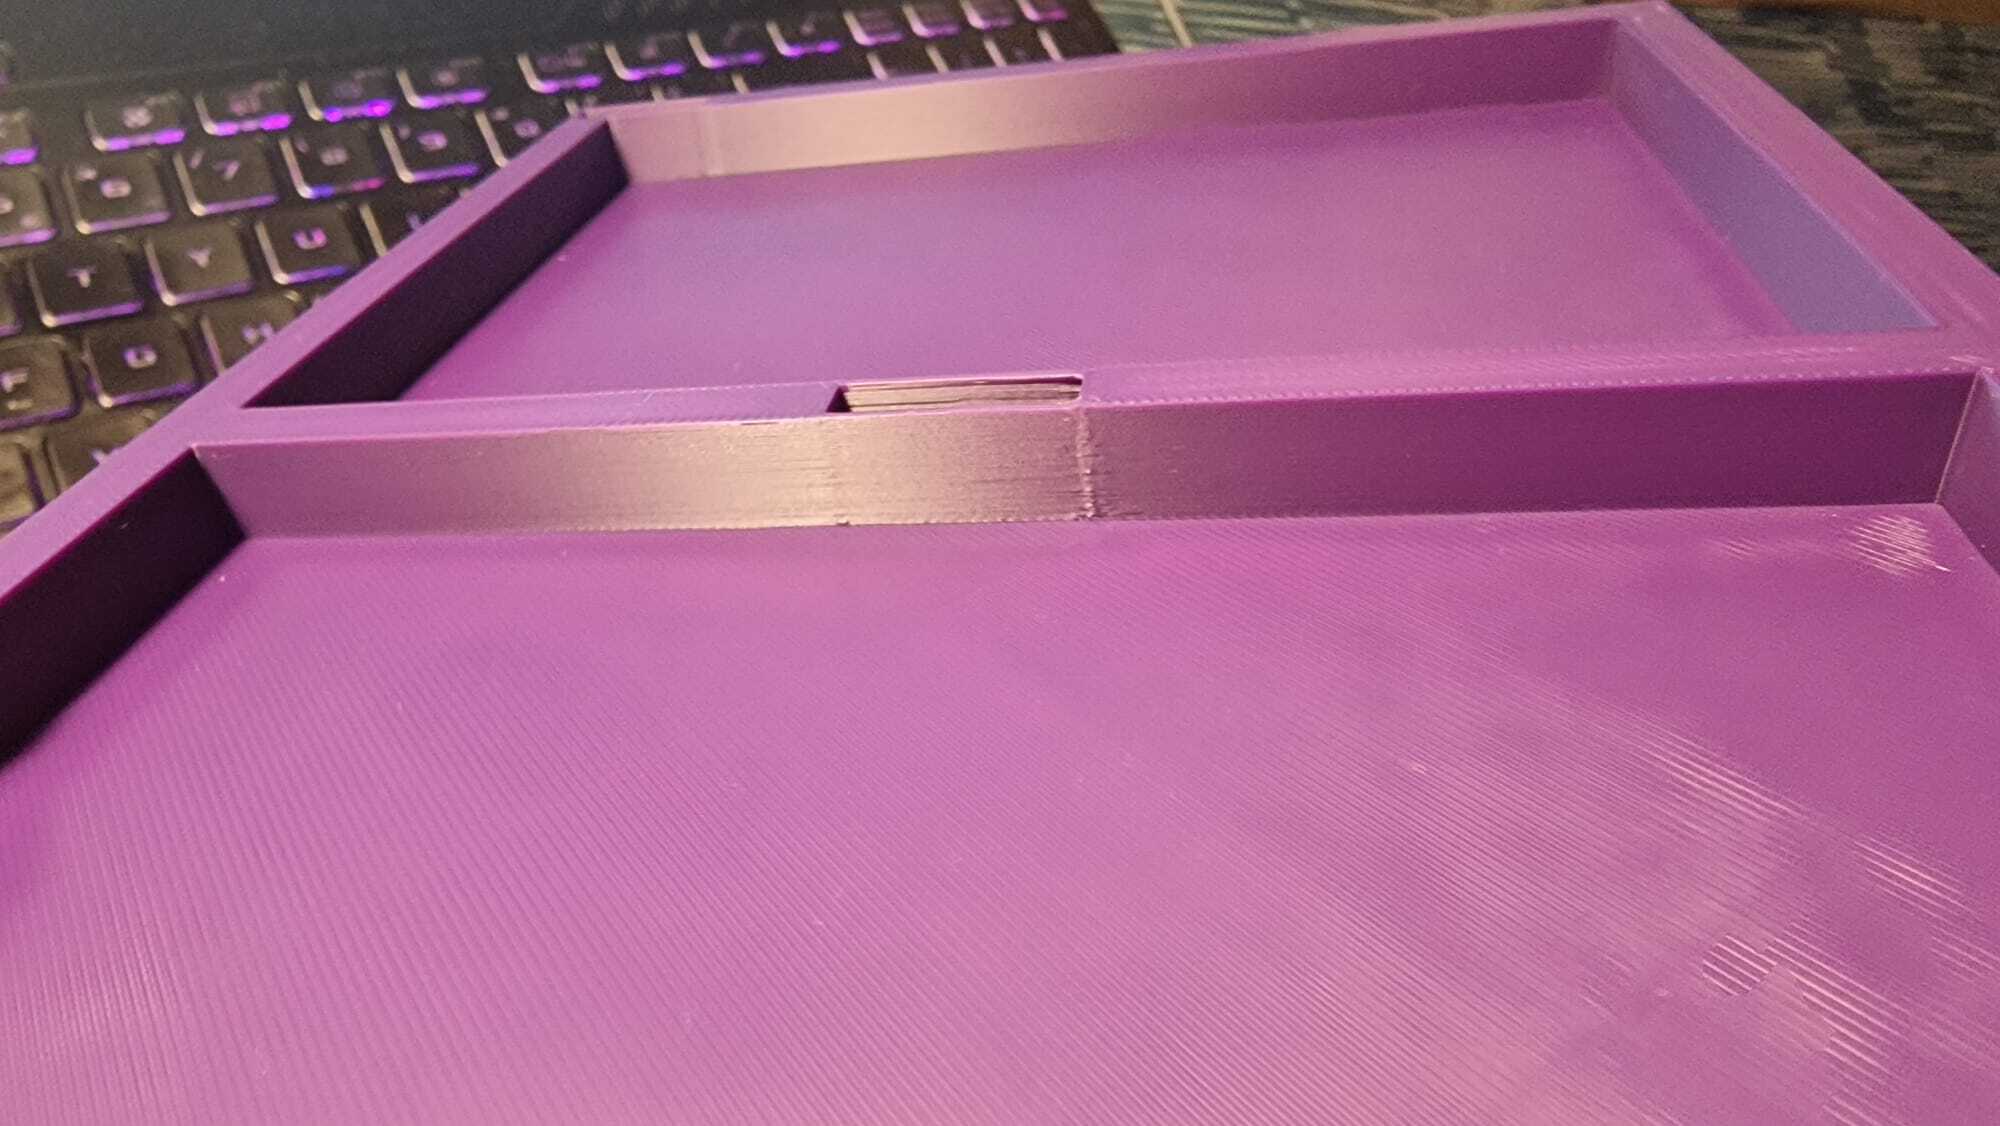
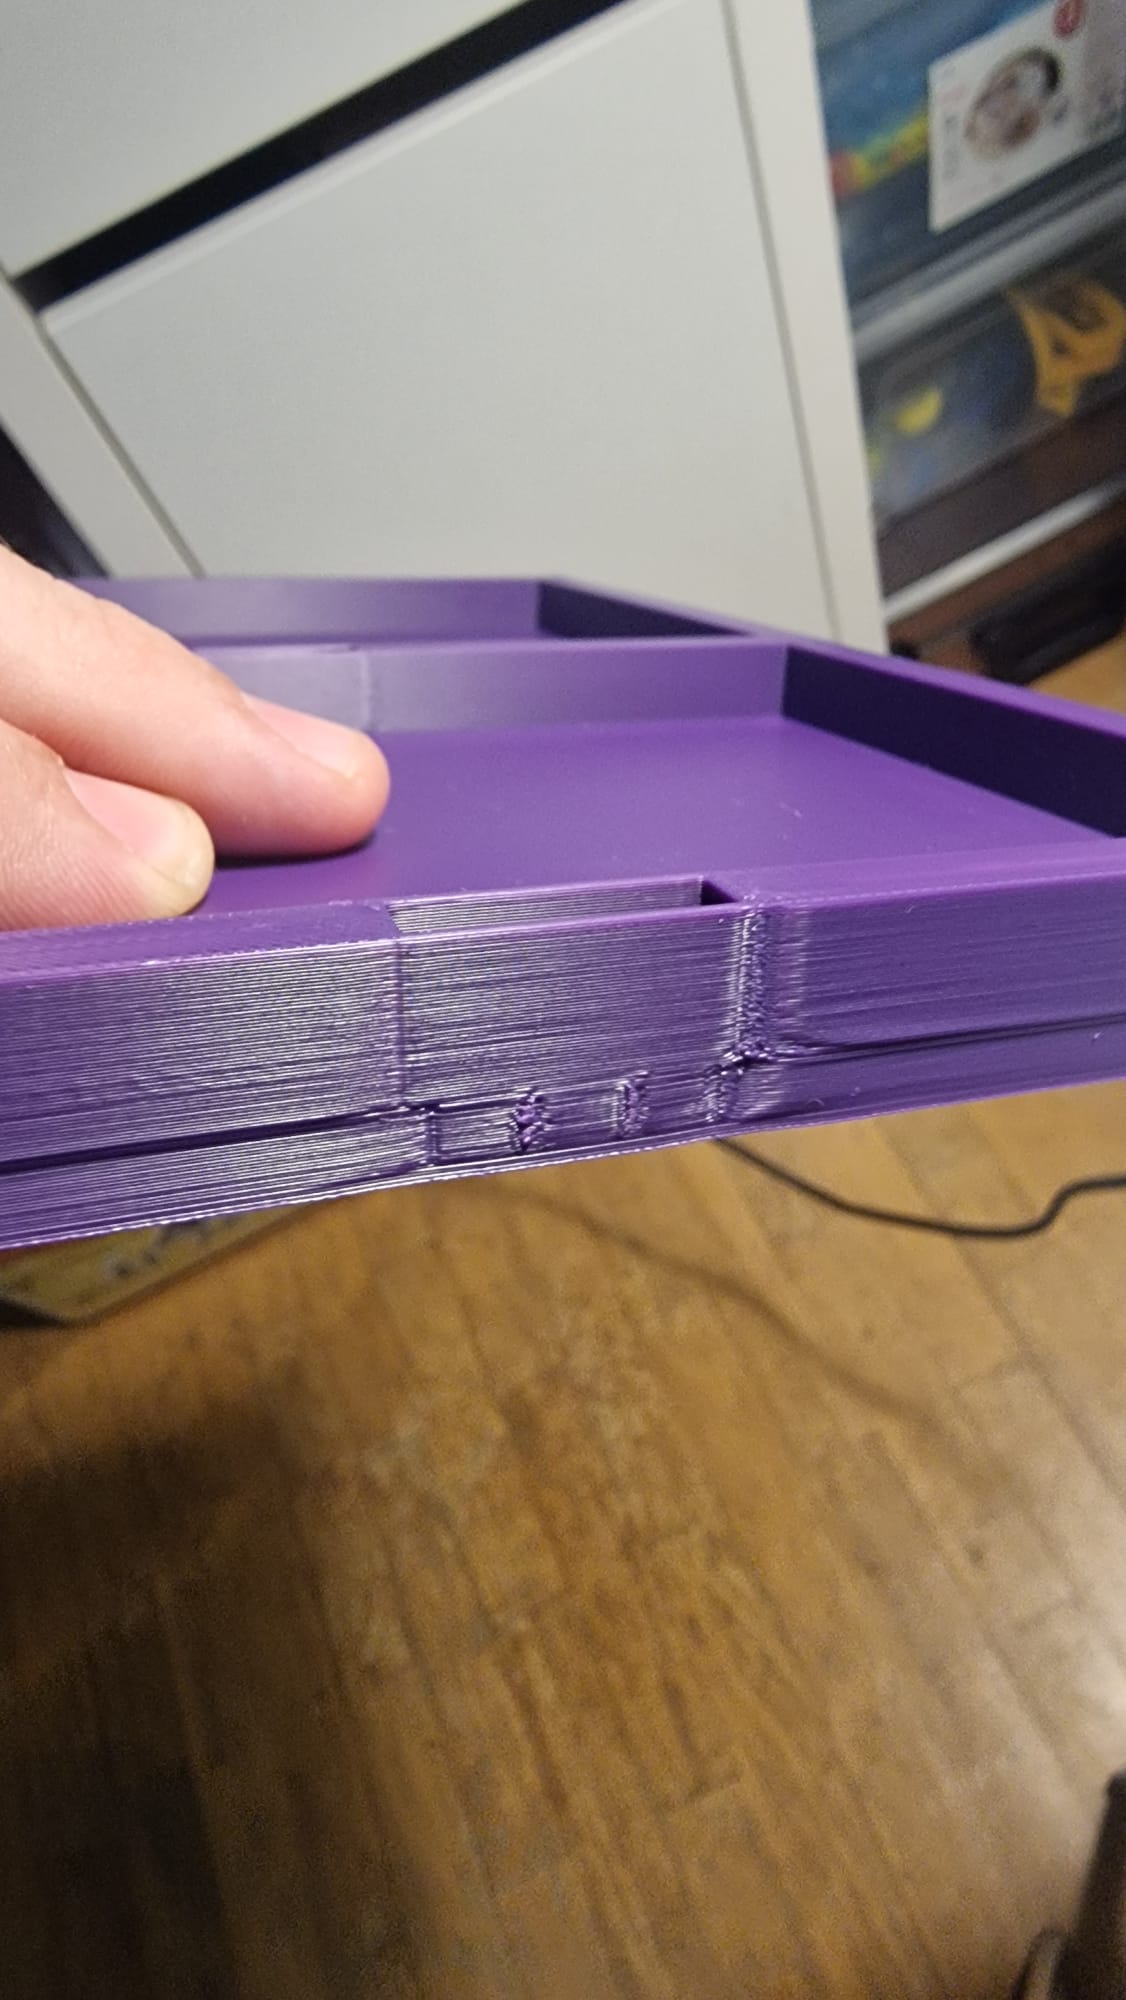
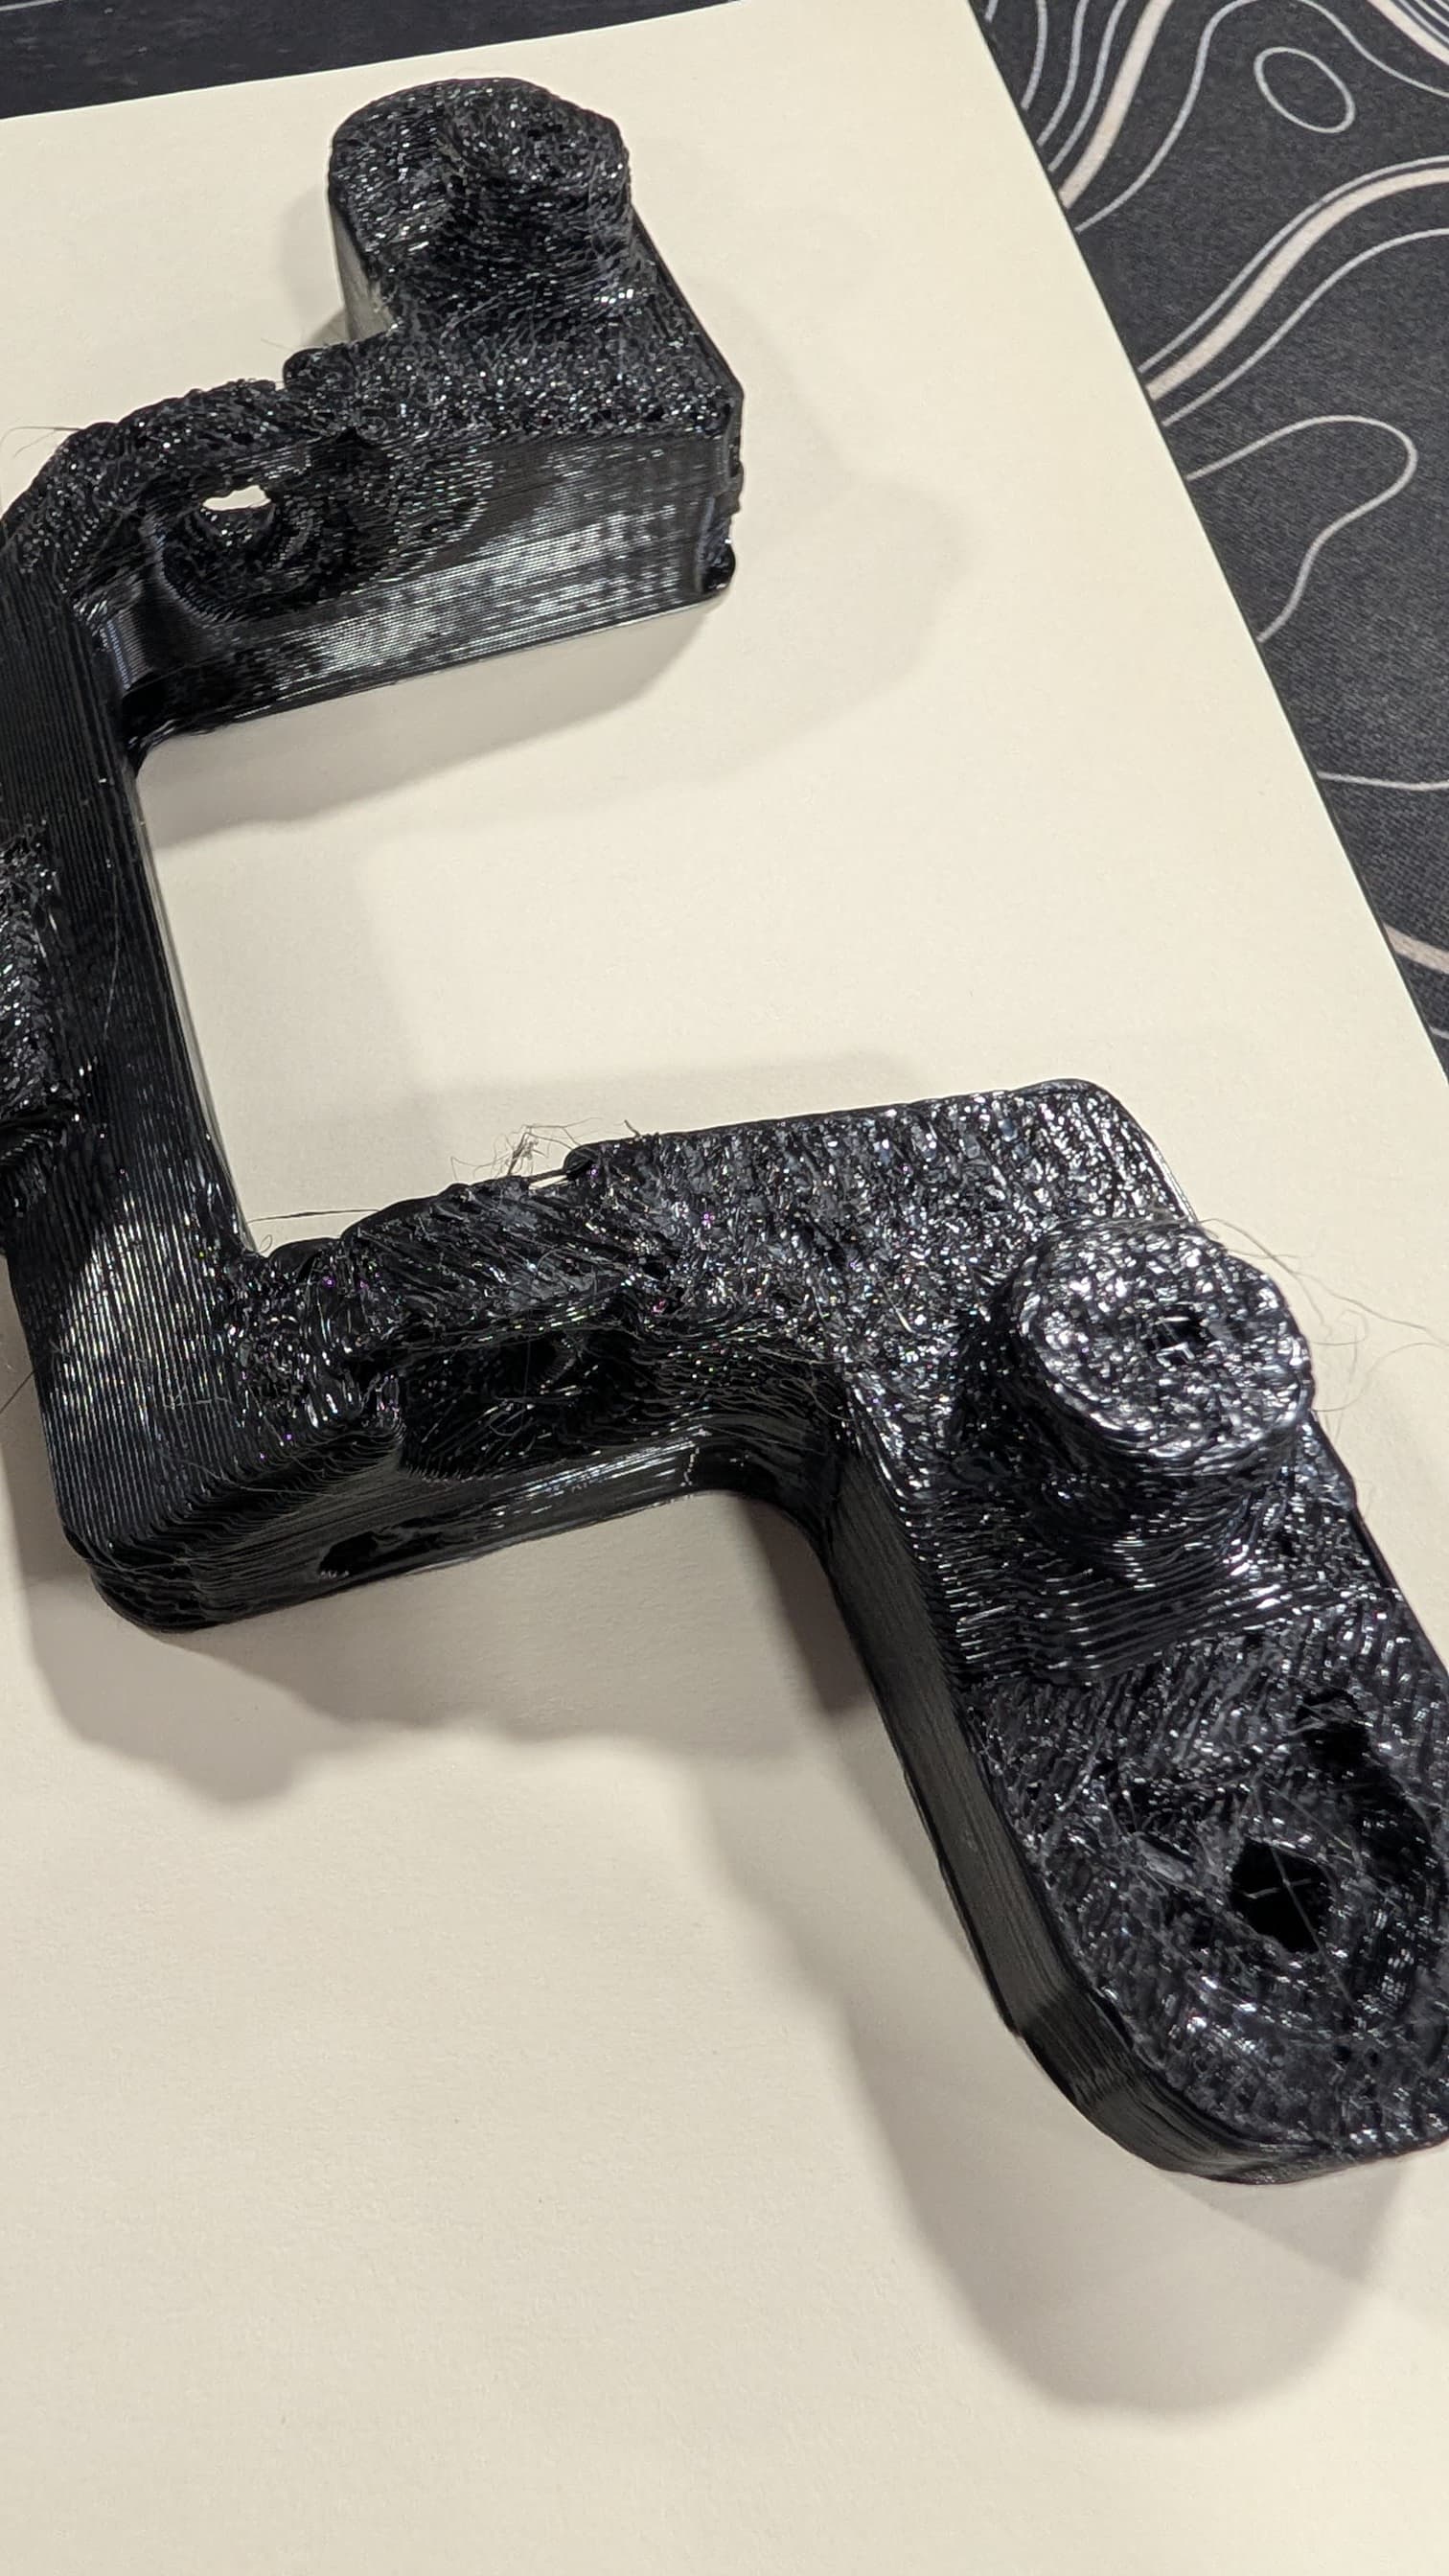
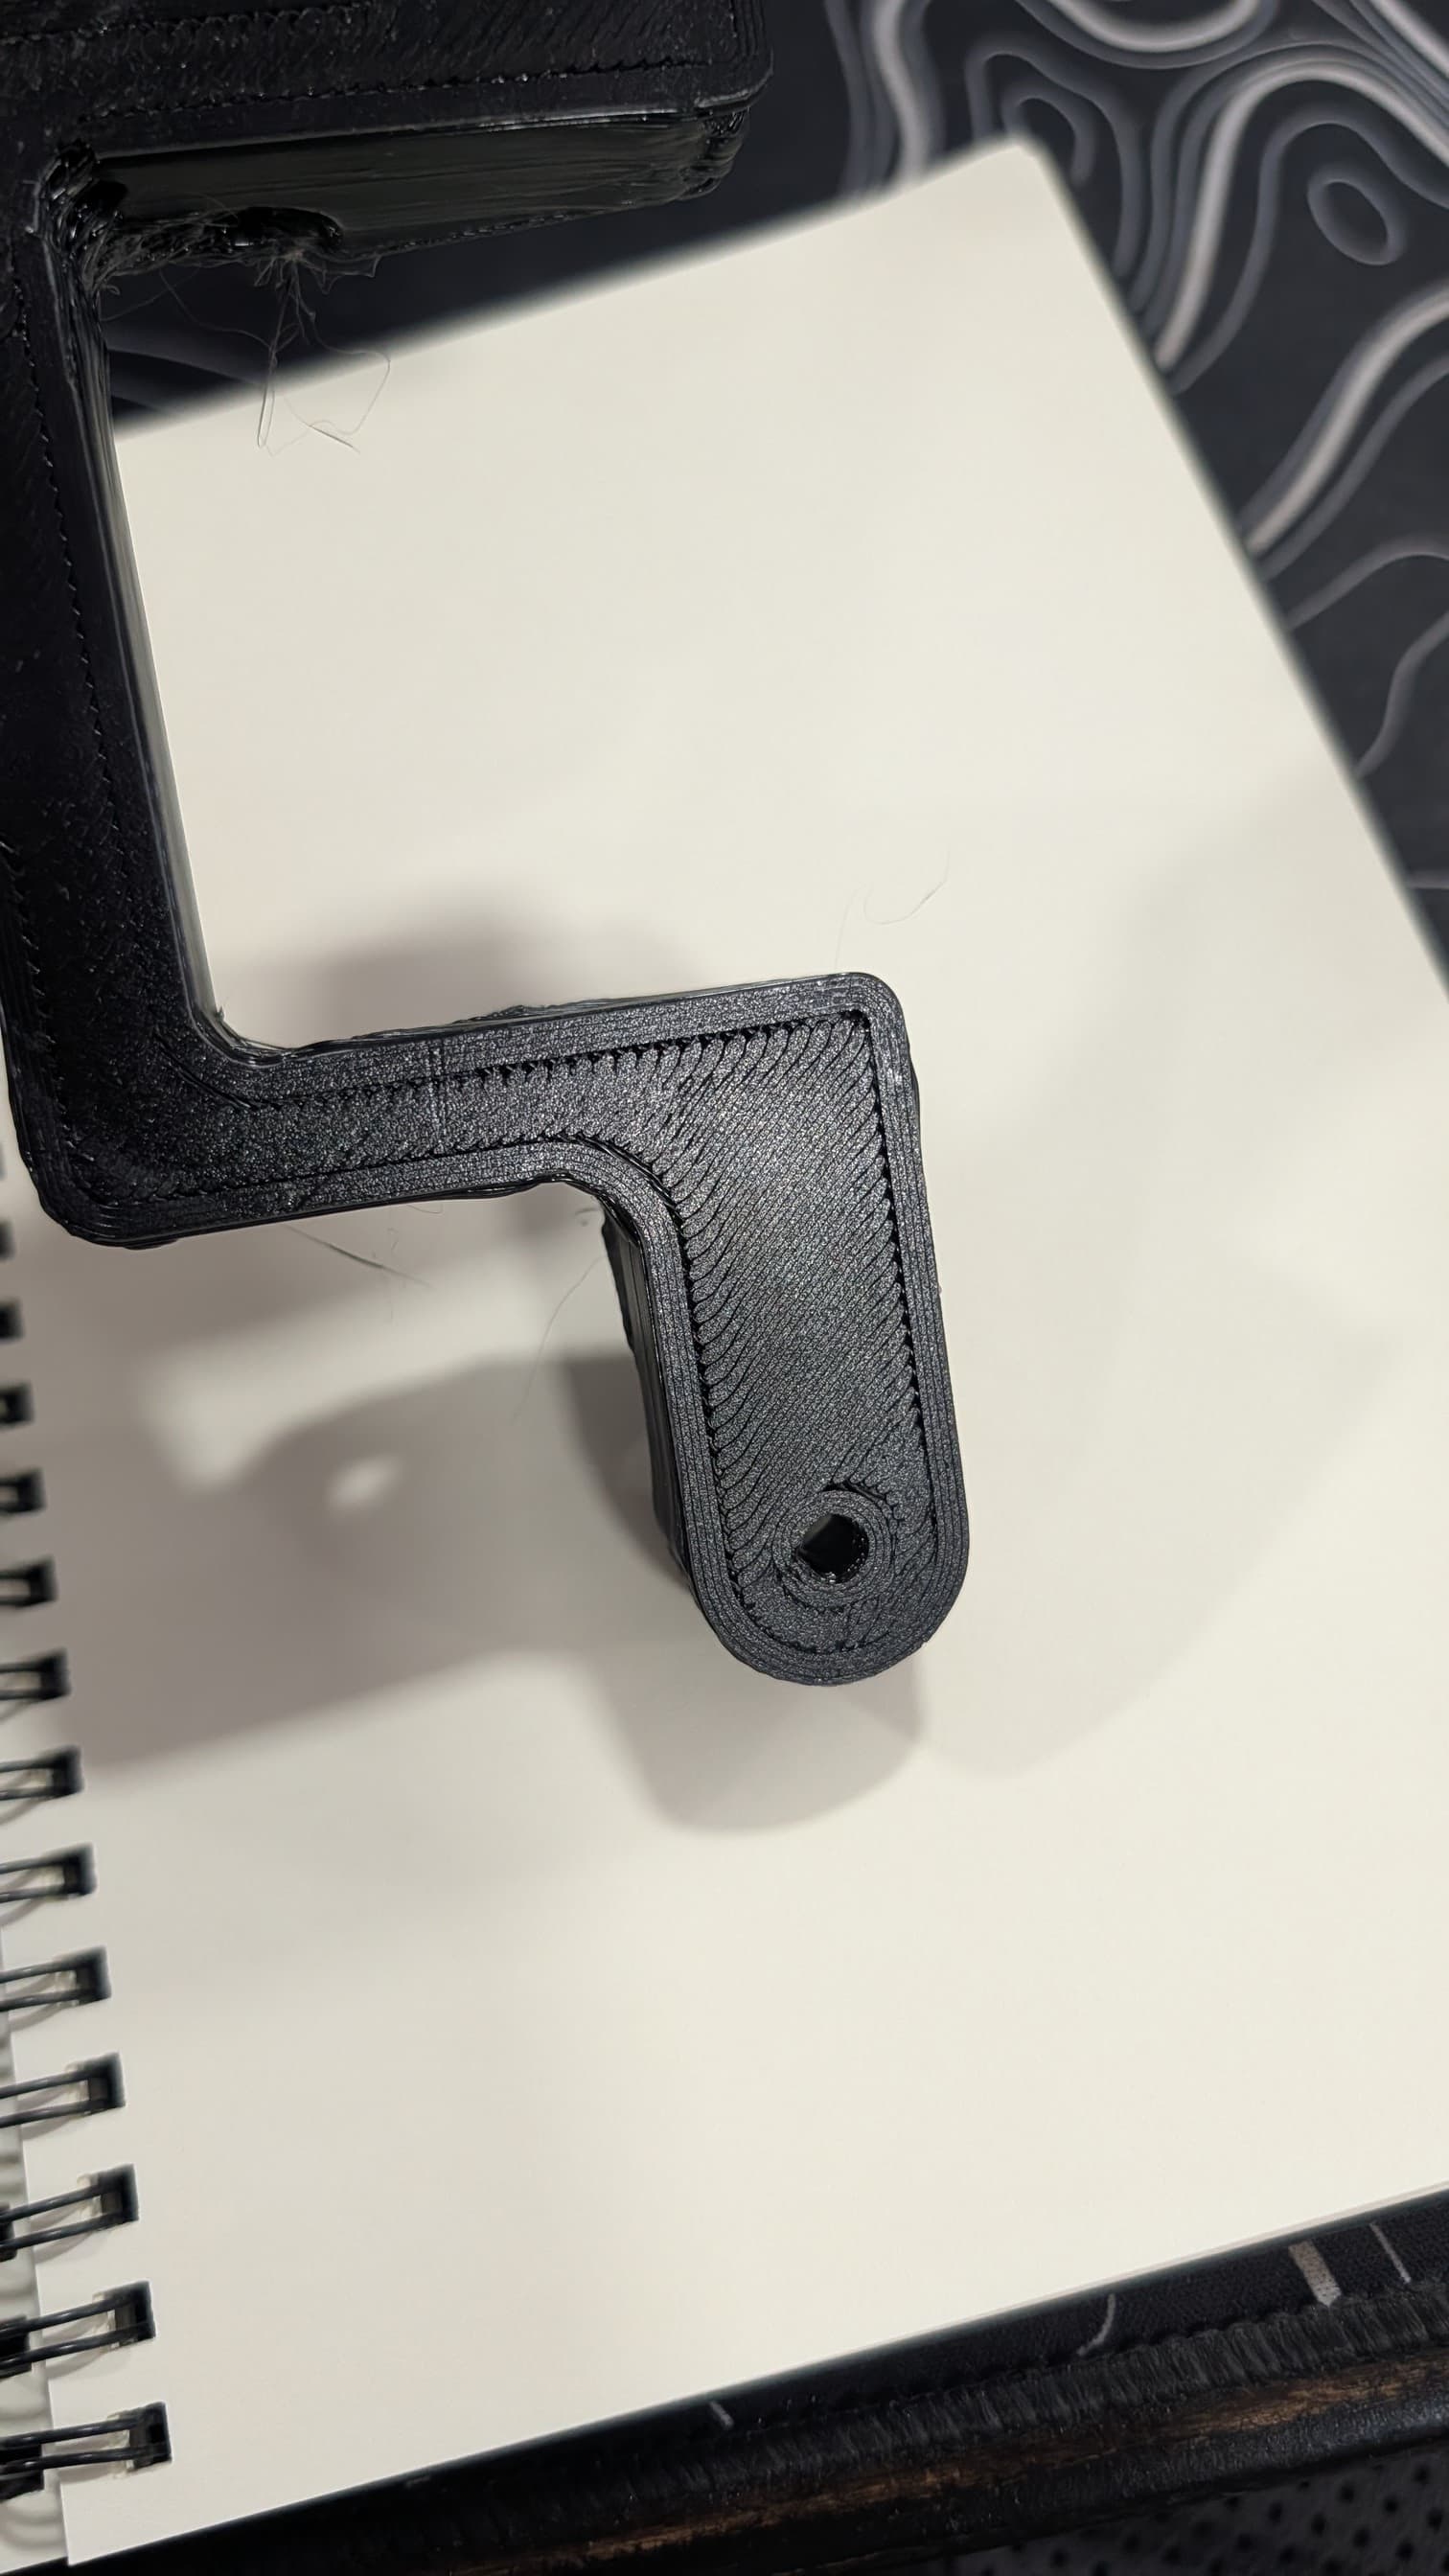
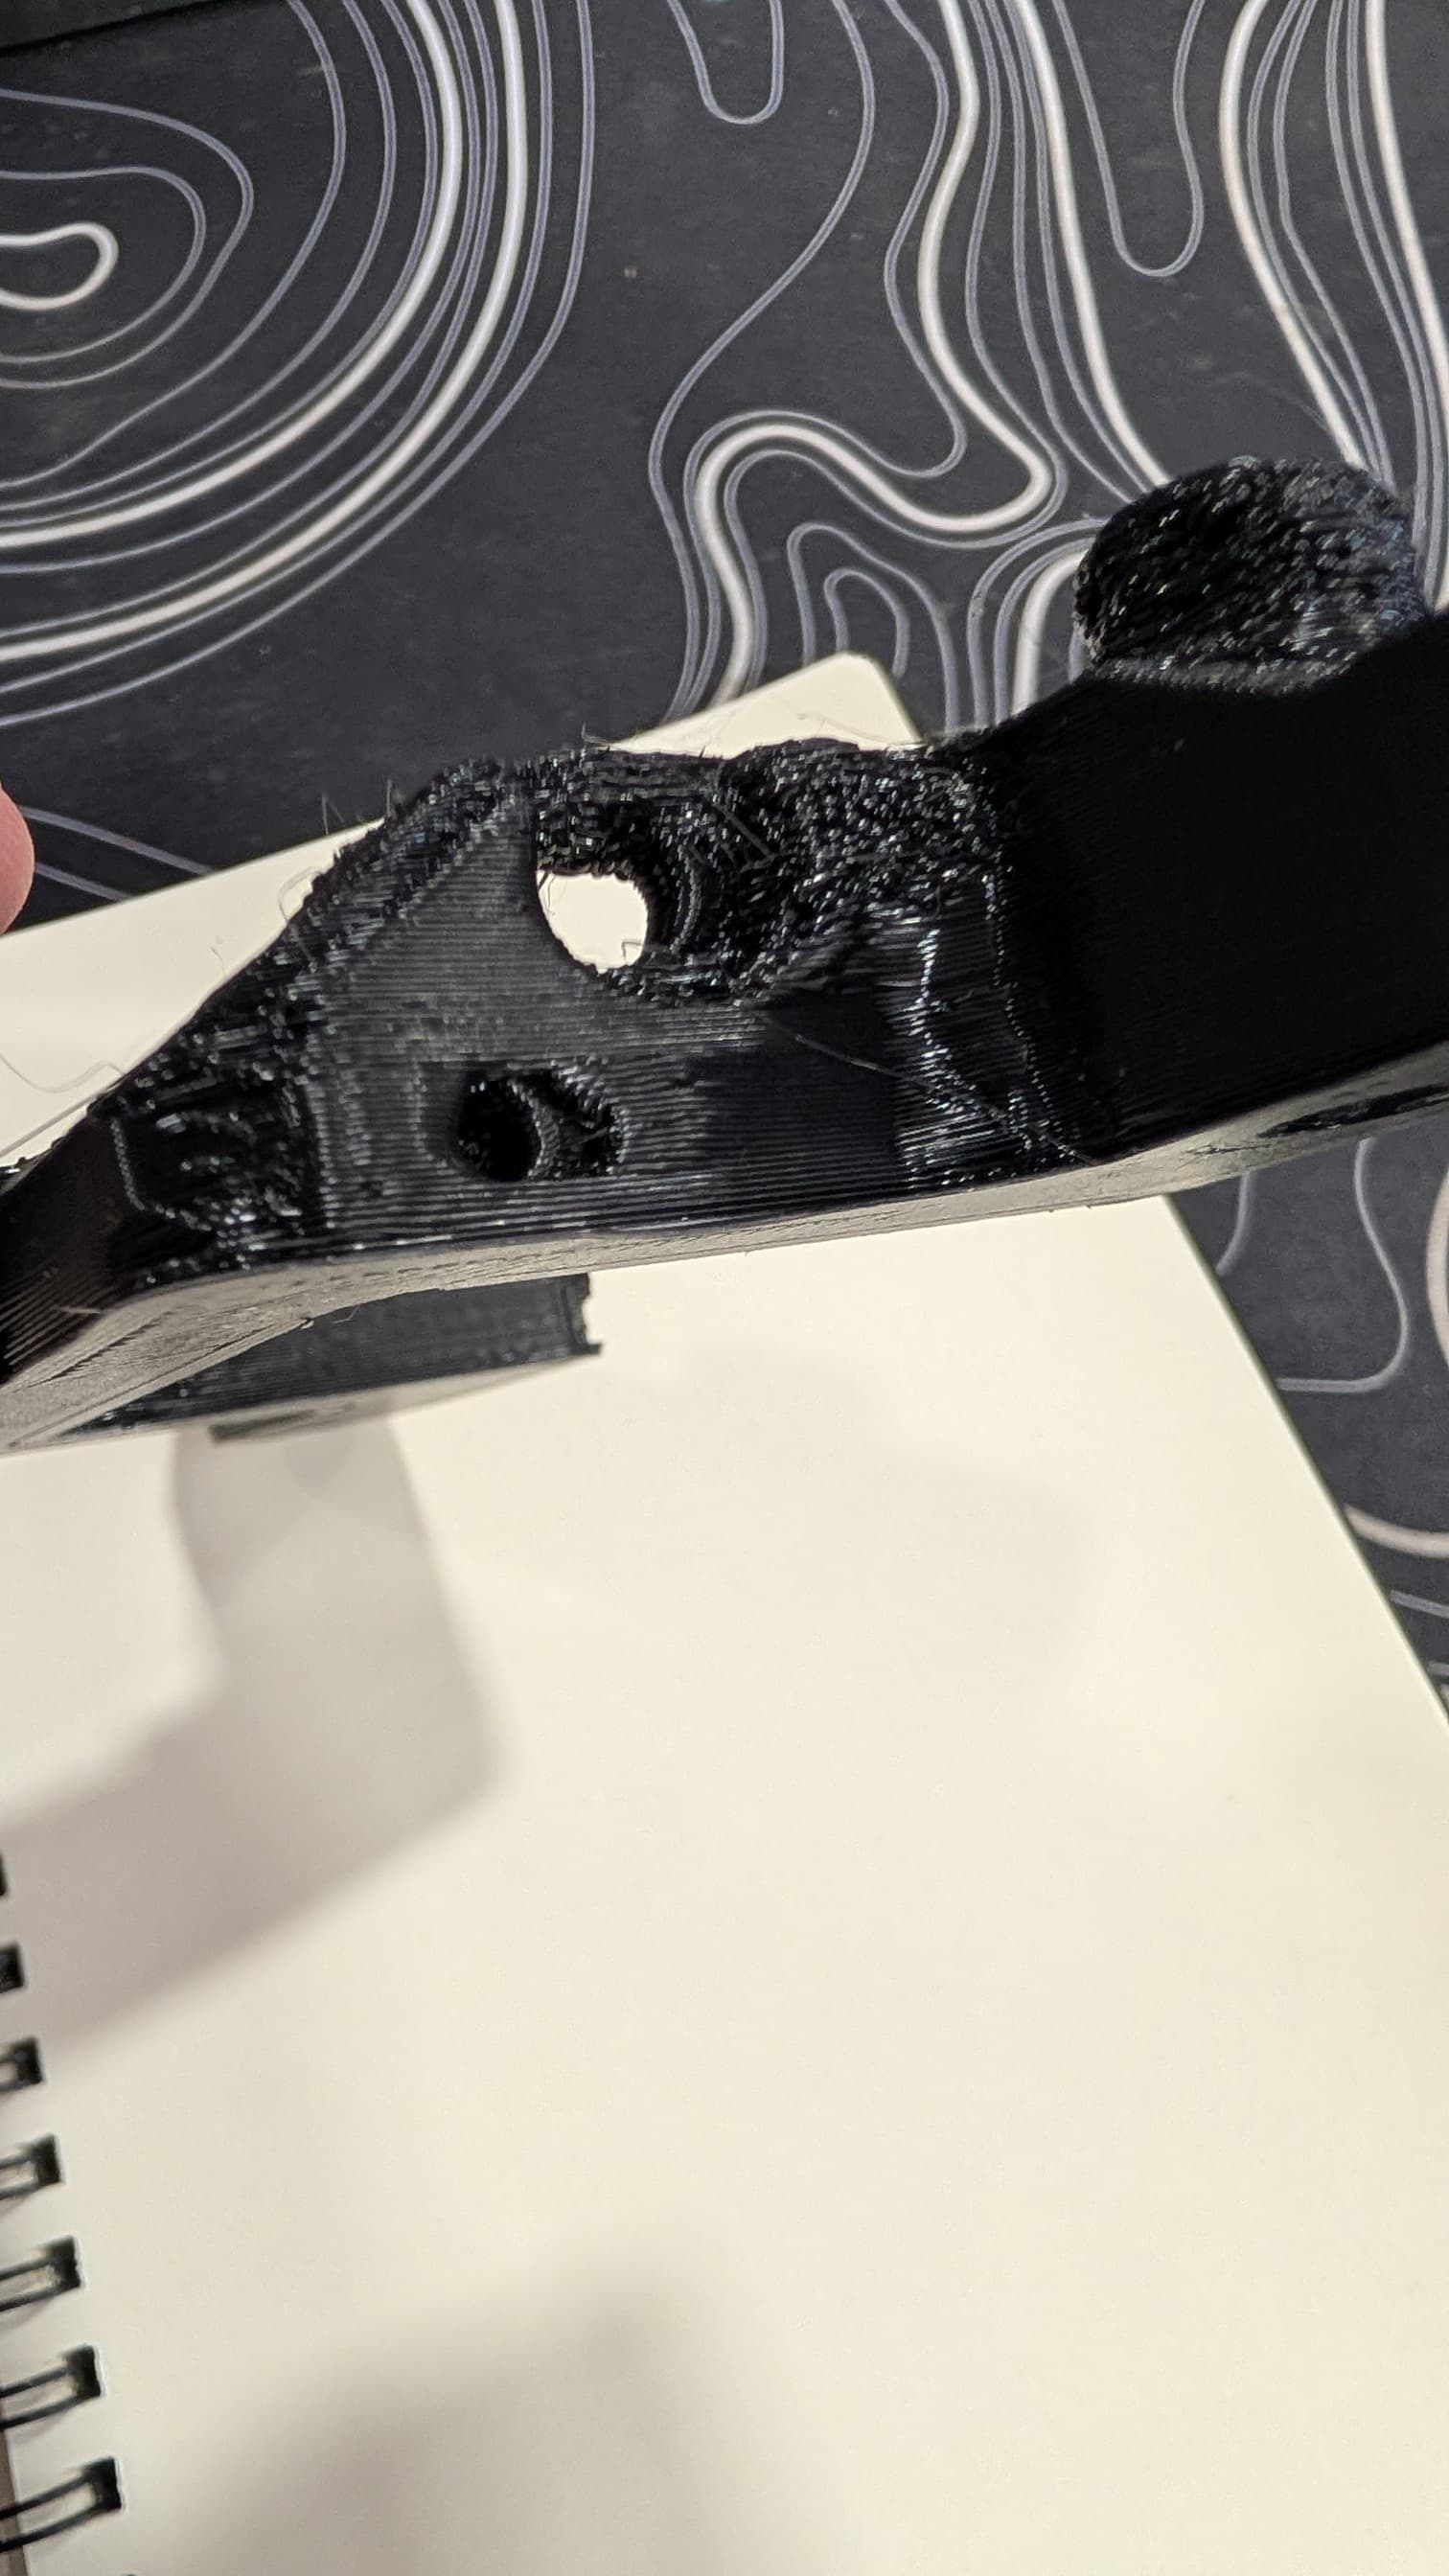
Orca/Prusa/Bambu call this “Z hop” and it’s in the filament settings, and is usually on by default, and at 0.4mm height.
Also This screams infill type - if you are using “grid” - choose another, for delicate prints. Grid is designed to be fast and relatively strong, but it HITS ITSELF as it crosses. Very bad for delicate things. Try using gyroid, cross hatch, or one of your choosing.
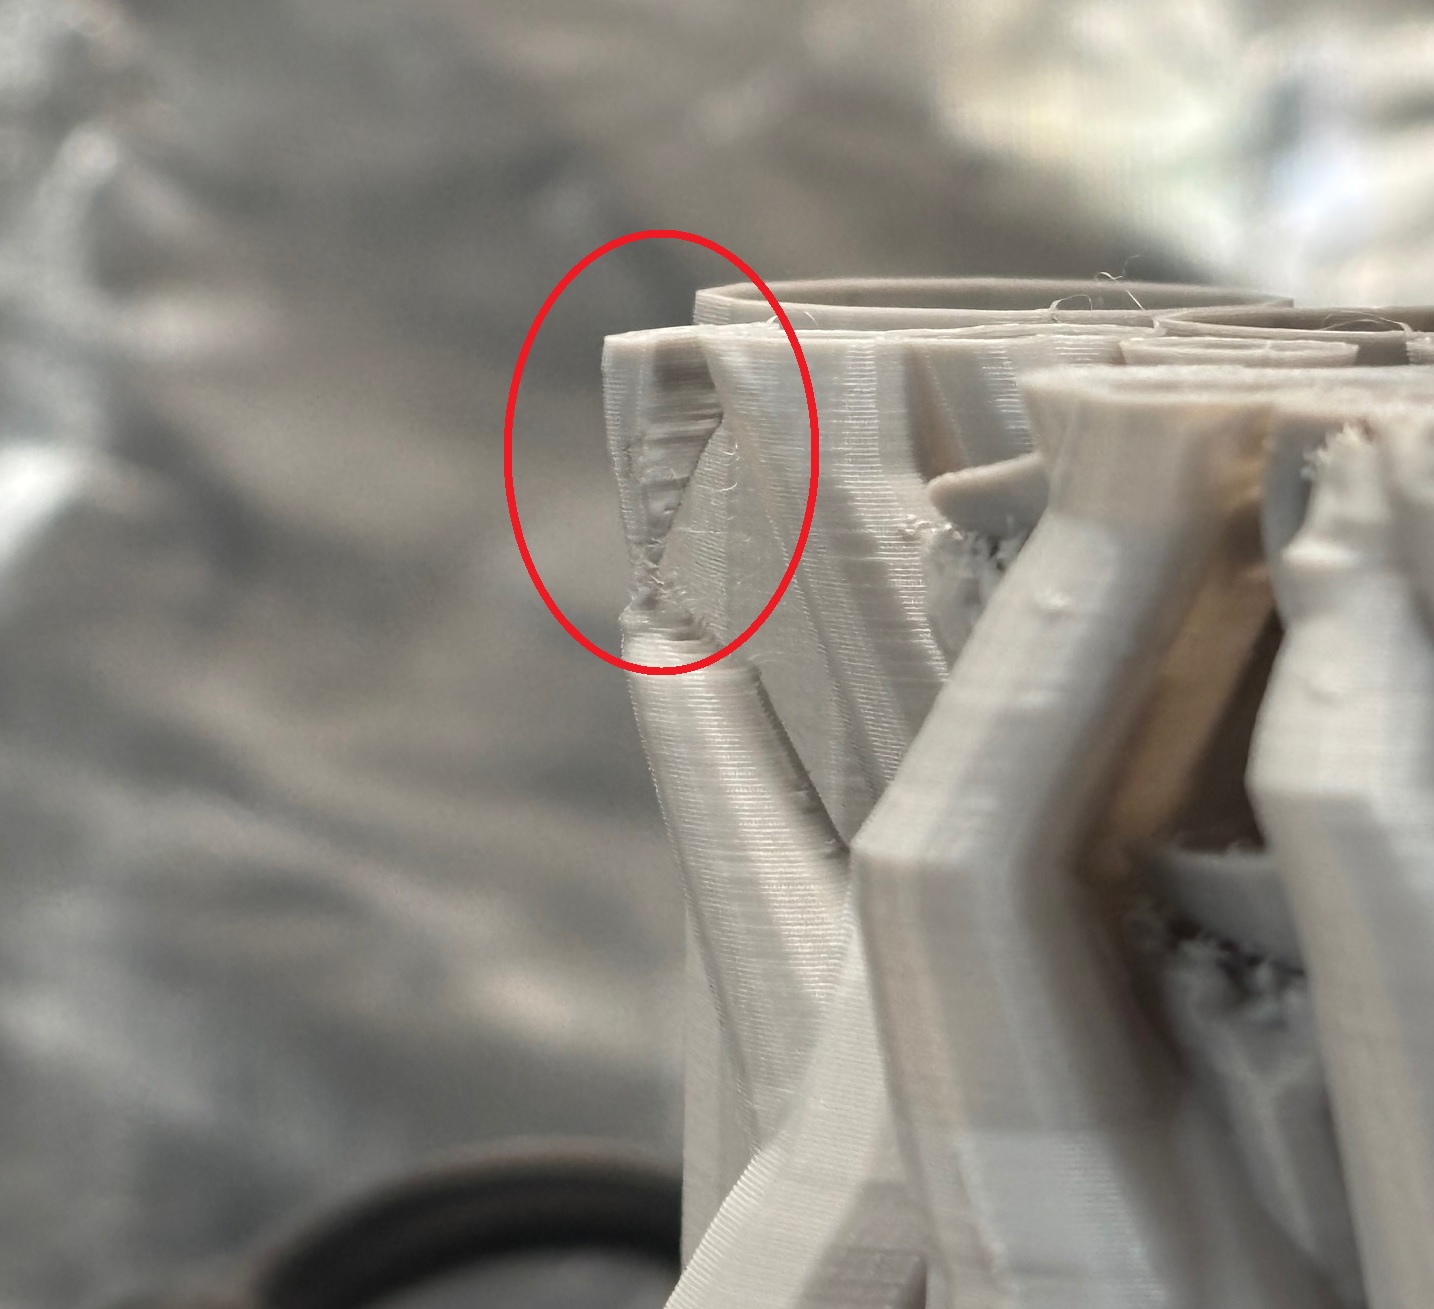
You can also decrease your Support Top Z Distance, to make the support closer (and more attached) to the model. This will make it harder to remove, but may be necessary to provide it help till it reattaches to the main model.
I’ve been preparing to use it at 0.2mm (never used it before), but for test i will use 0.4mm if you say so.
I’ve set it to 0.05mm from 0.2mm before and that also failed before. But i will set it to 0.05mm again.
I also have a big insulated tent for my printer and the material “doors” are only unzipped but hanging, i am wondering if it’s also a fail…maybe i should just open that completely? It’s pretty hot there after few hours of printing
I will also rotate the model 45 degrees along Z but i dont know if it will make any difference, in the theory the Y (and the bed) will have to move more as it is sling type of printer.
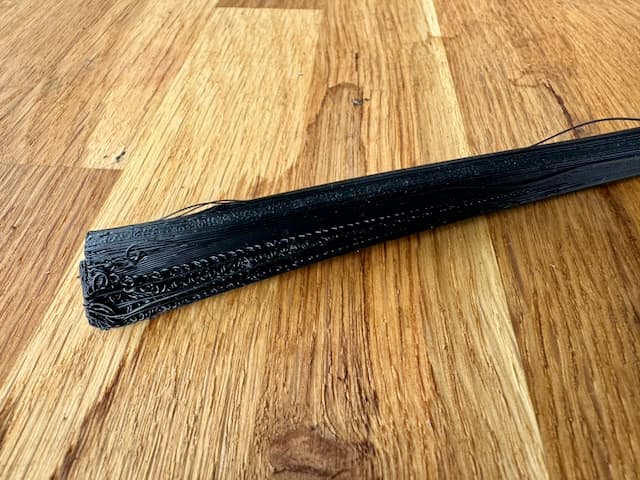
So…this will be my 4th attempt
I’m using Octoprint through raspberry pi and i set the print speed to 60mm/s but i got relatively fast travel speed: 150mm/s and travel acceleration: 2000mm/s2 (rest accels are 500).
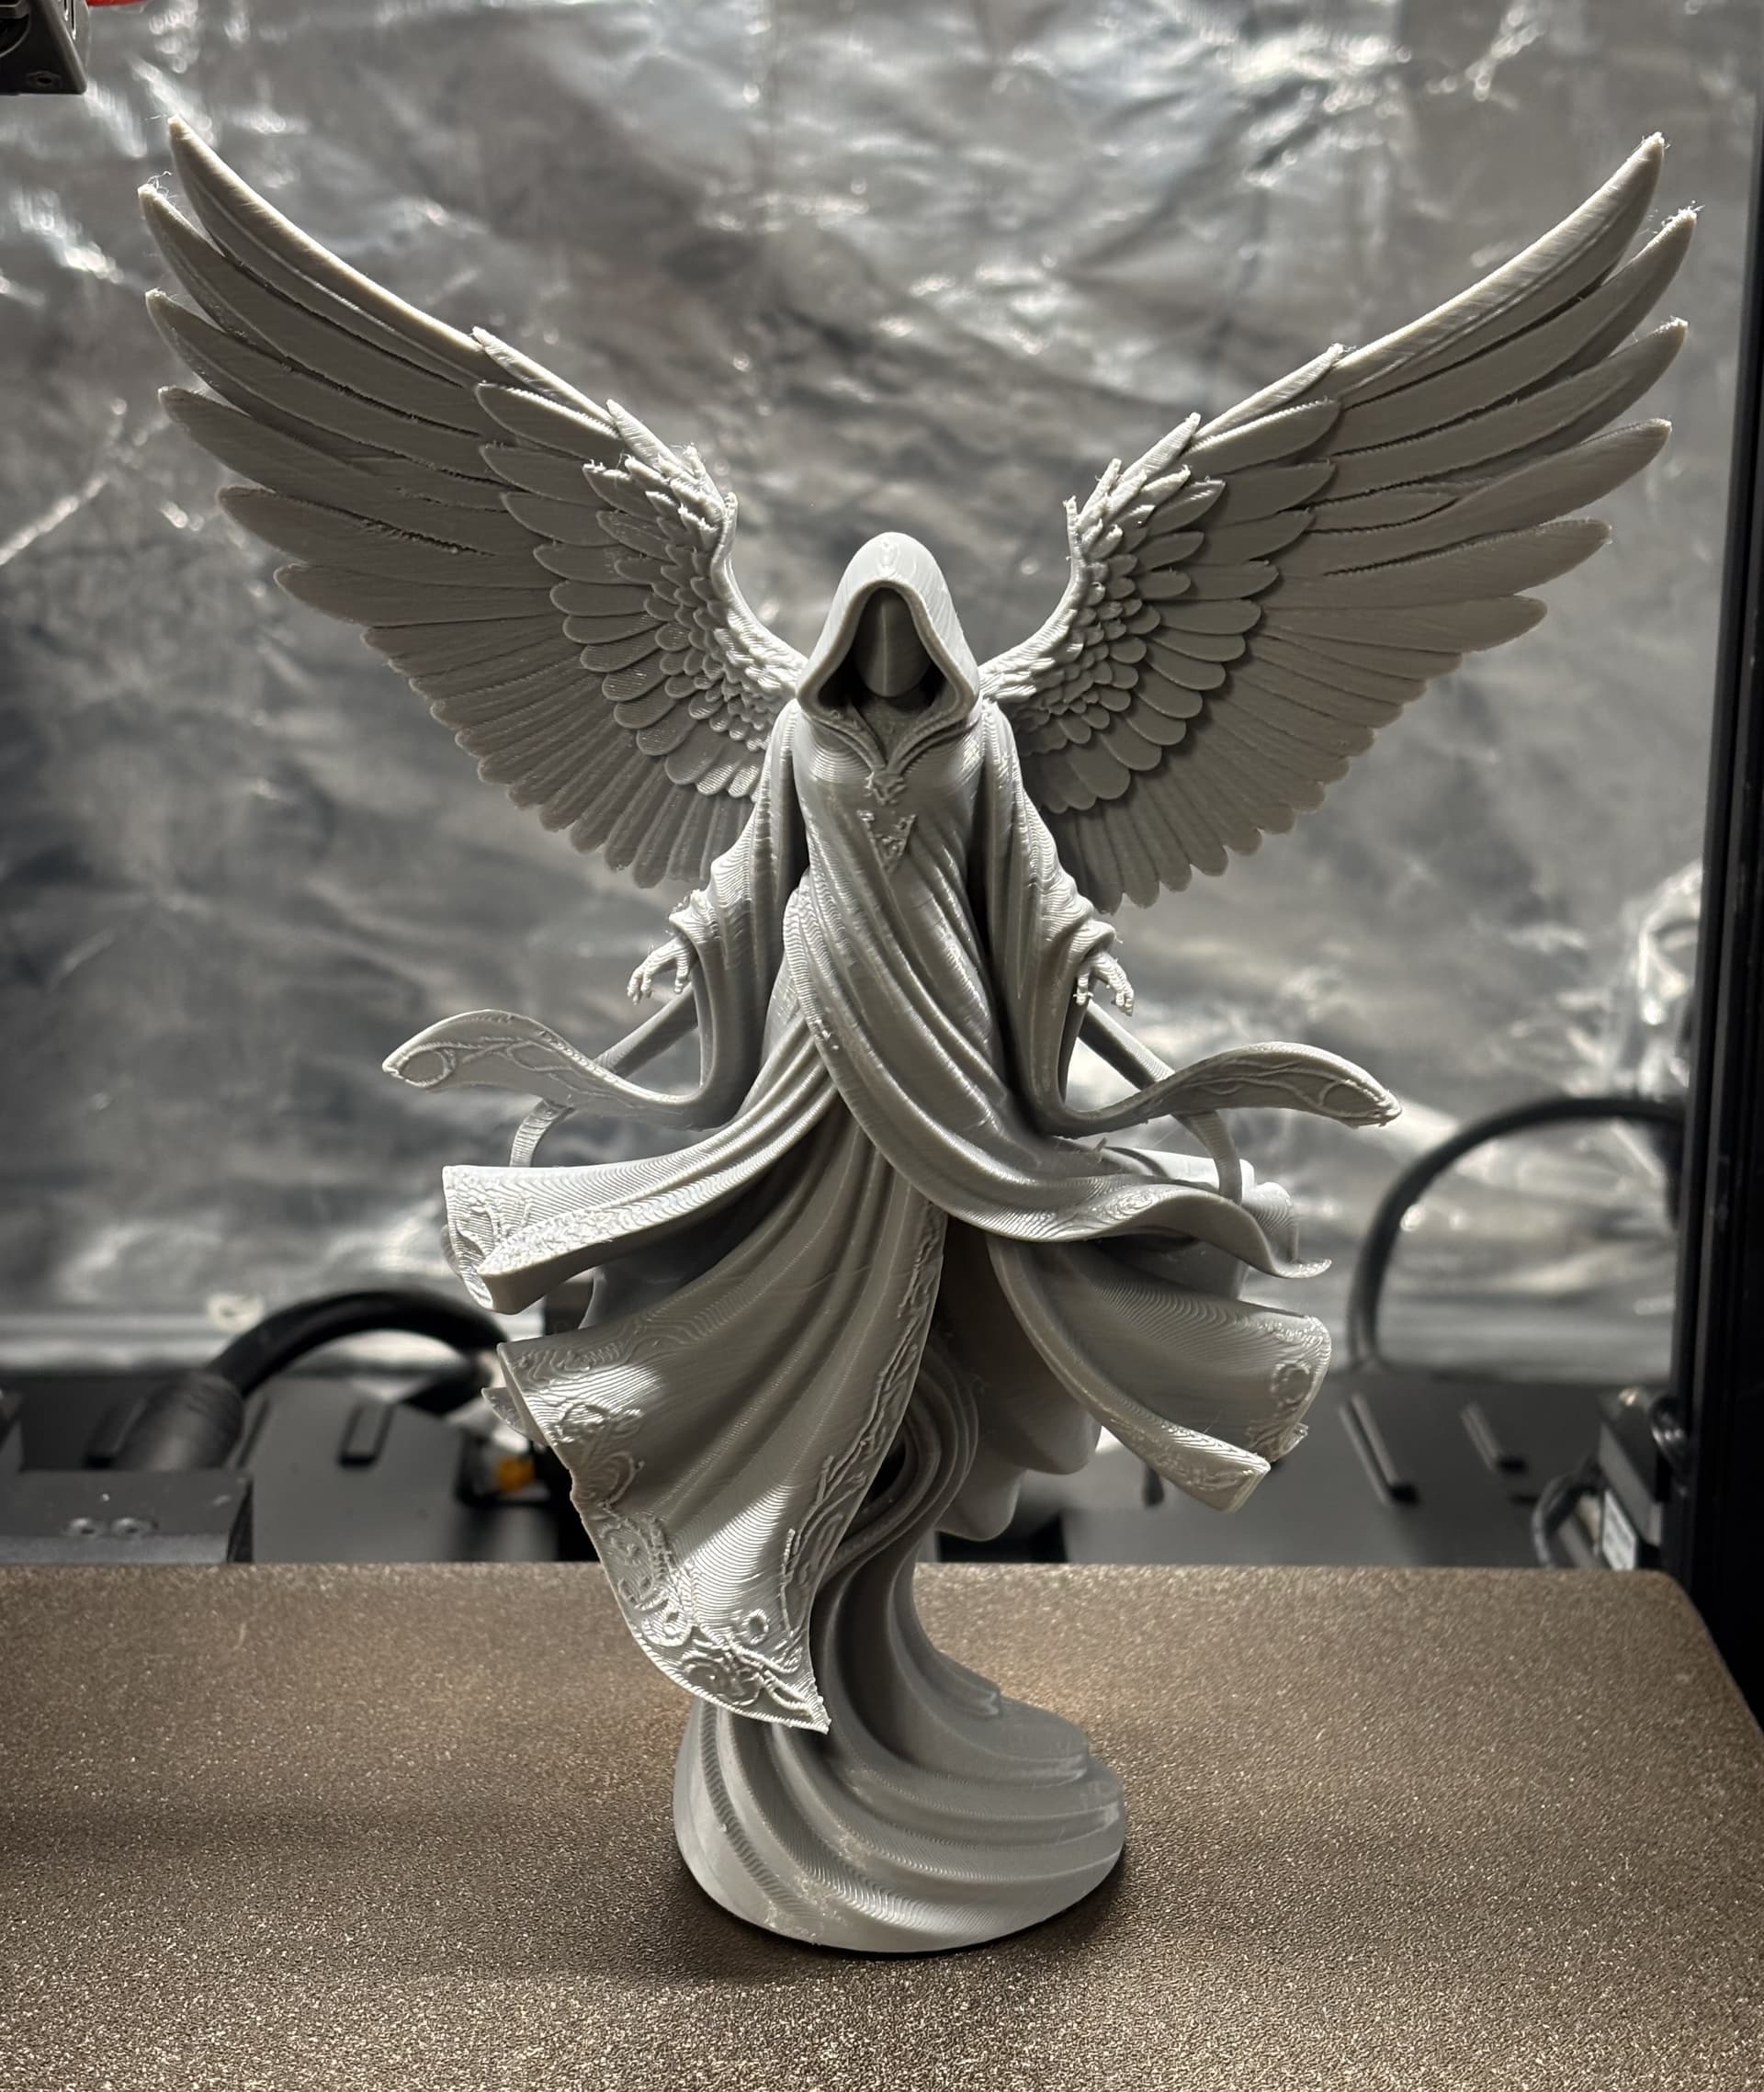
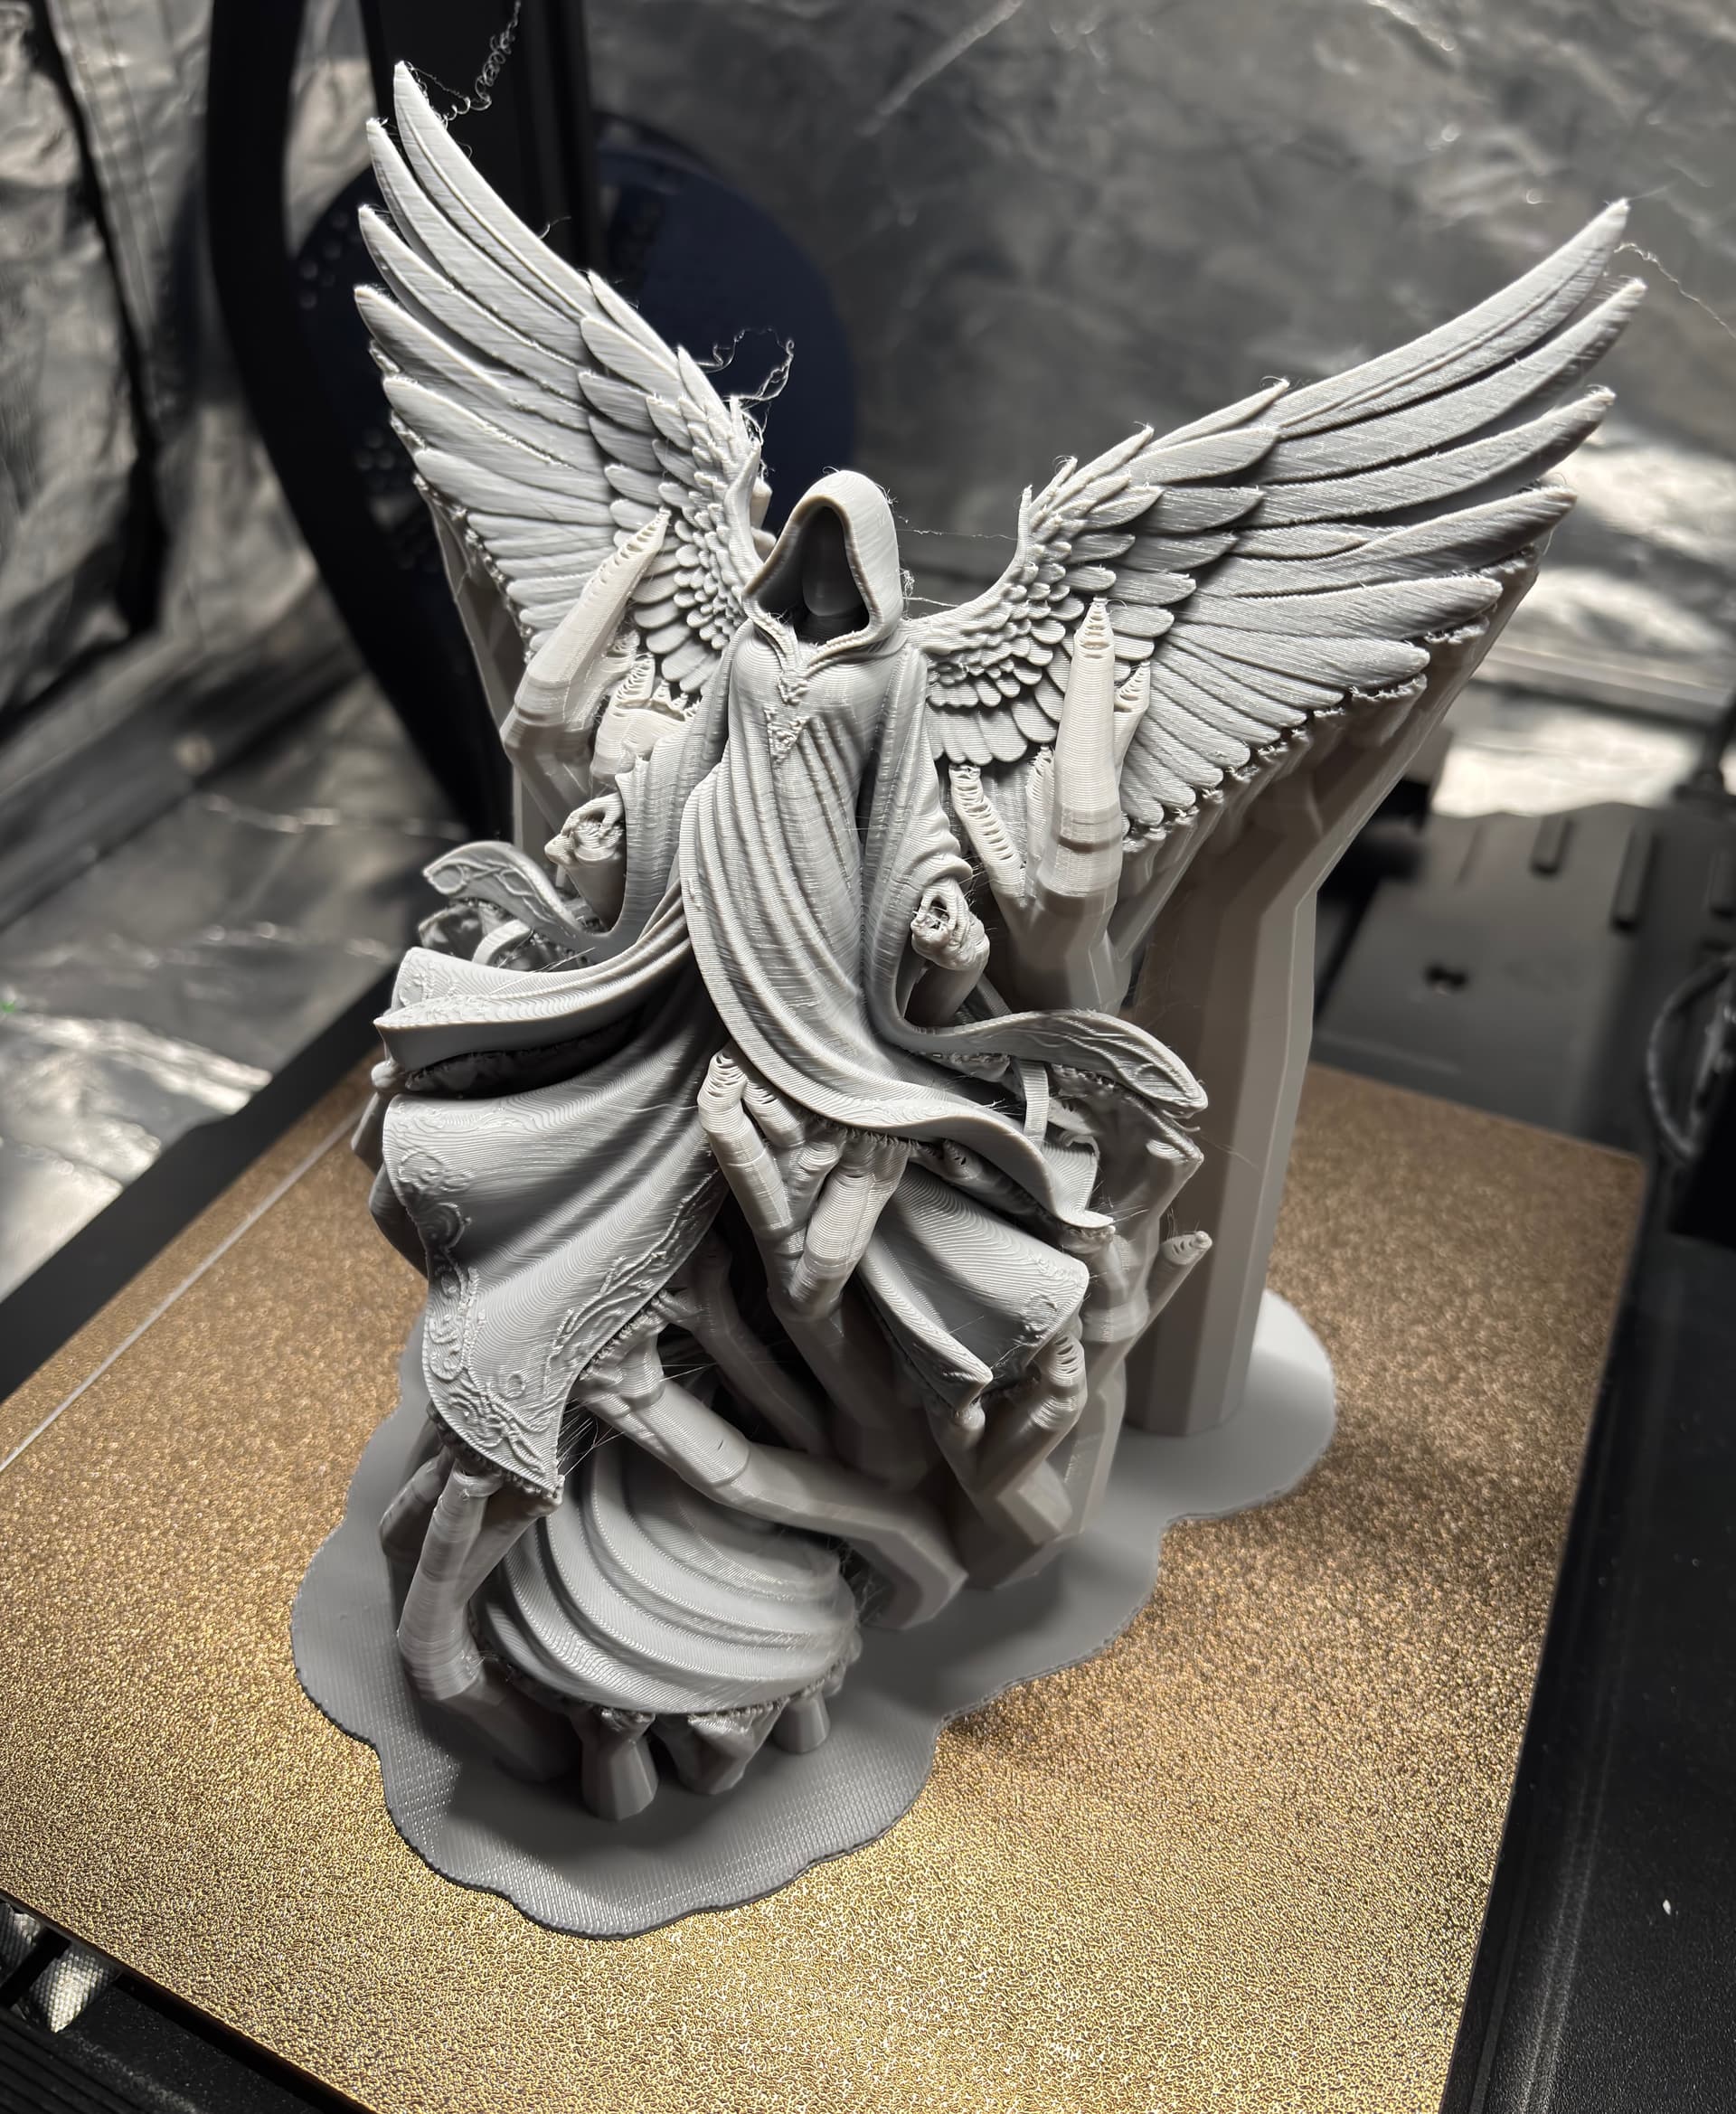
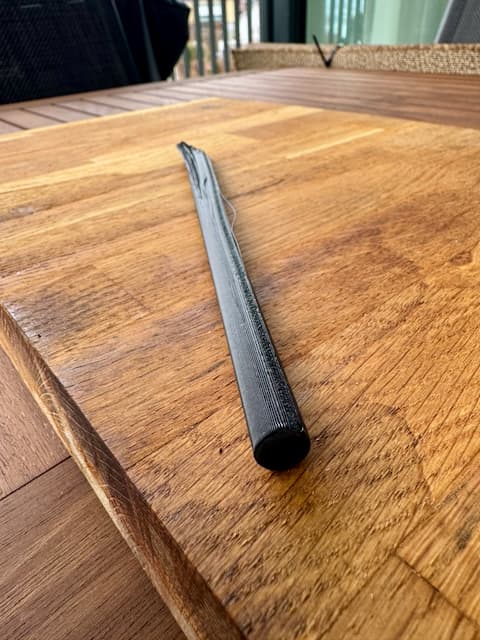
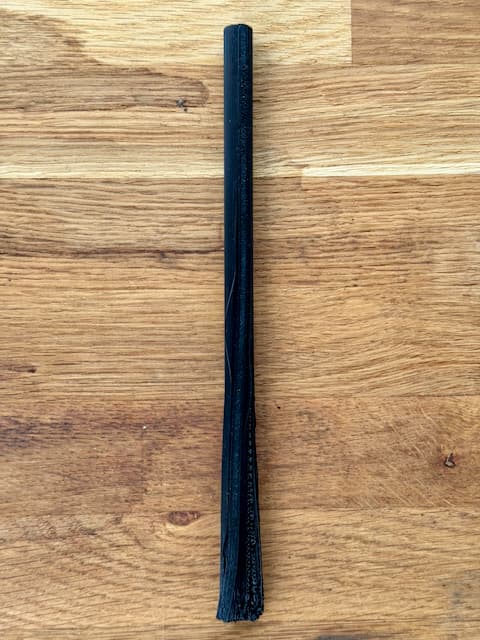
19cm model will take 1 day to print (if i will ever success)
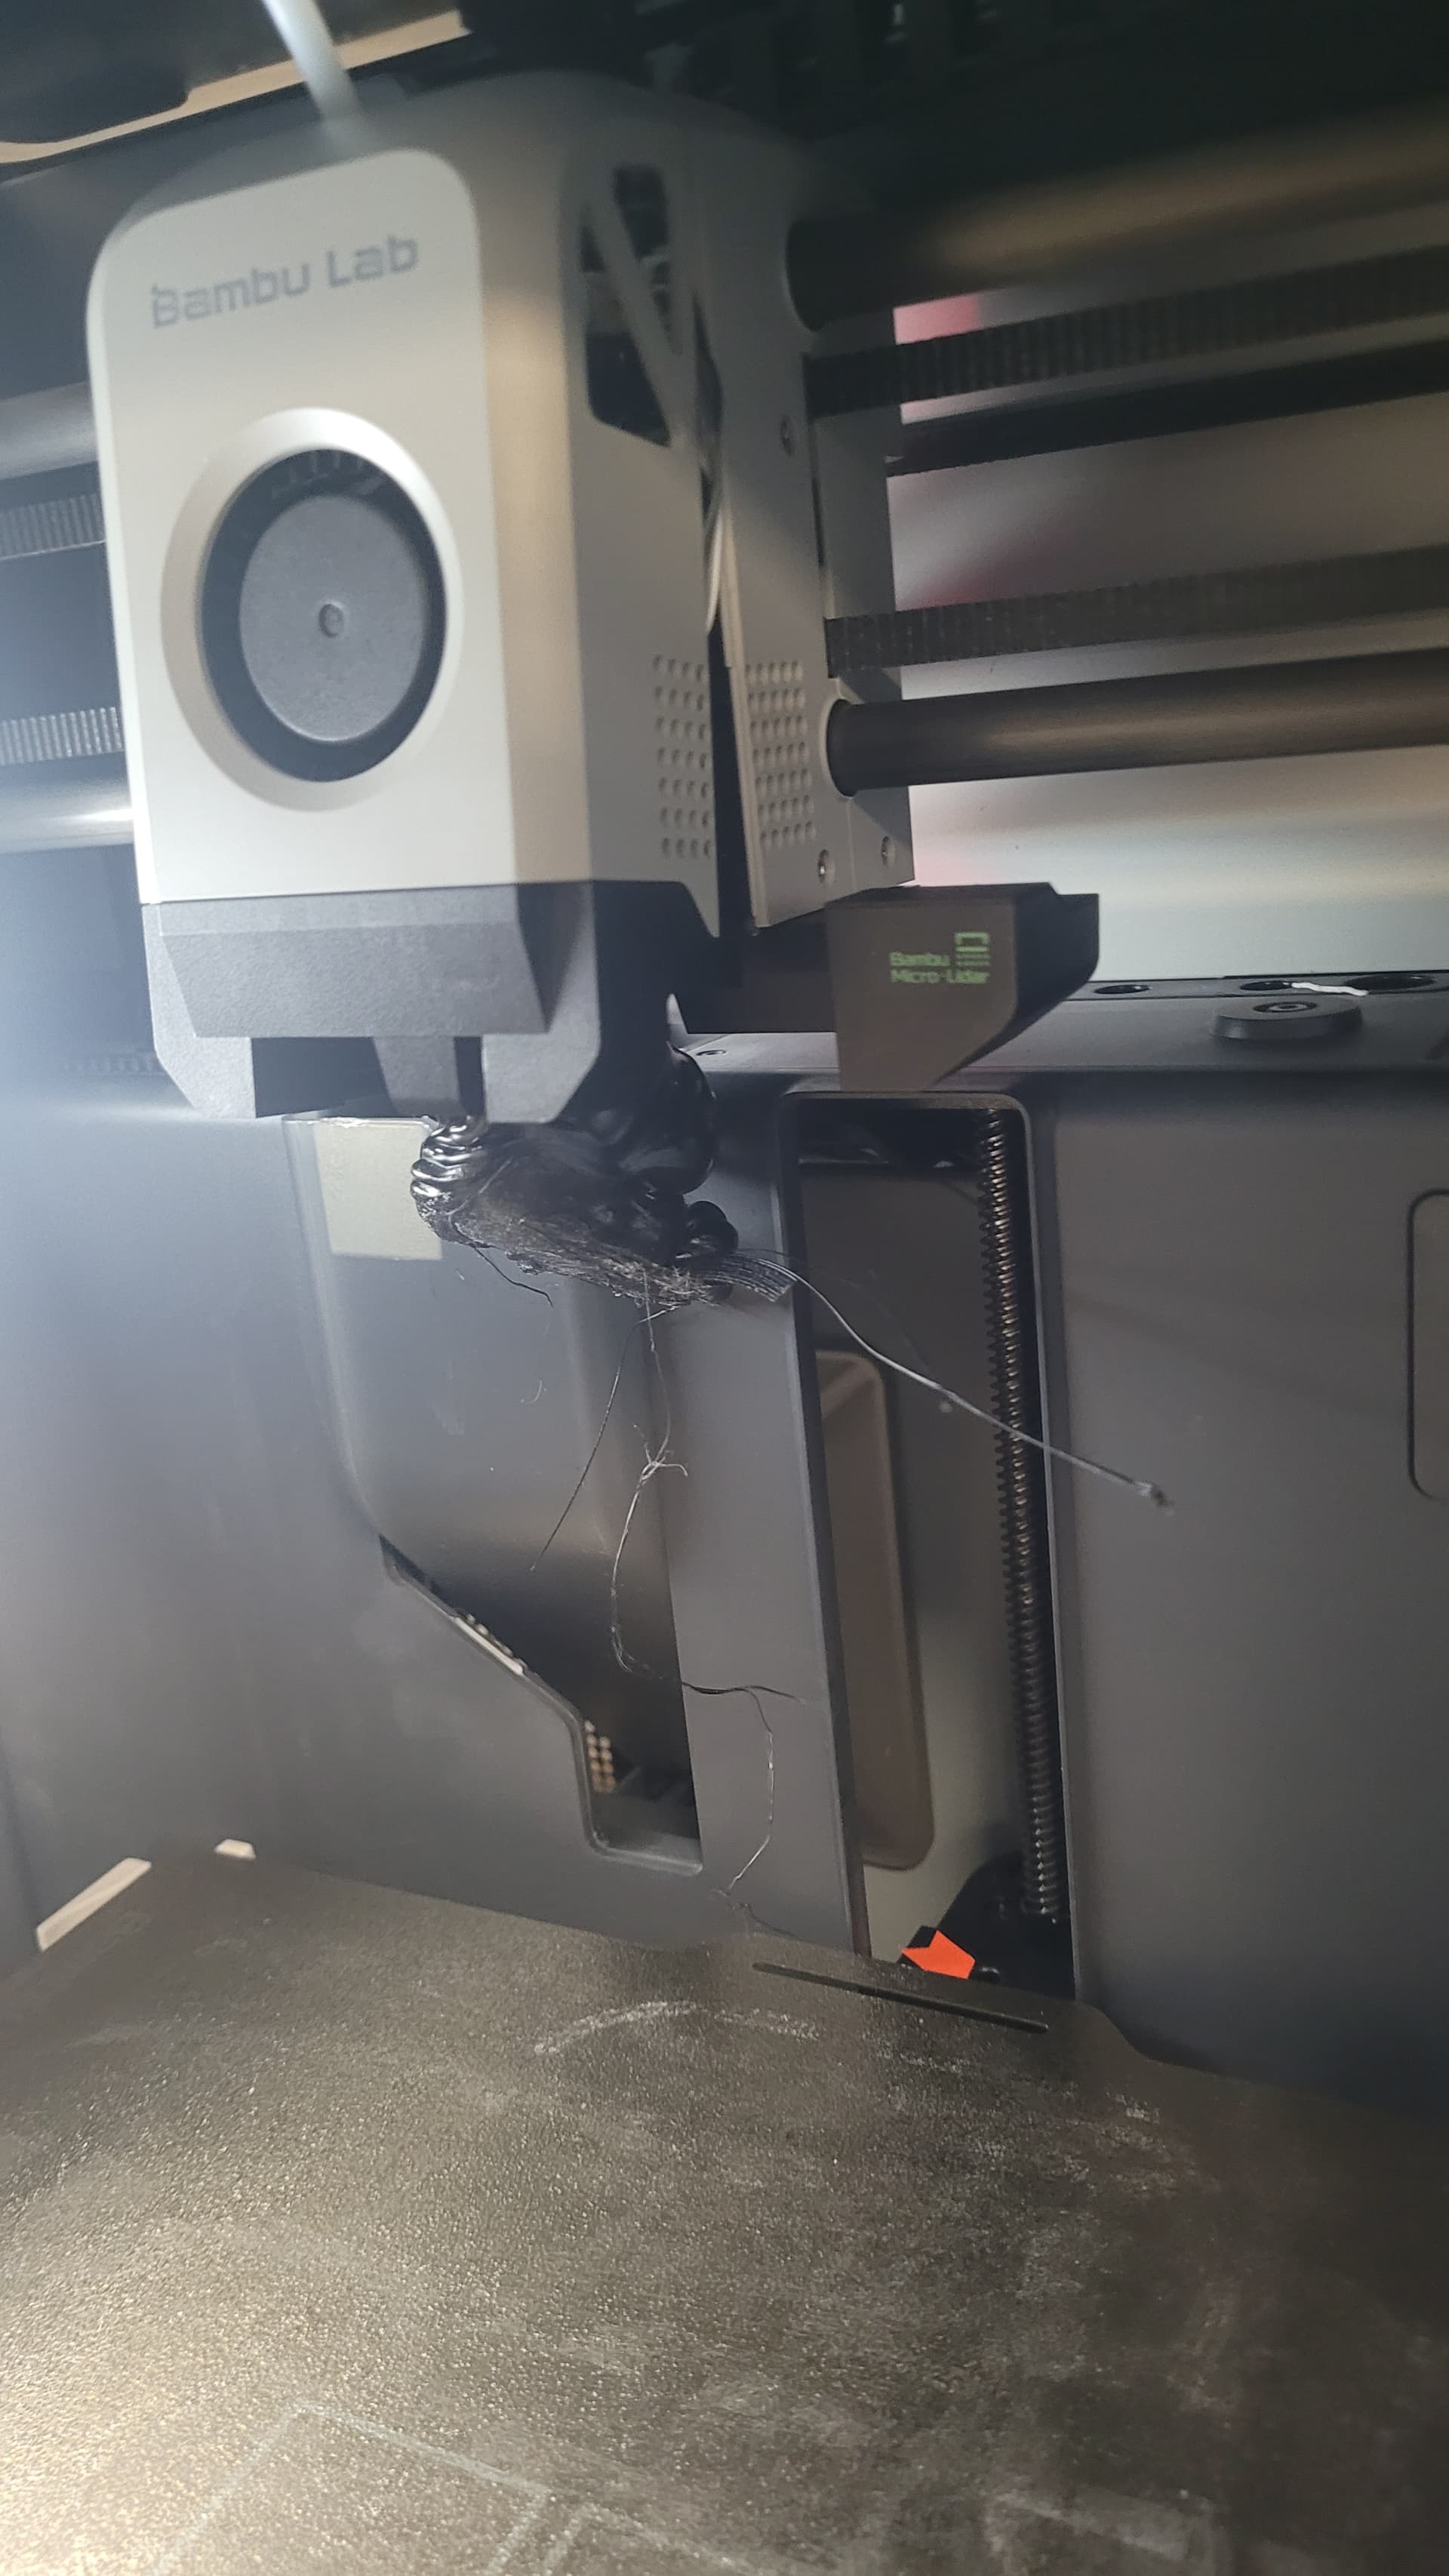
I dont know know where to put this but as of recent every print I start filament gets stuck to the nozzle after the filament is cut and keeps flowing. Im not sure what to do
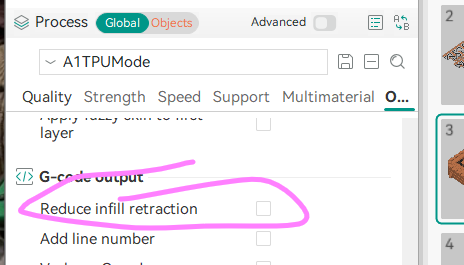
If you want z hop on travel (for clearance, nozzle striking print) then you really want the retractions to exist, cuz z hop is tied to the retraction. If this setting is on, both the retractions, and the zhop, won’t happen while the printer is calculating infill (for speed)
Thanks, but i use cura so i dont have that settings. But i see that Z hopping is working. It helped a lot. Finally i’ve printed that model (with the 2 small details lost as those were printing basically on a single tip of the tree - i wonder how it even lasted so long without breaking).
I am new in the 3D printing “business”. I tried to print a cylinder 20cm long and diameter 1cm. I had two time the effect. Second time I increased temp on bed to 75C instead of 70C. Bambulab PETG HF 0.4 nozzle. Some hints what I have possible done wrong?
Prints fail due to some errors. 3D printing can encounter a variety of issues that affect print quality and success. Some of them include Poor print bed adhesion, Layer shift, stringing or oozing, etc. The following contents discuss about these.
Had some issues with the marked line transition ( where goes from base to walls)
and where the walls have holes, follow pictures for reference, any thoughts or ideas would be appreciated, since I have no idea what to do to fix that.
I keep running into the spaghetti detection function failing.
All supplies from Bambu labs-every thing including the glue.Mostly dark materials fail. obsessed about cleaning the textured pei plate and applying thin layer off glue. Follow all recommended steps for example preheat bed, slow a fan or two, use brim, reduce speed, ensure light is on, camera spotless, use brim, read all the posts I could find. Tried to upload log files to support (unfortunately 0bytes) running current firmware. Detection set on high. Filament dried as per specification and monitored in the ams-typically 10% max 20% for PLA.
I have great quality prints but when they do spaghetti it’s a disaster and the printer keeps running until it’s complete. This last one printed the first layers and then somehow got out of sorts, piled a hard ABS ball all the way up into the tool head, bent a perfectly good .4 hot end and kicked the front door open! I went to the shop because the app said it completely Successfully…. I used heat gun and was able to get the hot end cooling door off and eventually the hot end off..it’s bent garbage. I’m wondering if there is something specific to my printer and if others here think adding more light would help? Can the existing lamp inside by adjusted to brighter value. As I mentioned not one successful detection in the couple years that I have used this machine. The first picture several lower parts printed and the second one the first few layers printed
Not sure what is going on with my prints. The red is a print from about a month ago with clean tight lines and no problems. Recently I have been have print failures and re printed the same thing with pink. The lines are not as tight and sometimes fail. Any ideas on what’s going on? I have cleaned my build are and keep my filament in a tube with dessecant to keep out moisture. For some reason I can’t post the photo comparison
I have been happily printing for months, but my machine just started failing right at the start, can’t even get the test lines down, I cleaned my plate, even loaded new filament, nothing is working, any thoguhts?
Well it’s best to first start with the basics. What printer are you using? What filament? What plate? How is the printer failing? The more information you can provide that easier it is for others to help you.
I have being having issues with supports, after a lot of testing I found the model printed almost perfect if printed upside down. however I keep getting a whole at the top of the head (where the base supports are and can not seem to solve it) I am on a ps1 0.2 nozzle set (0.06mm High Quality). I also have ironing / top surfaces / concentric and order of walls set to outer/inner.
Support changes:
Style: tree slim
TopZ 0.25
BottomZ: 0.2
base pattern: hollow
Top interface layers 3
Top interface spacing 0.7
Bed adhesion
Brim type: outer brim
Brim width 3
Brim-object gap 0.3
Printing on PLA basic white (dried with eibos series x tetra )
As I say everything else is perfect on the model just the top of the head - any help would be appreciated.
We have a couple of P1Ps printing polycarbonate+pbt. We’ve been printing with this material for a year and a half. No real changes in settings and having great success. All of a sudden, we get this result. The other P1Ps and P1Ss are still doing great. I’ve changed nozzles and even front fan covers. Seams are stretched, like extrusion restart is slow. Z height seems to be slowing as the print goes on. Any help would be appreciated.
I am pretty much desperate by now. I’m printing on both A1 mini and P2S ( which is brand new ). With Polymaker PLA MATTE.
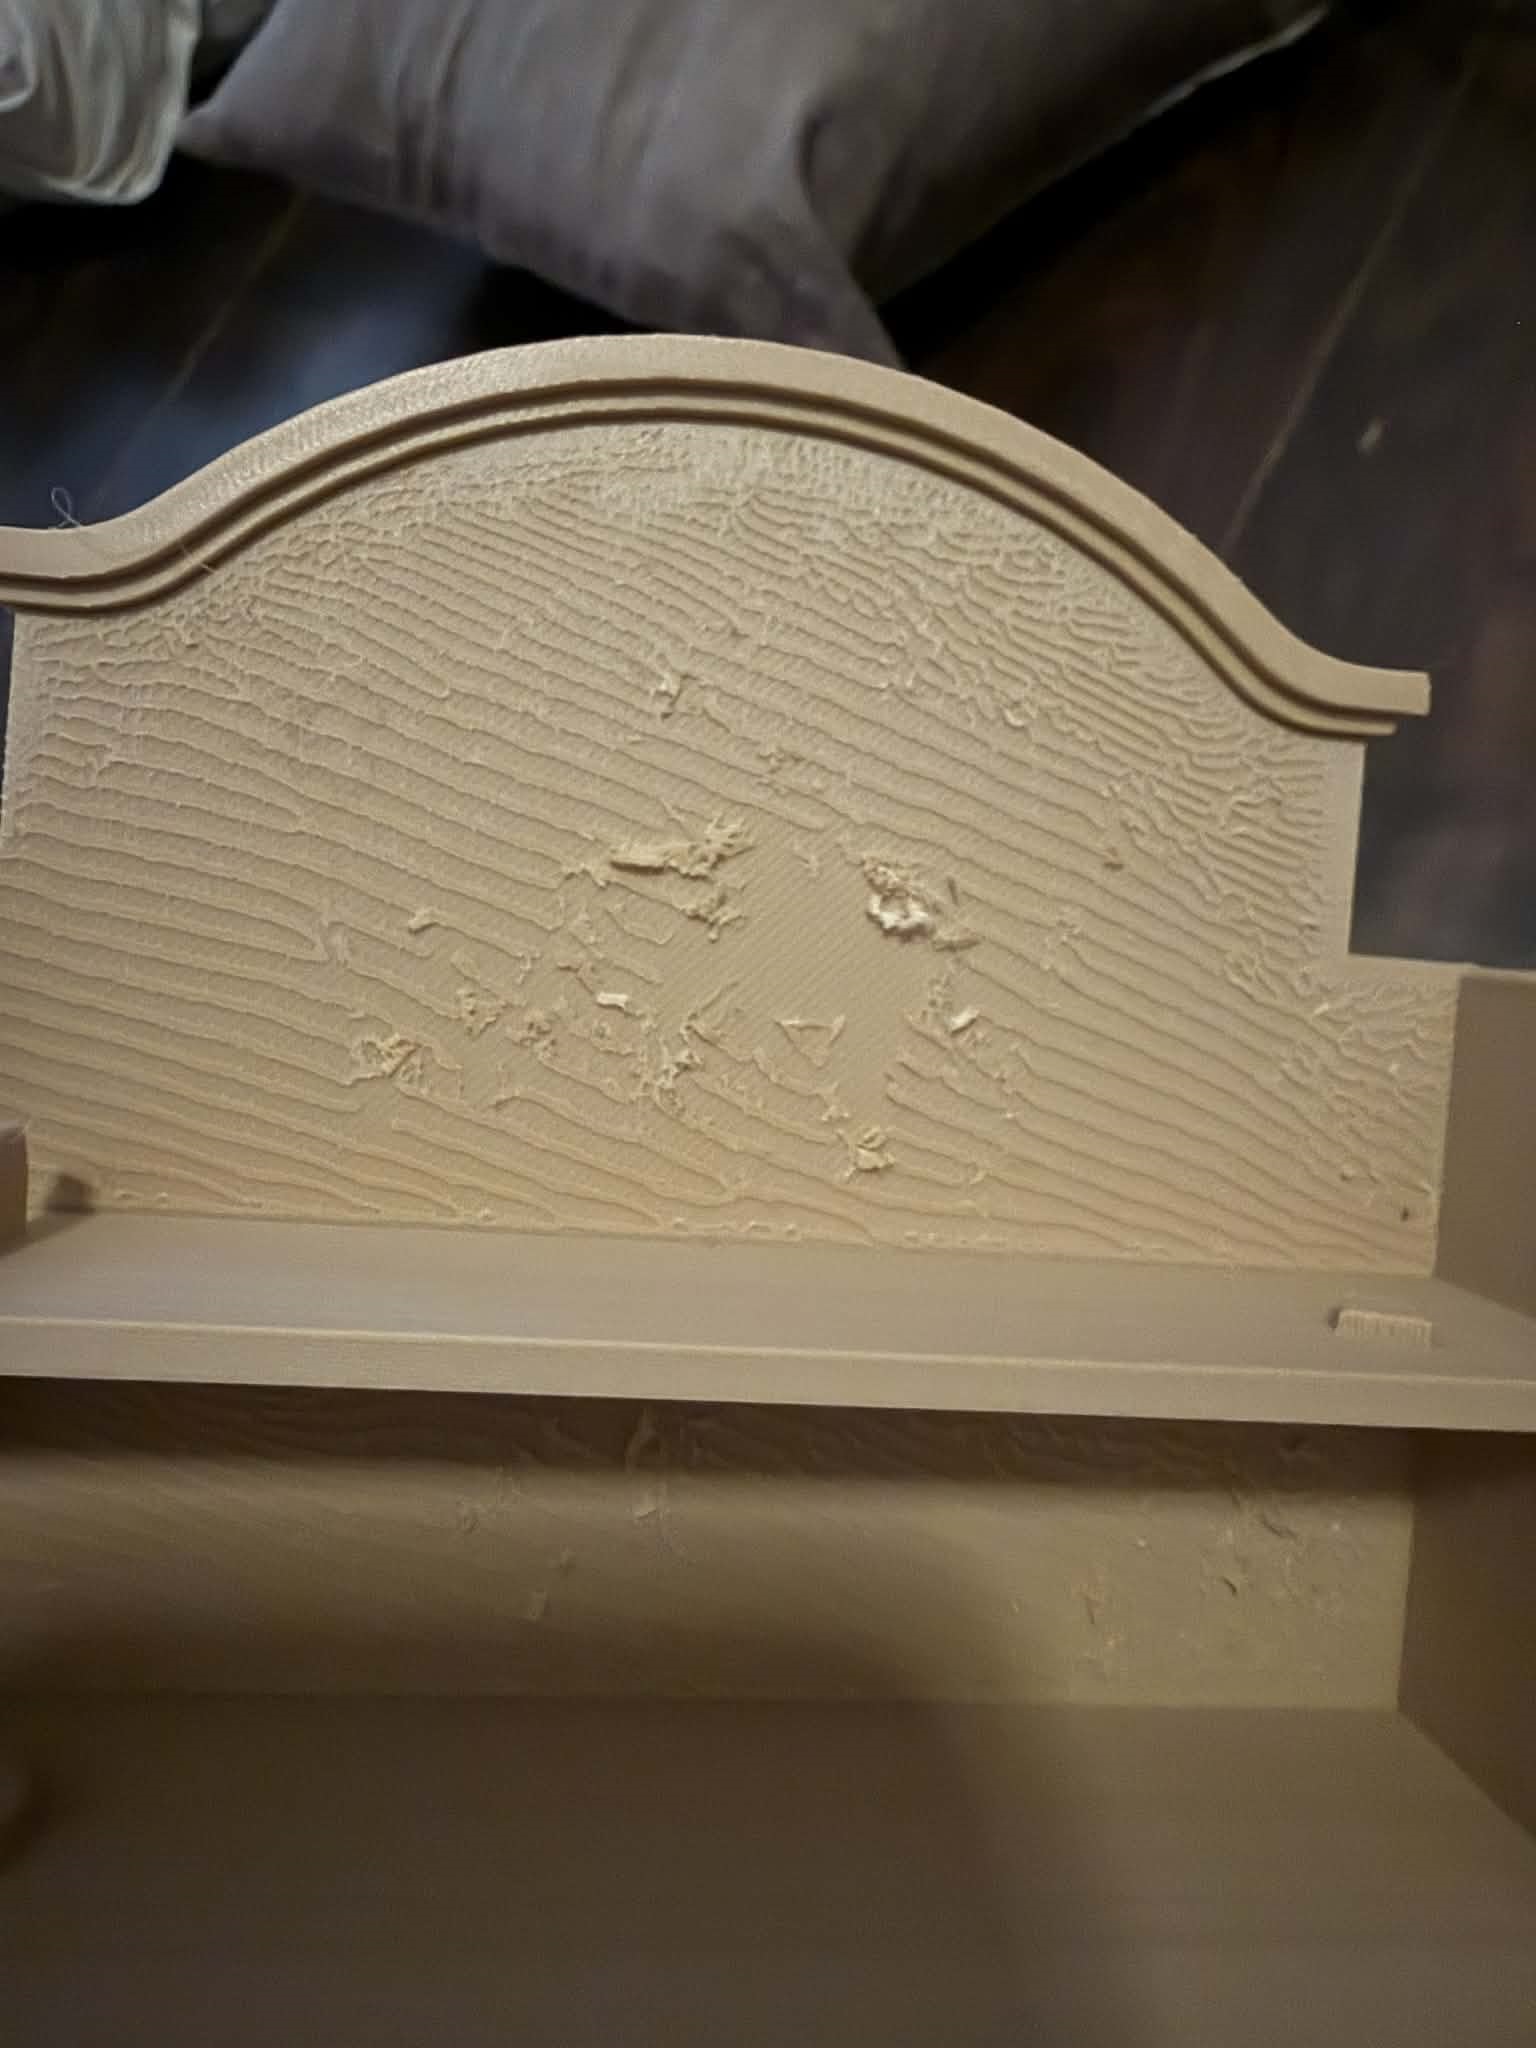
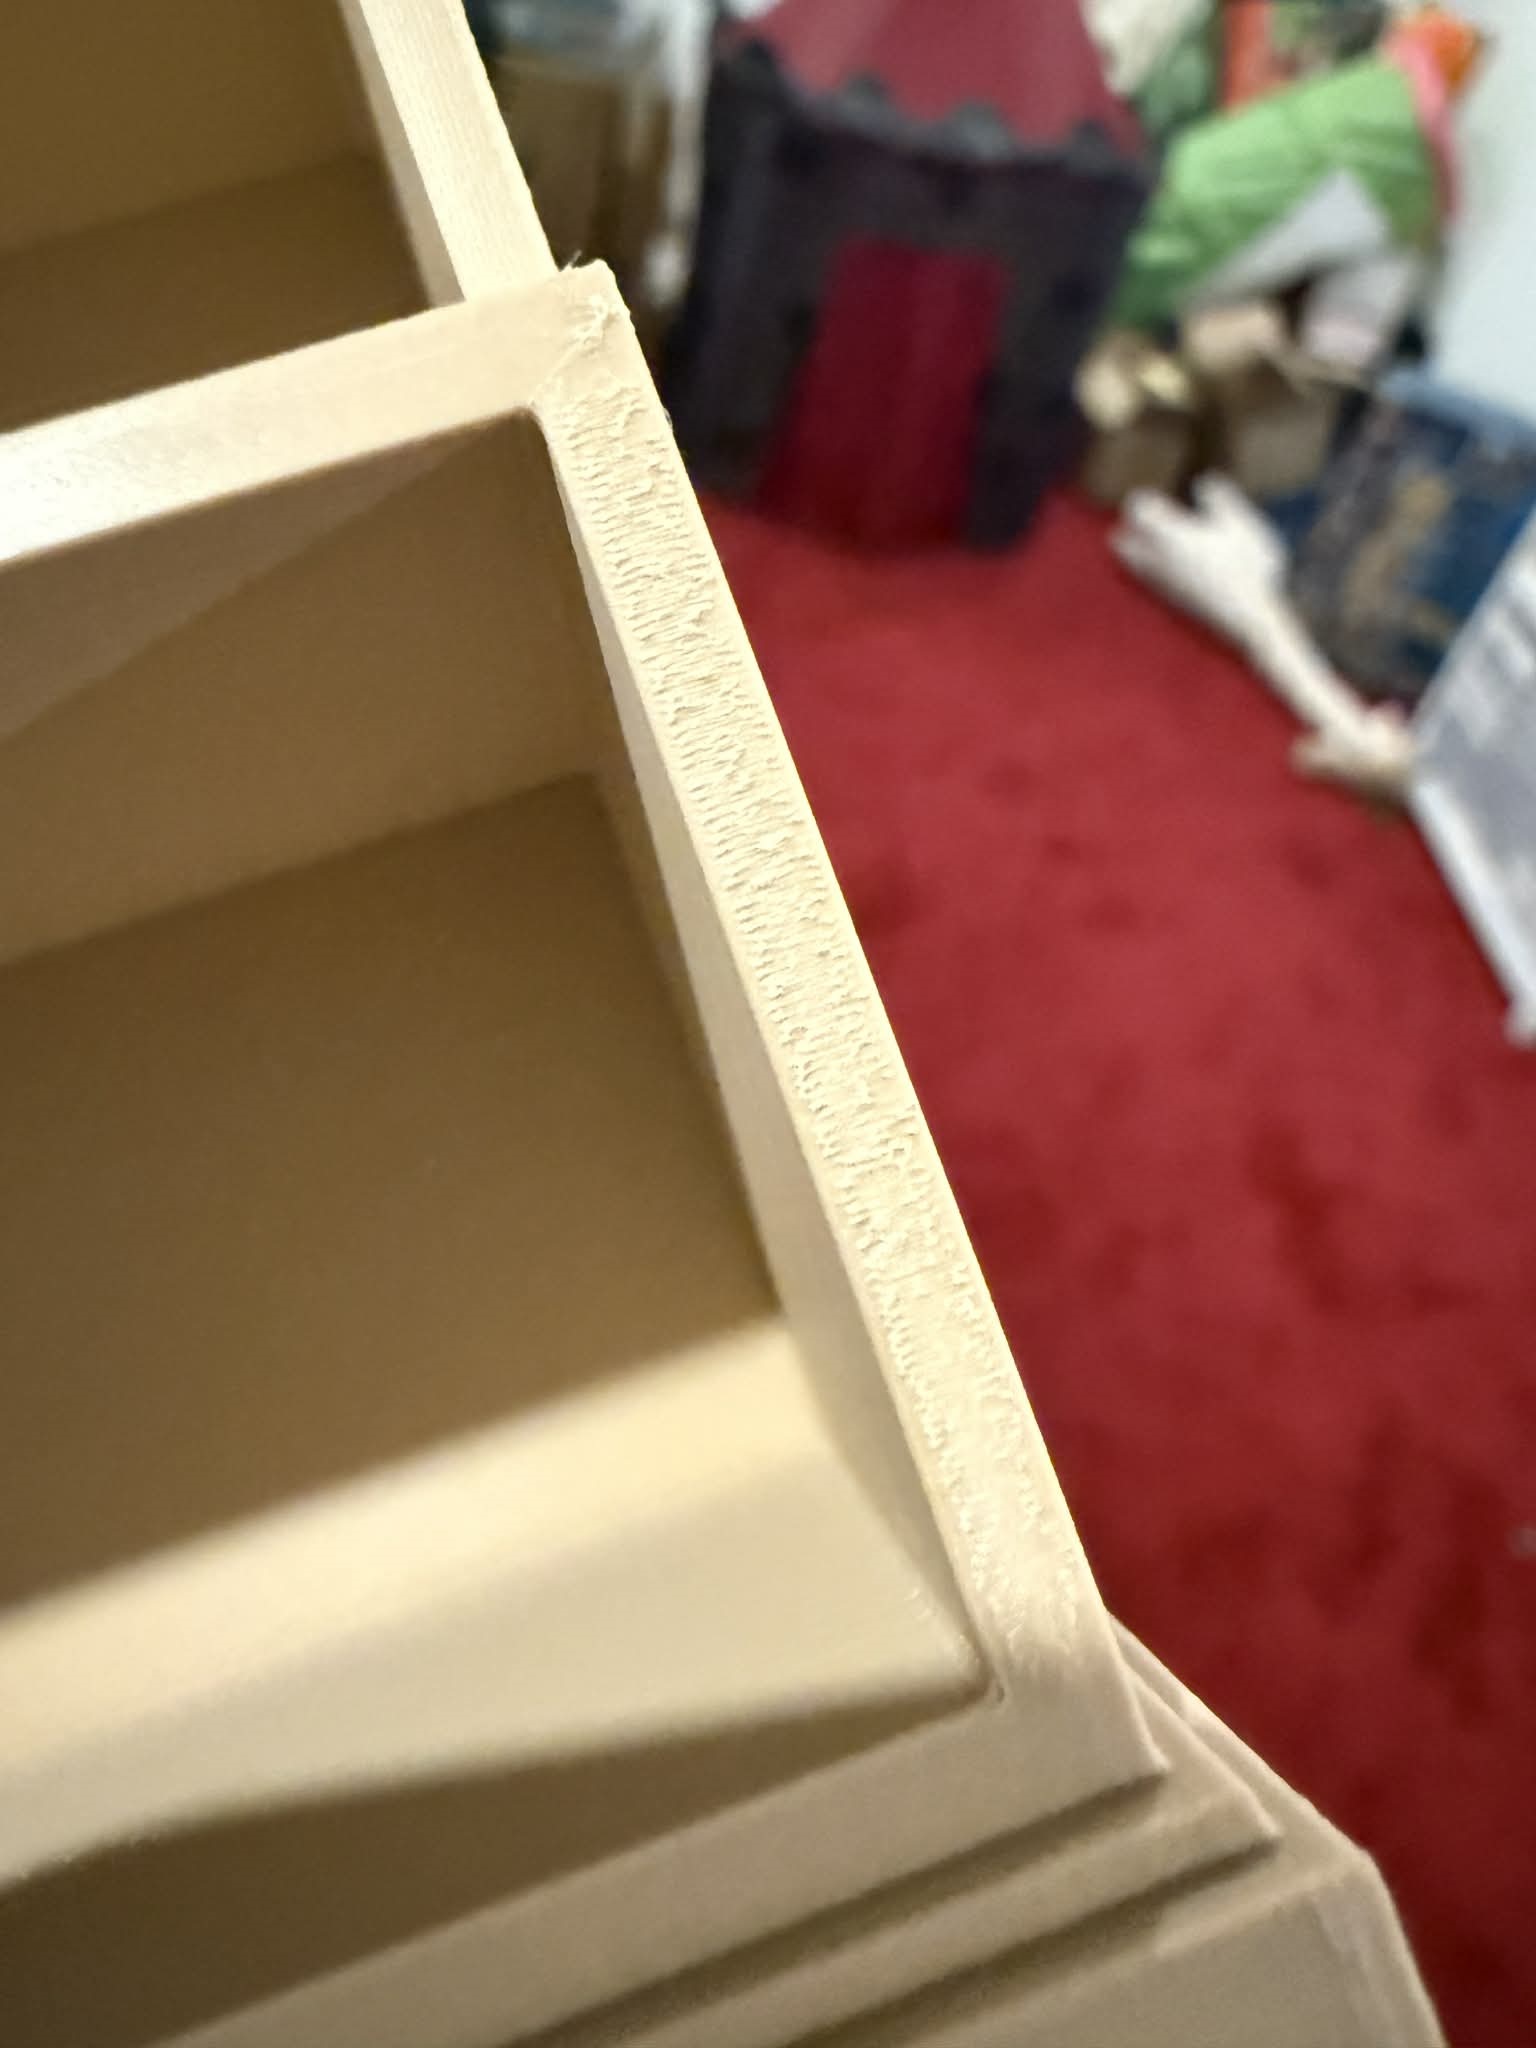
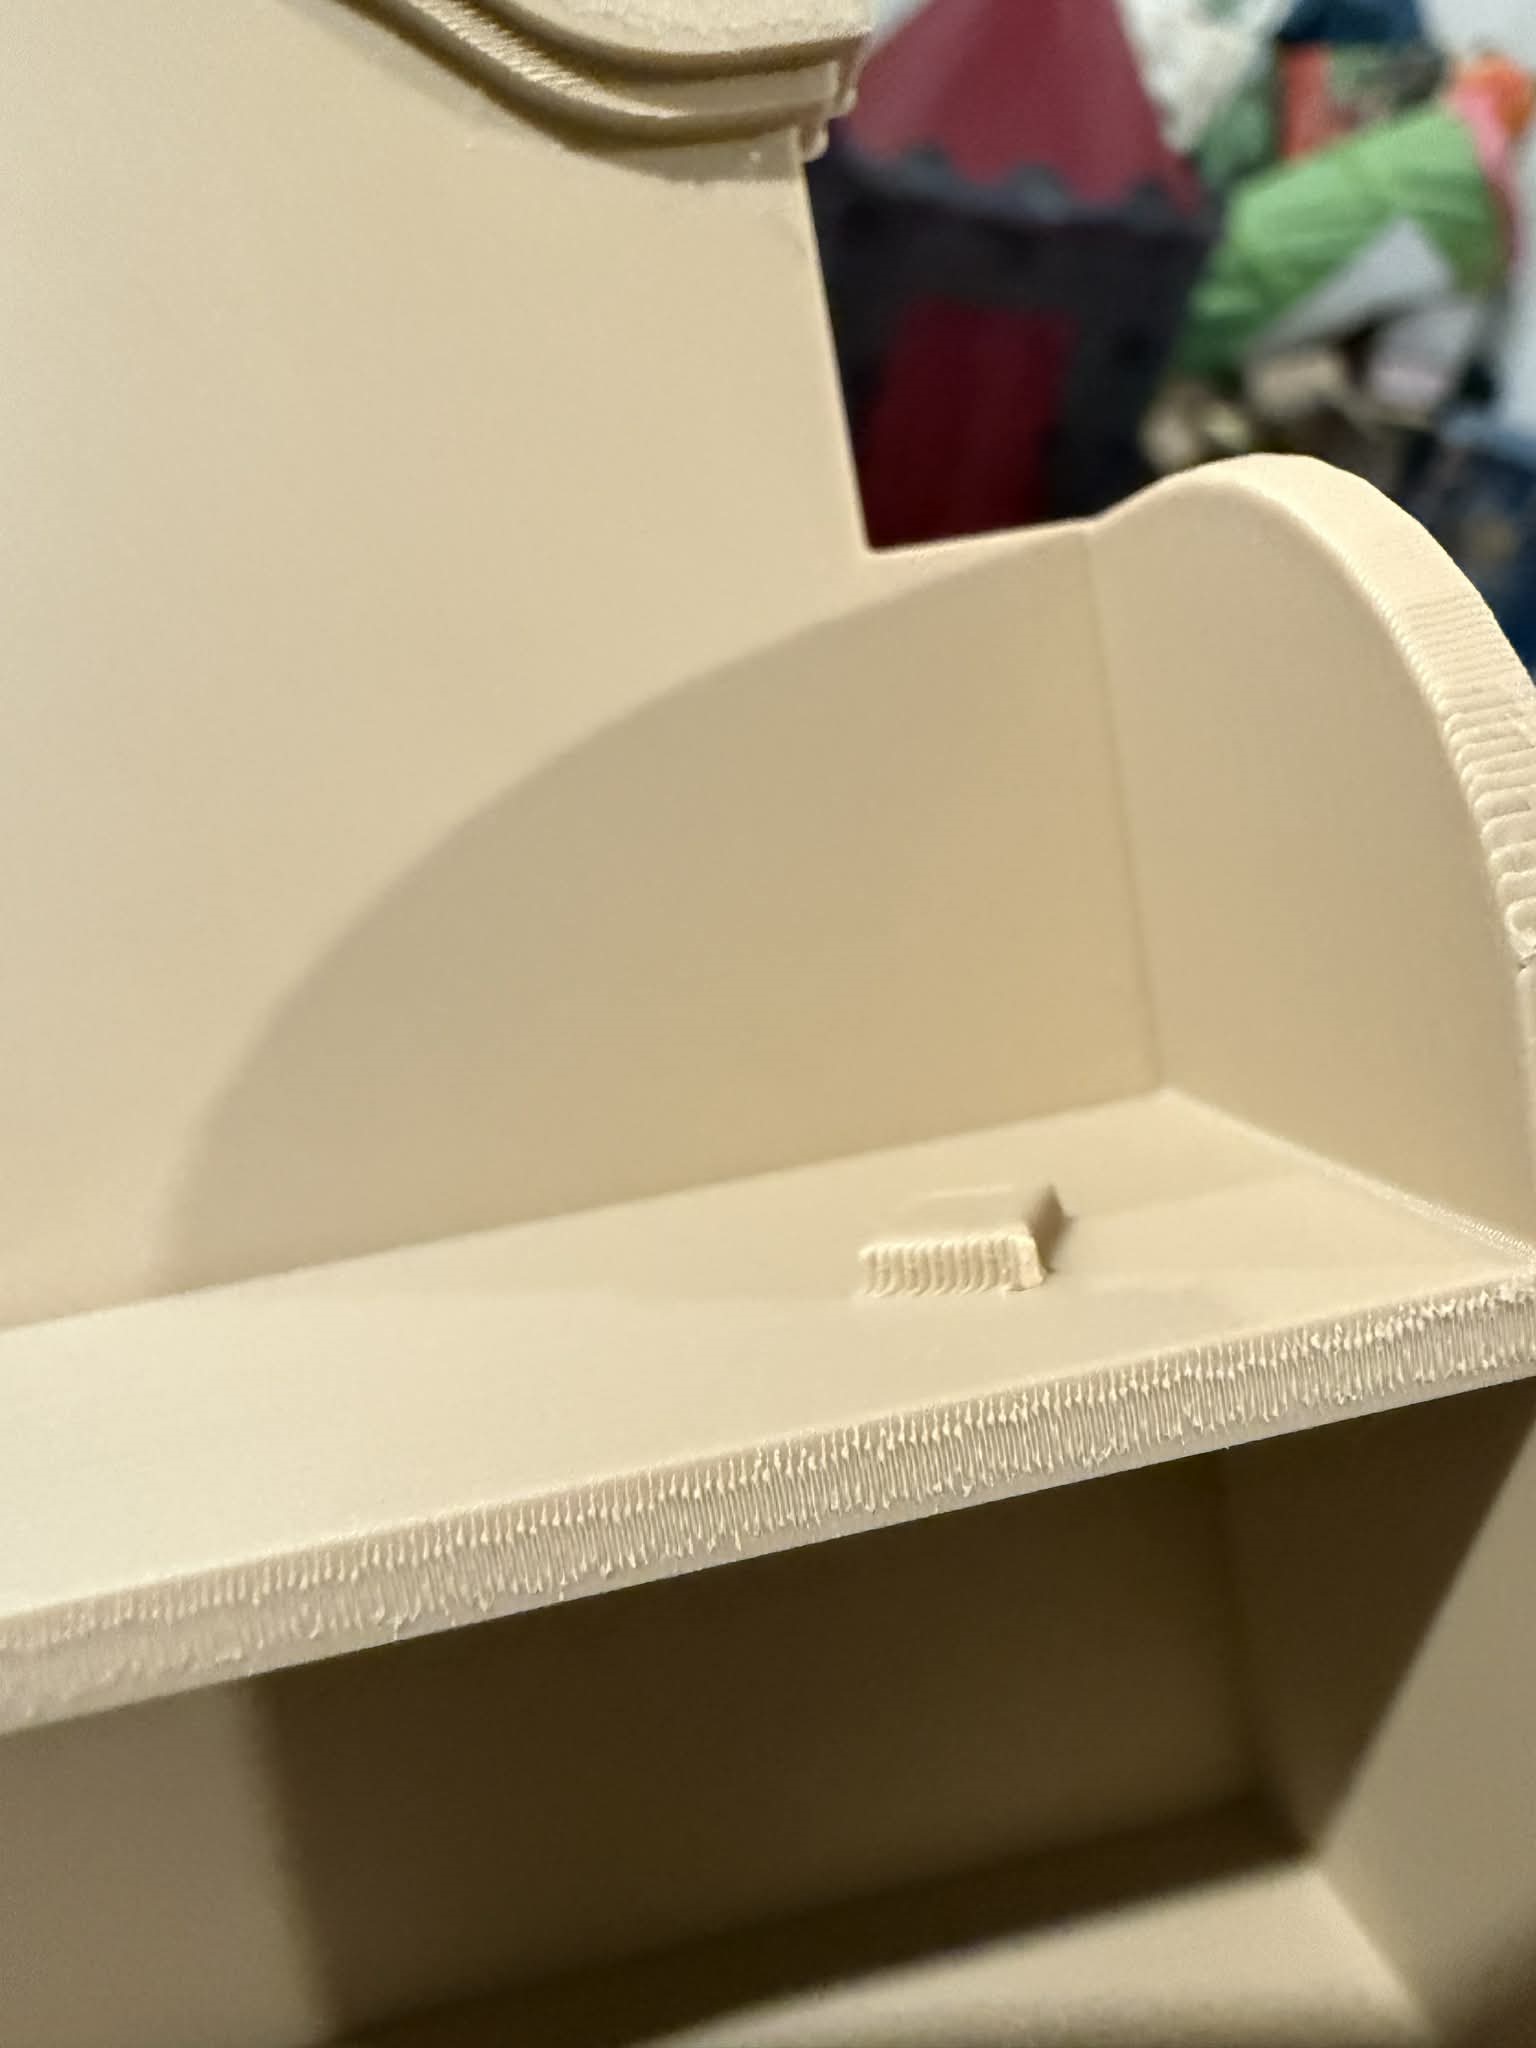
I have an issue with my P2S. The print is a small bookcase. So in the beginning I had bad ironing setting on the edges on the highest parts. I managed to fix that by adjusting the ironing flow/speed. But by doing that i managed to screw up the setting on the flat surface and now it looks like that:
Looking at the bright side, I have smooth edges. So, from my perspective I have the correct ironing for the outer edges, but not the flat surfaces, what should I do?
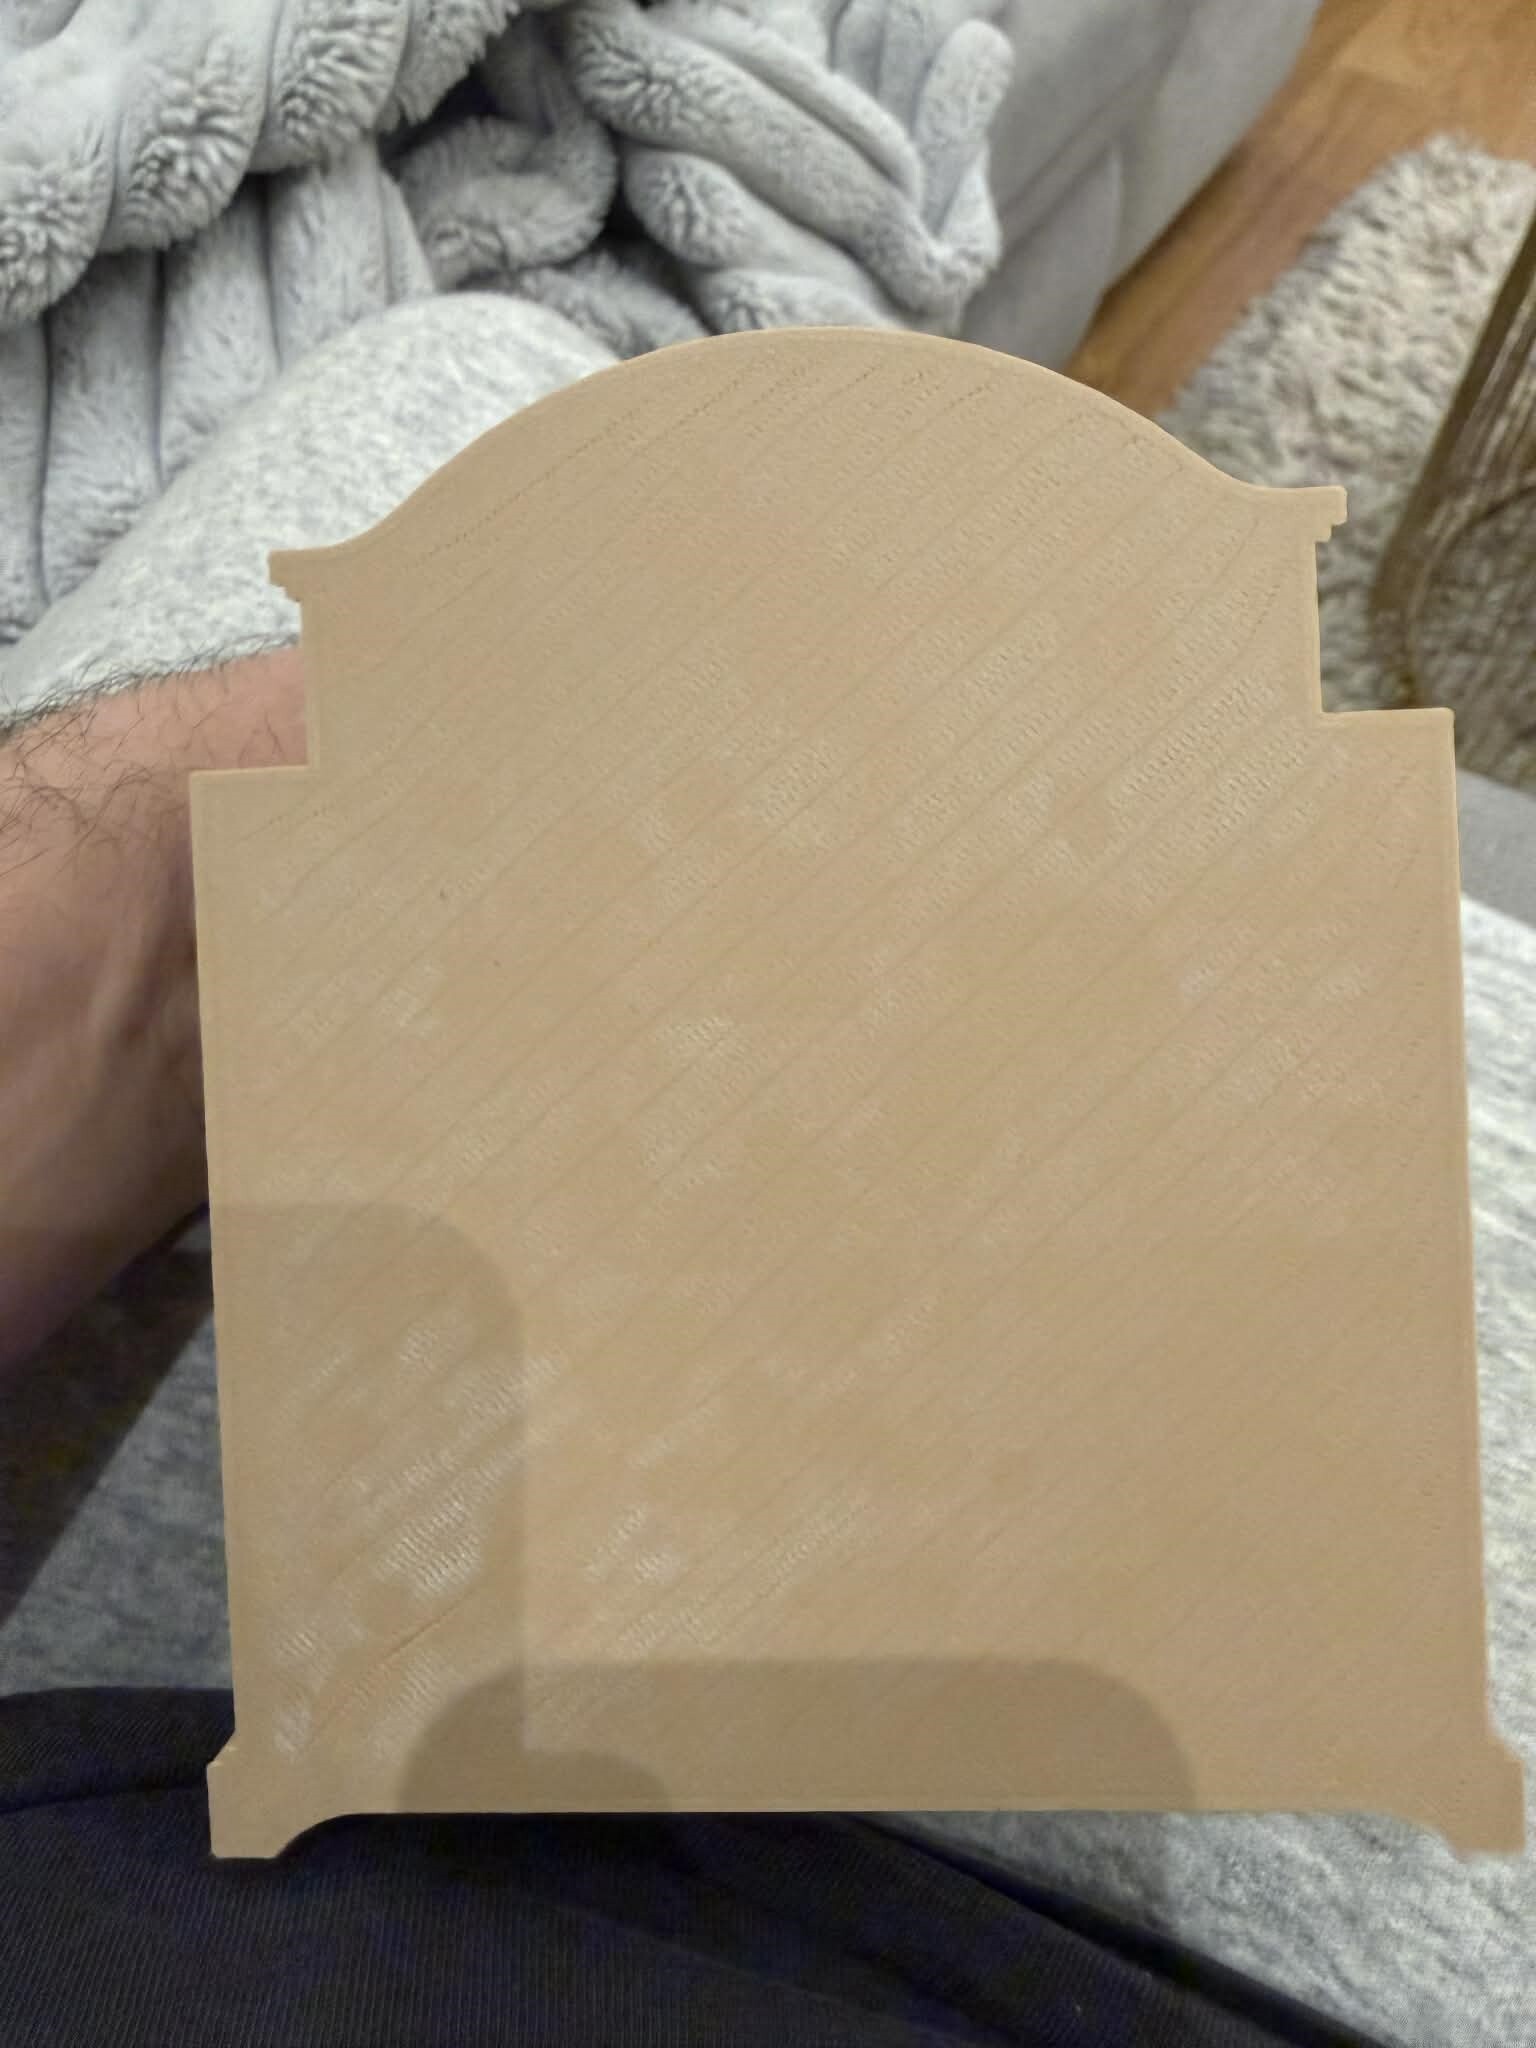
Secondly, I have this problem on the back of the print.