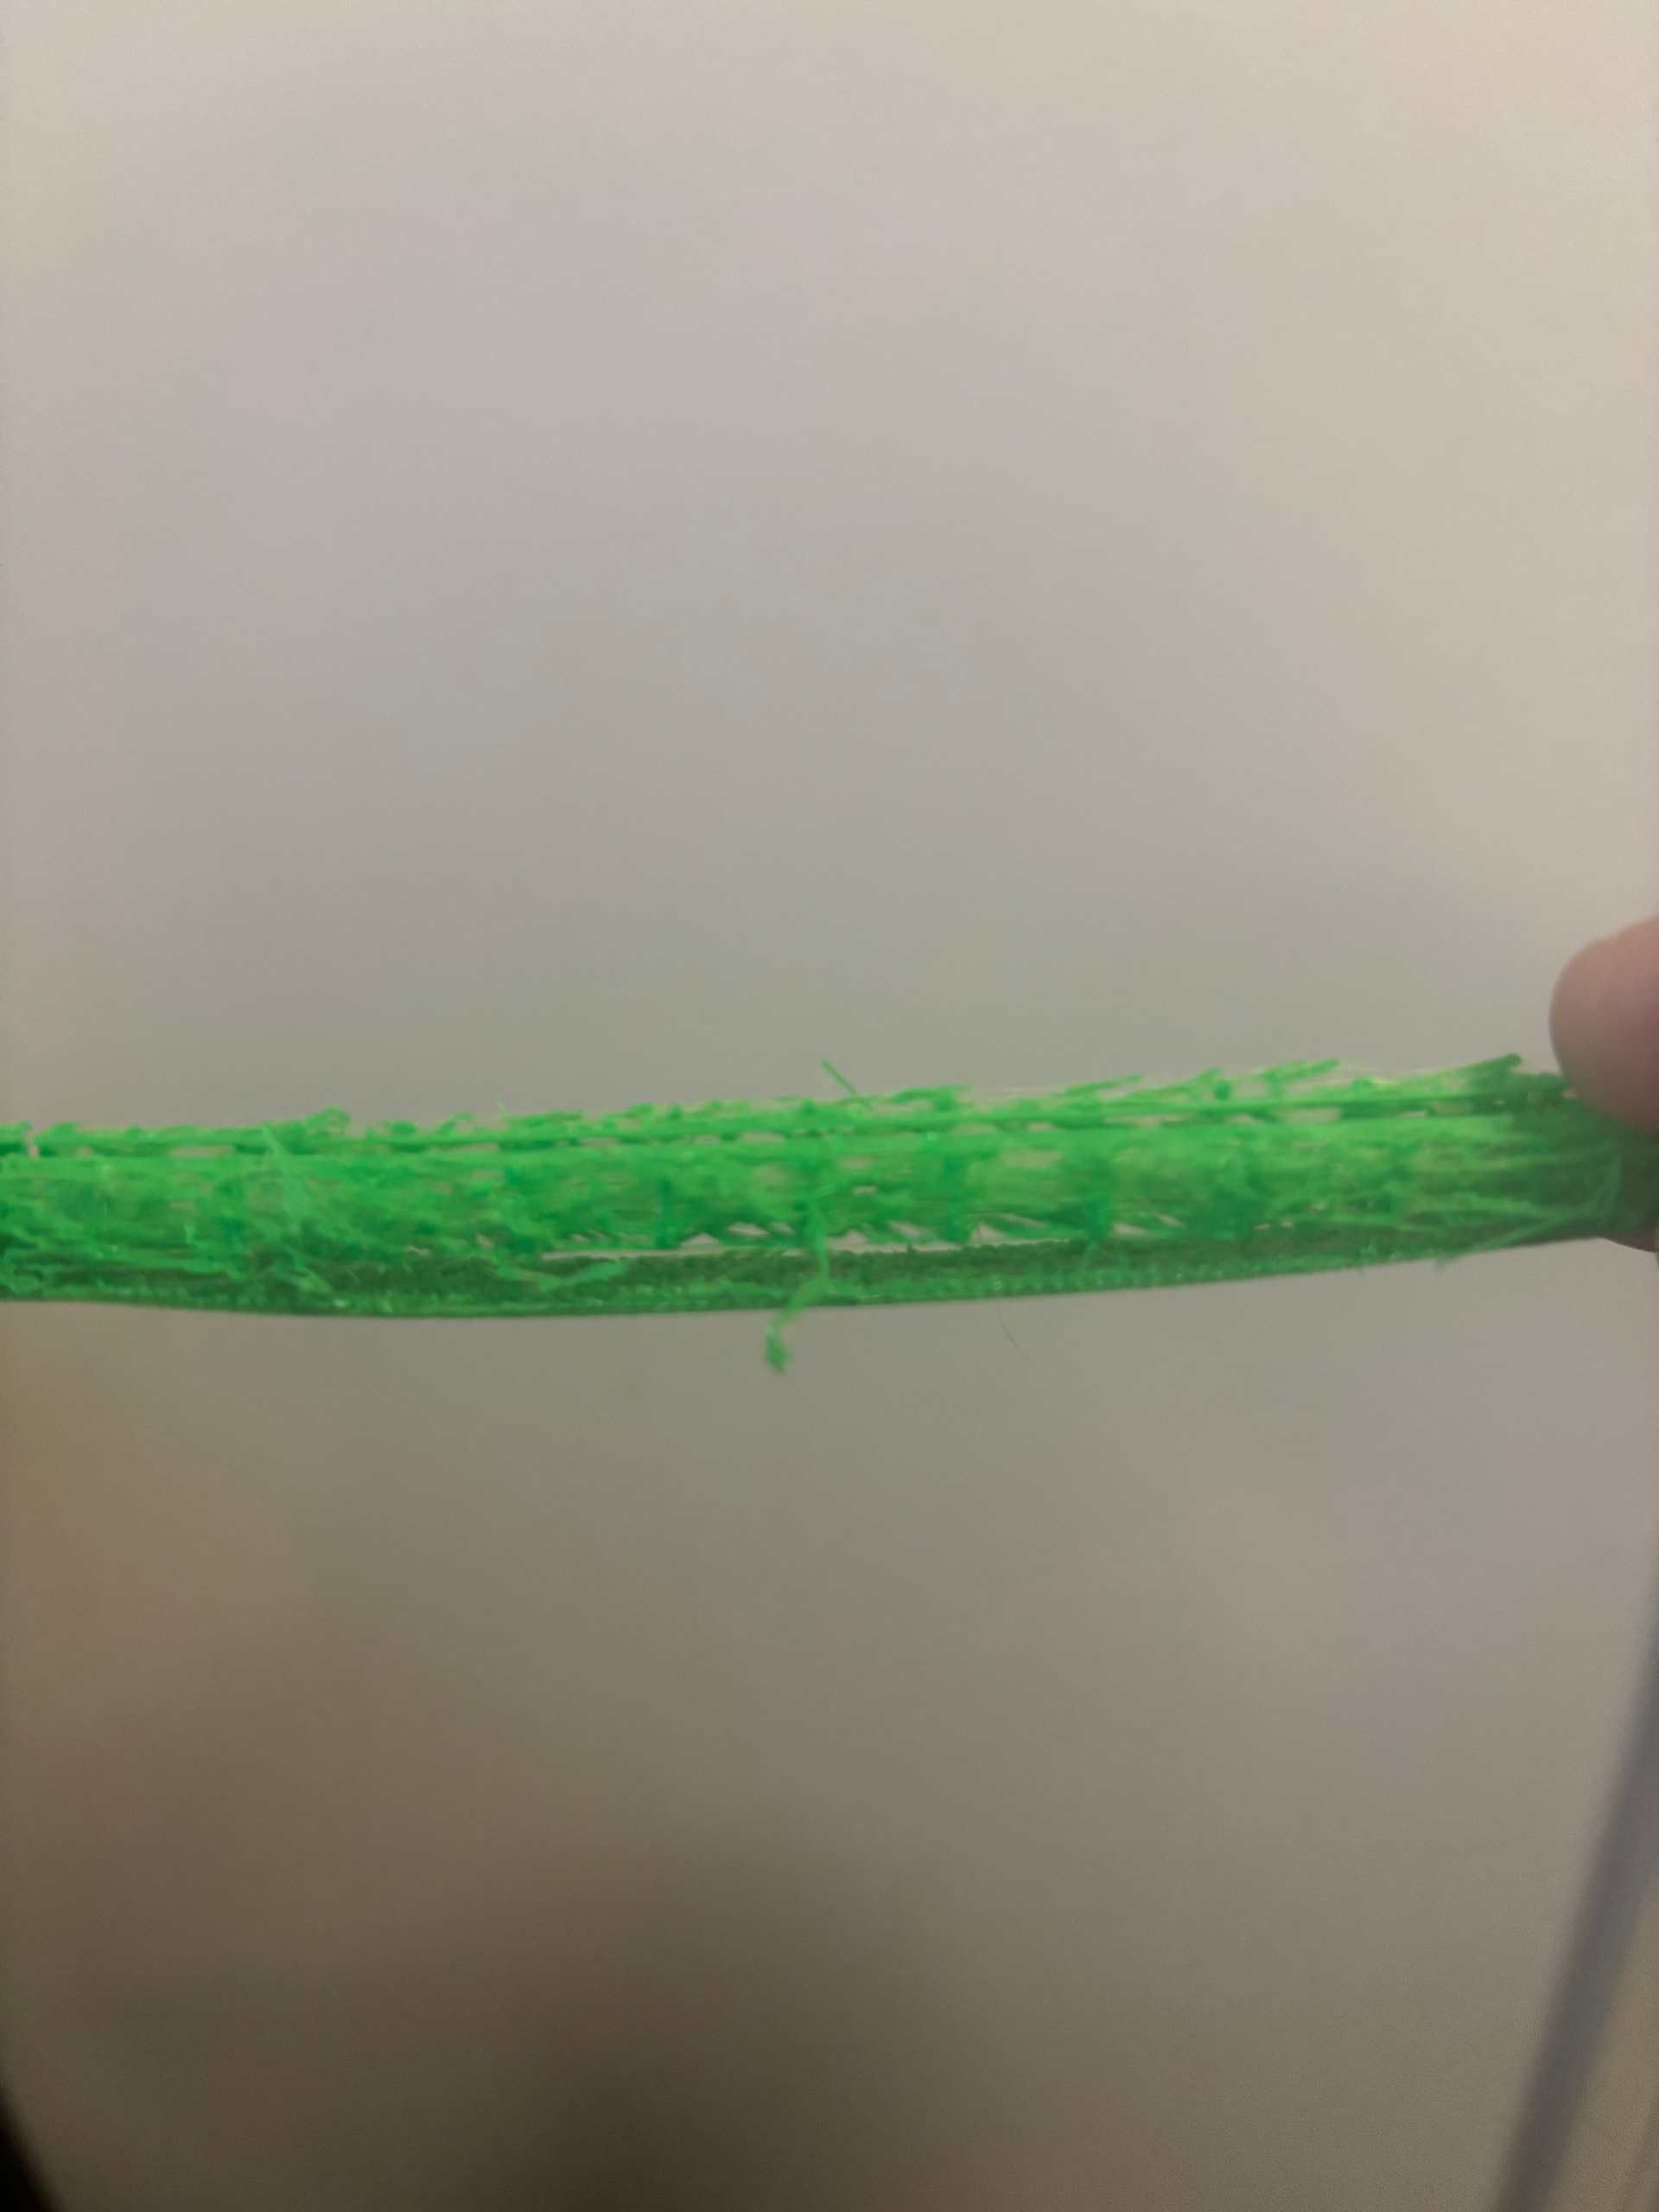
Can anyone explain what happened here? AUX nozzle on my X2D stopped printing PLA supports mid print then later as in the photo started spewing it again..
Try disabling the ironing settings, it may help to find the failiure
I am having an issue with my prints when it reaches the end all of the sudden. There is a small glob on the top and it spaghetti’s. I have printed the same thing 10 times with no issues but now all of the sudden it’s not working. Any recommendations? I have cleaned nozzle, swapped nozzle, dried PLA, cleaned plate, added glue, made wider bases. And am completely stumped. Any input would be appreciated!
Can you post a picture? It would help me understand the issue.
BambuLab X2D Layer failure (Any suggestions?)
I’m new to the forum so pls excuse my lack of knowledge around Bambu,
long story short, Brand new X2D, with an AMS 2 Pro with the Red PLA, textured Bed and a creality dual heater for the Aux nozzel with the Gold Silk PLA.
Print starts fine, with a little problem with it failing the noxxel offset calibration 6 times…. and firts few layers are brilliant. But this is as far as the good news goes, unfortunately, while i was sound asleep, the print head decided to shift the layers multiple times. At first i thought it had detached from the Bed BUT it didn’t as it was very stuck on and the prime tower had exactly the same shifts.
On further inspection, i se a lot of stringing and clumping of the gold silk, which is fair since it’s the Aux nozzle, however the shifting is not expected. I can’t find anyone on the bambu forum who has this exact problem, so if anyone knows what could be the issue… it would be a great help.
Also i can’t embed images apparently cos i’m new here, which is a bit annoying.
Brand new P1S, five days of no issues then had a print fail at 90% done (layers failed to adhere).
Did a smaller test run, same issues. Checked filament for water damage (appears to be fine & AMS at A). Slowed down print speed, increased fan speed (?what internal unit temp should I have for PLA), & completed three cold pulls. While new test prints are not as bad as the first, I am still having adhesion issues and have noticed that on the test line (start of print) has bumps and gaps.
New to 3D printing, so any help is very much appreciated.
First test print
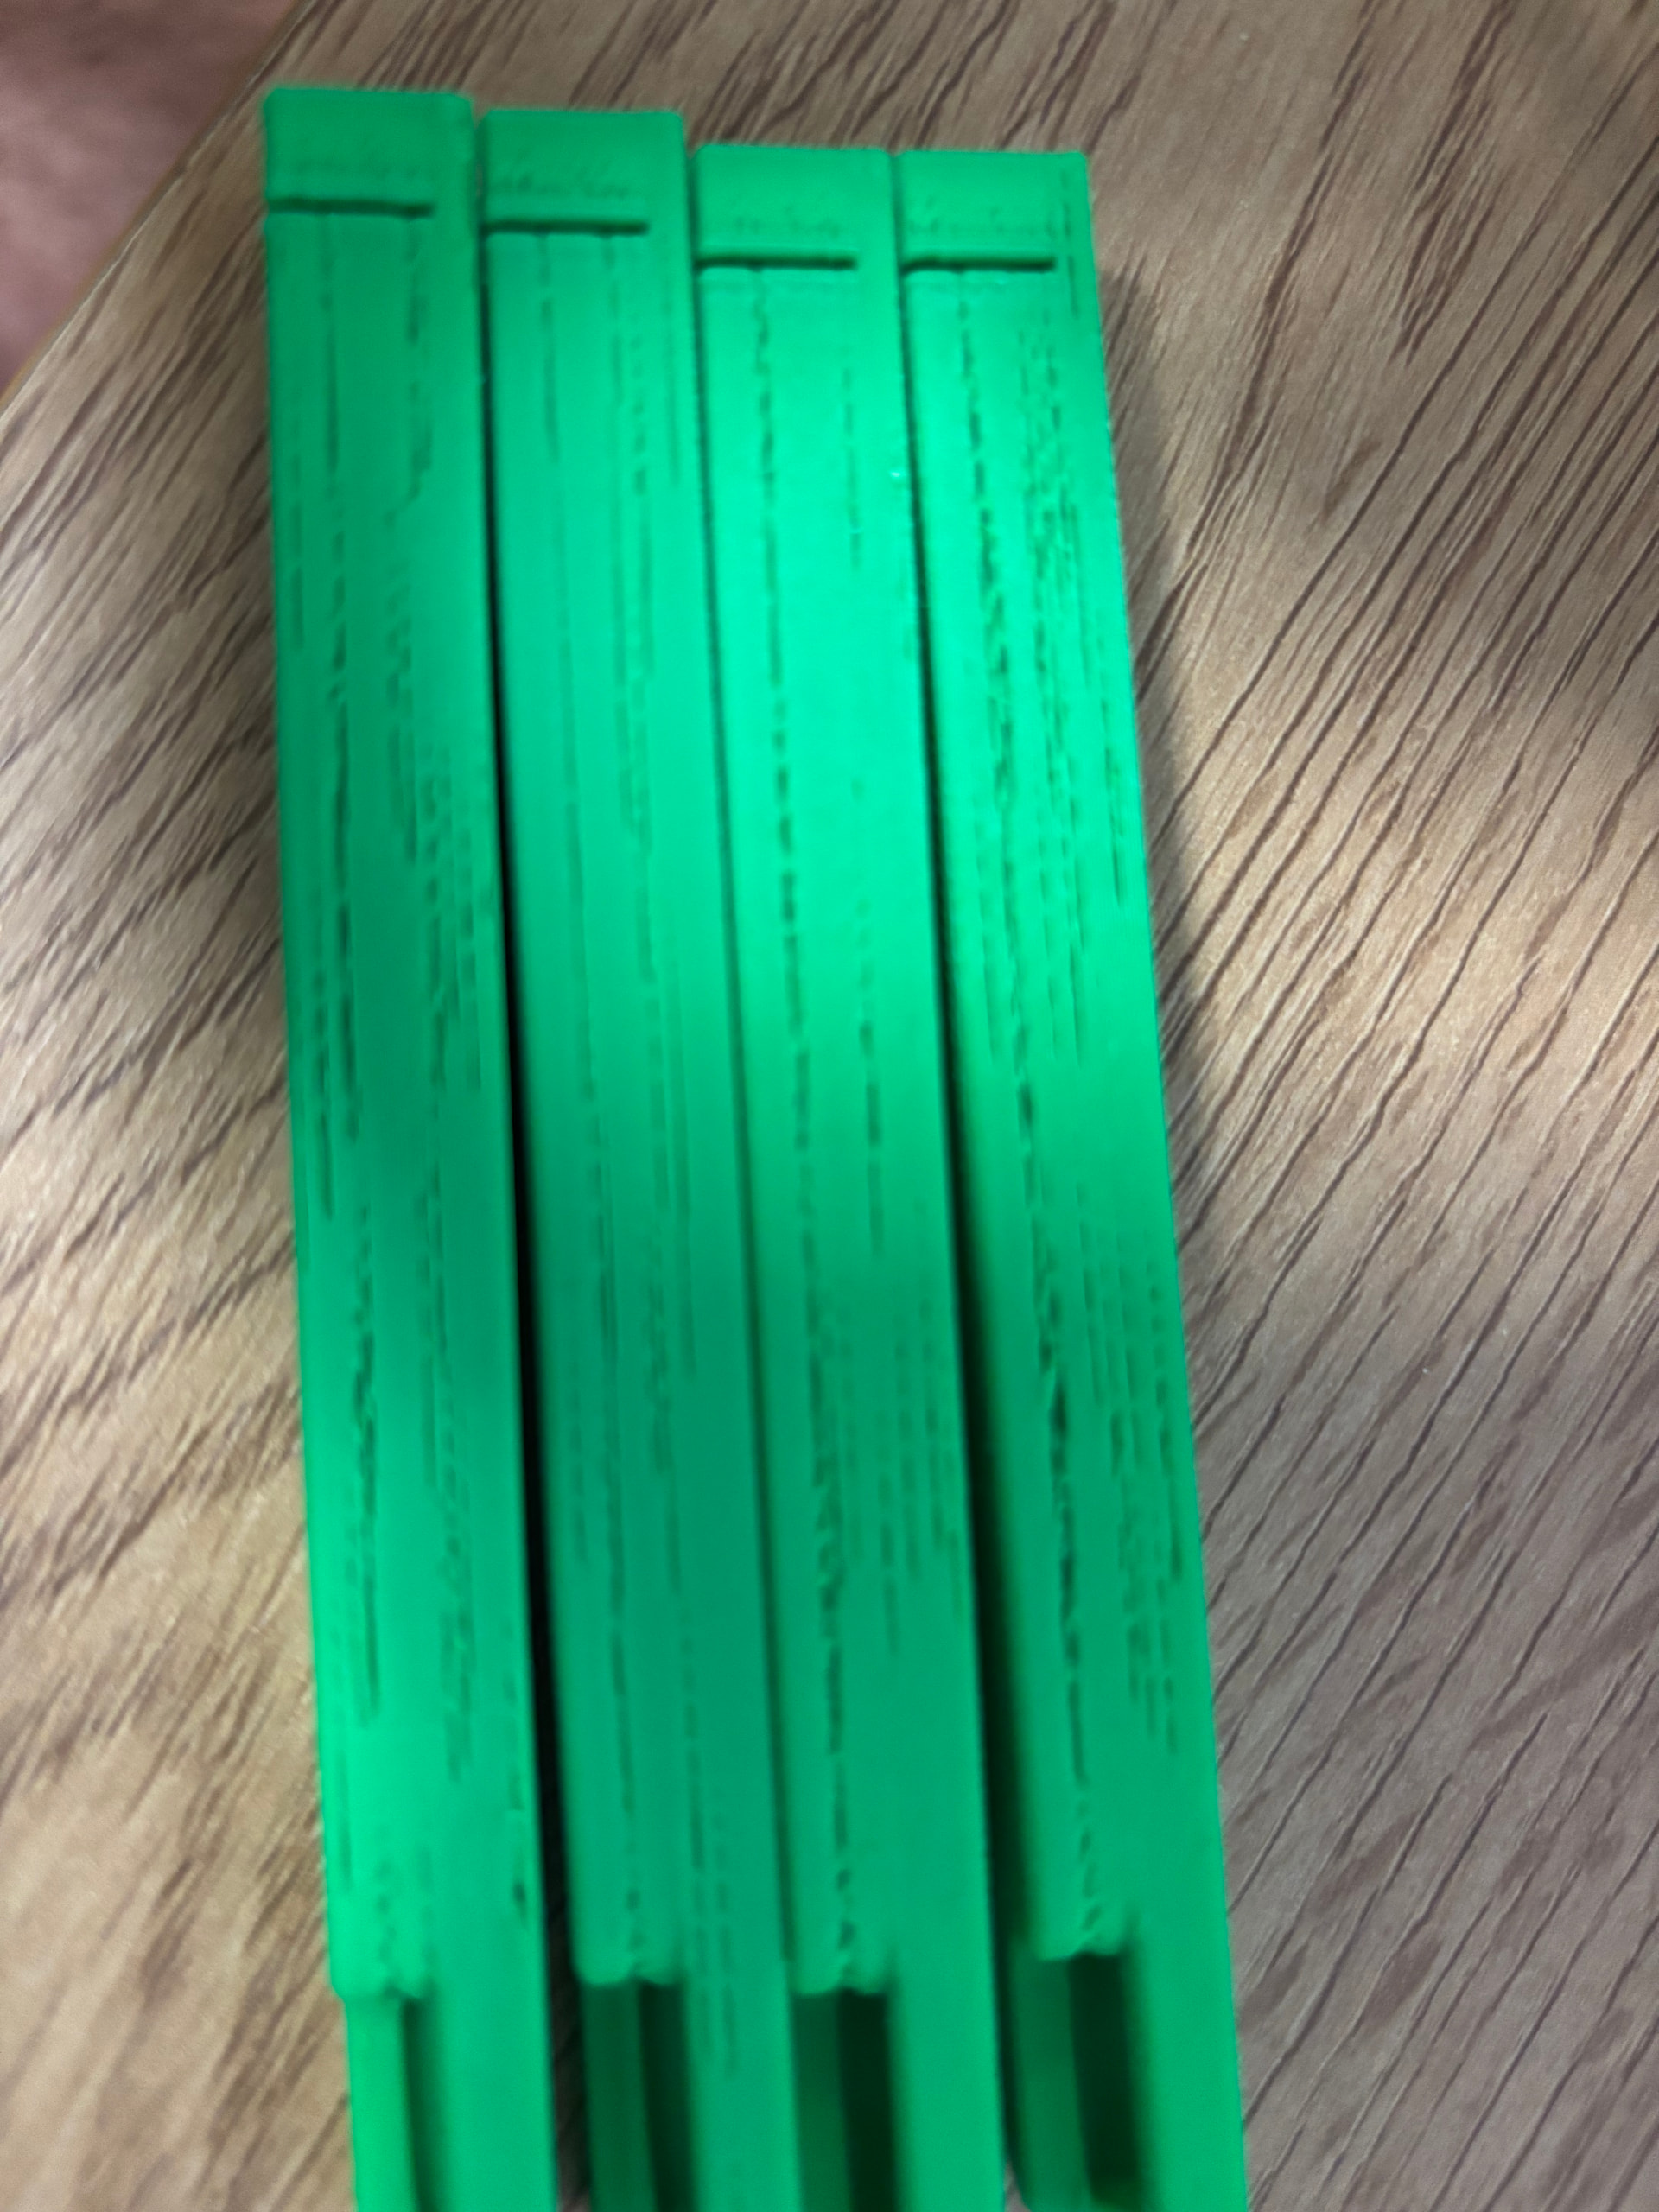
prints after adjustments mentioned above
I have a brand new H2C, the first time a tried to print from the left nozzle I got the message;
[Z axis homing failed ;the task has been stopped. [0300-4000 092425] also “An anomalous jump in the left extruder eddy’s been detected , potentially caused by poor sensor contact or faulty sensor”]
After doing a little research it seems I need to disassemble the tool head to inspect the eddy coil and ether reconnect or replace. Watching the video on wiki it seems to be a little more involved than I think I should need to do for a new machine. Has anyone else come across this problem, is there a different solution to this problem.
Definitely a case for a ticket. It’ll take a while, may be frustrating and youmay find a solution without the to-and-fro with support, but
- you really want to get a ticket placed within the undisputable warranty period!
 &
& 
Thanks for reply. Ticket is placed, and got a reply from support within 1 business  day. Their solution was the same as I stated in first post. Now I will proceed with repair, feel better that support knows and wants me to do repair. Again thanks for advice.
Hi everyone,
I would like to improve the visible top surface of my prints — the flat area you look at from above.
I am not talking about the outer walls, only the top surface. I would like to get a cleaner result with as little post-processing as possible, so no sanding, filling, or ironing, because I want to save time.
Which settings make the biggest difference for improving top surface quality?
The biggest differences depend on basic stuff: Flow ratio and pressure advance.
Calibrate your filament.
Then fine-tune to correct perceived flaws.
I already tried that I would like an alround solution for every print I will make in the future.
If you want the best possible top surface, the E3D diamondback nozzle is your answer. Unlike other nozzle tips, molten filament doesn’t stick to diamond, period, so they have the potential to create better overall surfaces, provided you have everything else tuned properly.
Good luck with that.
If you want the best result, you have to do the work.
There is no one-size-fits-all solution. Studio has hundreds of settings; they would not be necessary if there were an “alround” solution.
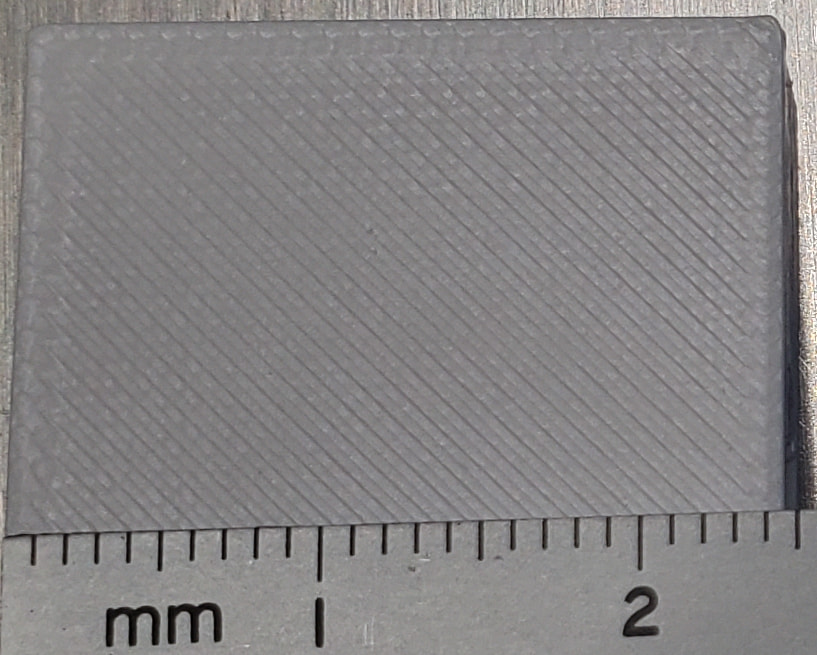
I consider this an acceptable result from calibrated white Bambu PETG-HF filament, typical of my expectations for all my prints. Both the flow ratio and PA differ from Bambu’s preset.
I get OK-ish prints with default profiles, but I only consider them as starting points. I always see improvements after performing my own calibrations. Even a different color filament of the same type and brand usually requires slightly different settings. And then a particular print may need some more fine-tuning of specific settings.
Post a picture showing what you see as a problem with your prints, maybe we can help.
Hey, sooo I’m kinda new here and i got a bit of a problem printing with white filament. My print quality overall is good, but when it comes to small details the print is starting to fail on me. I’m printing in PLA
PA is 0.026
Temp 214
Flow ratio 0.8467
I’ve enabled Retraction lenght to 0.4 in the filament setting
The rest of the settings are stock. Not sure how i can change any more stuff to make the problem go away. Any suggestions?
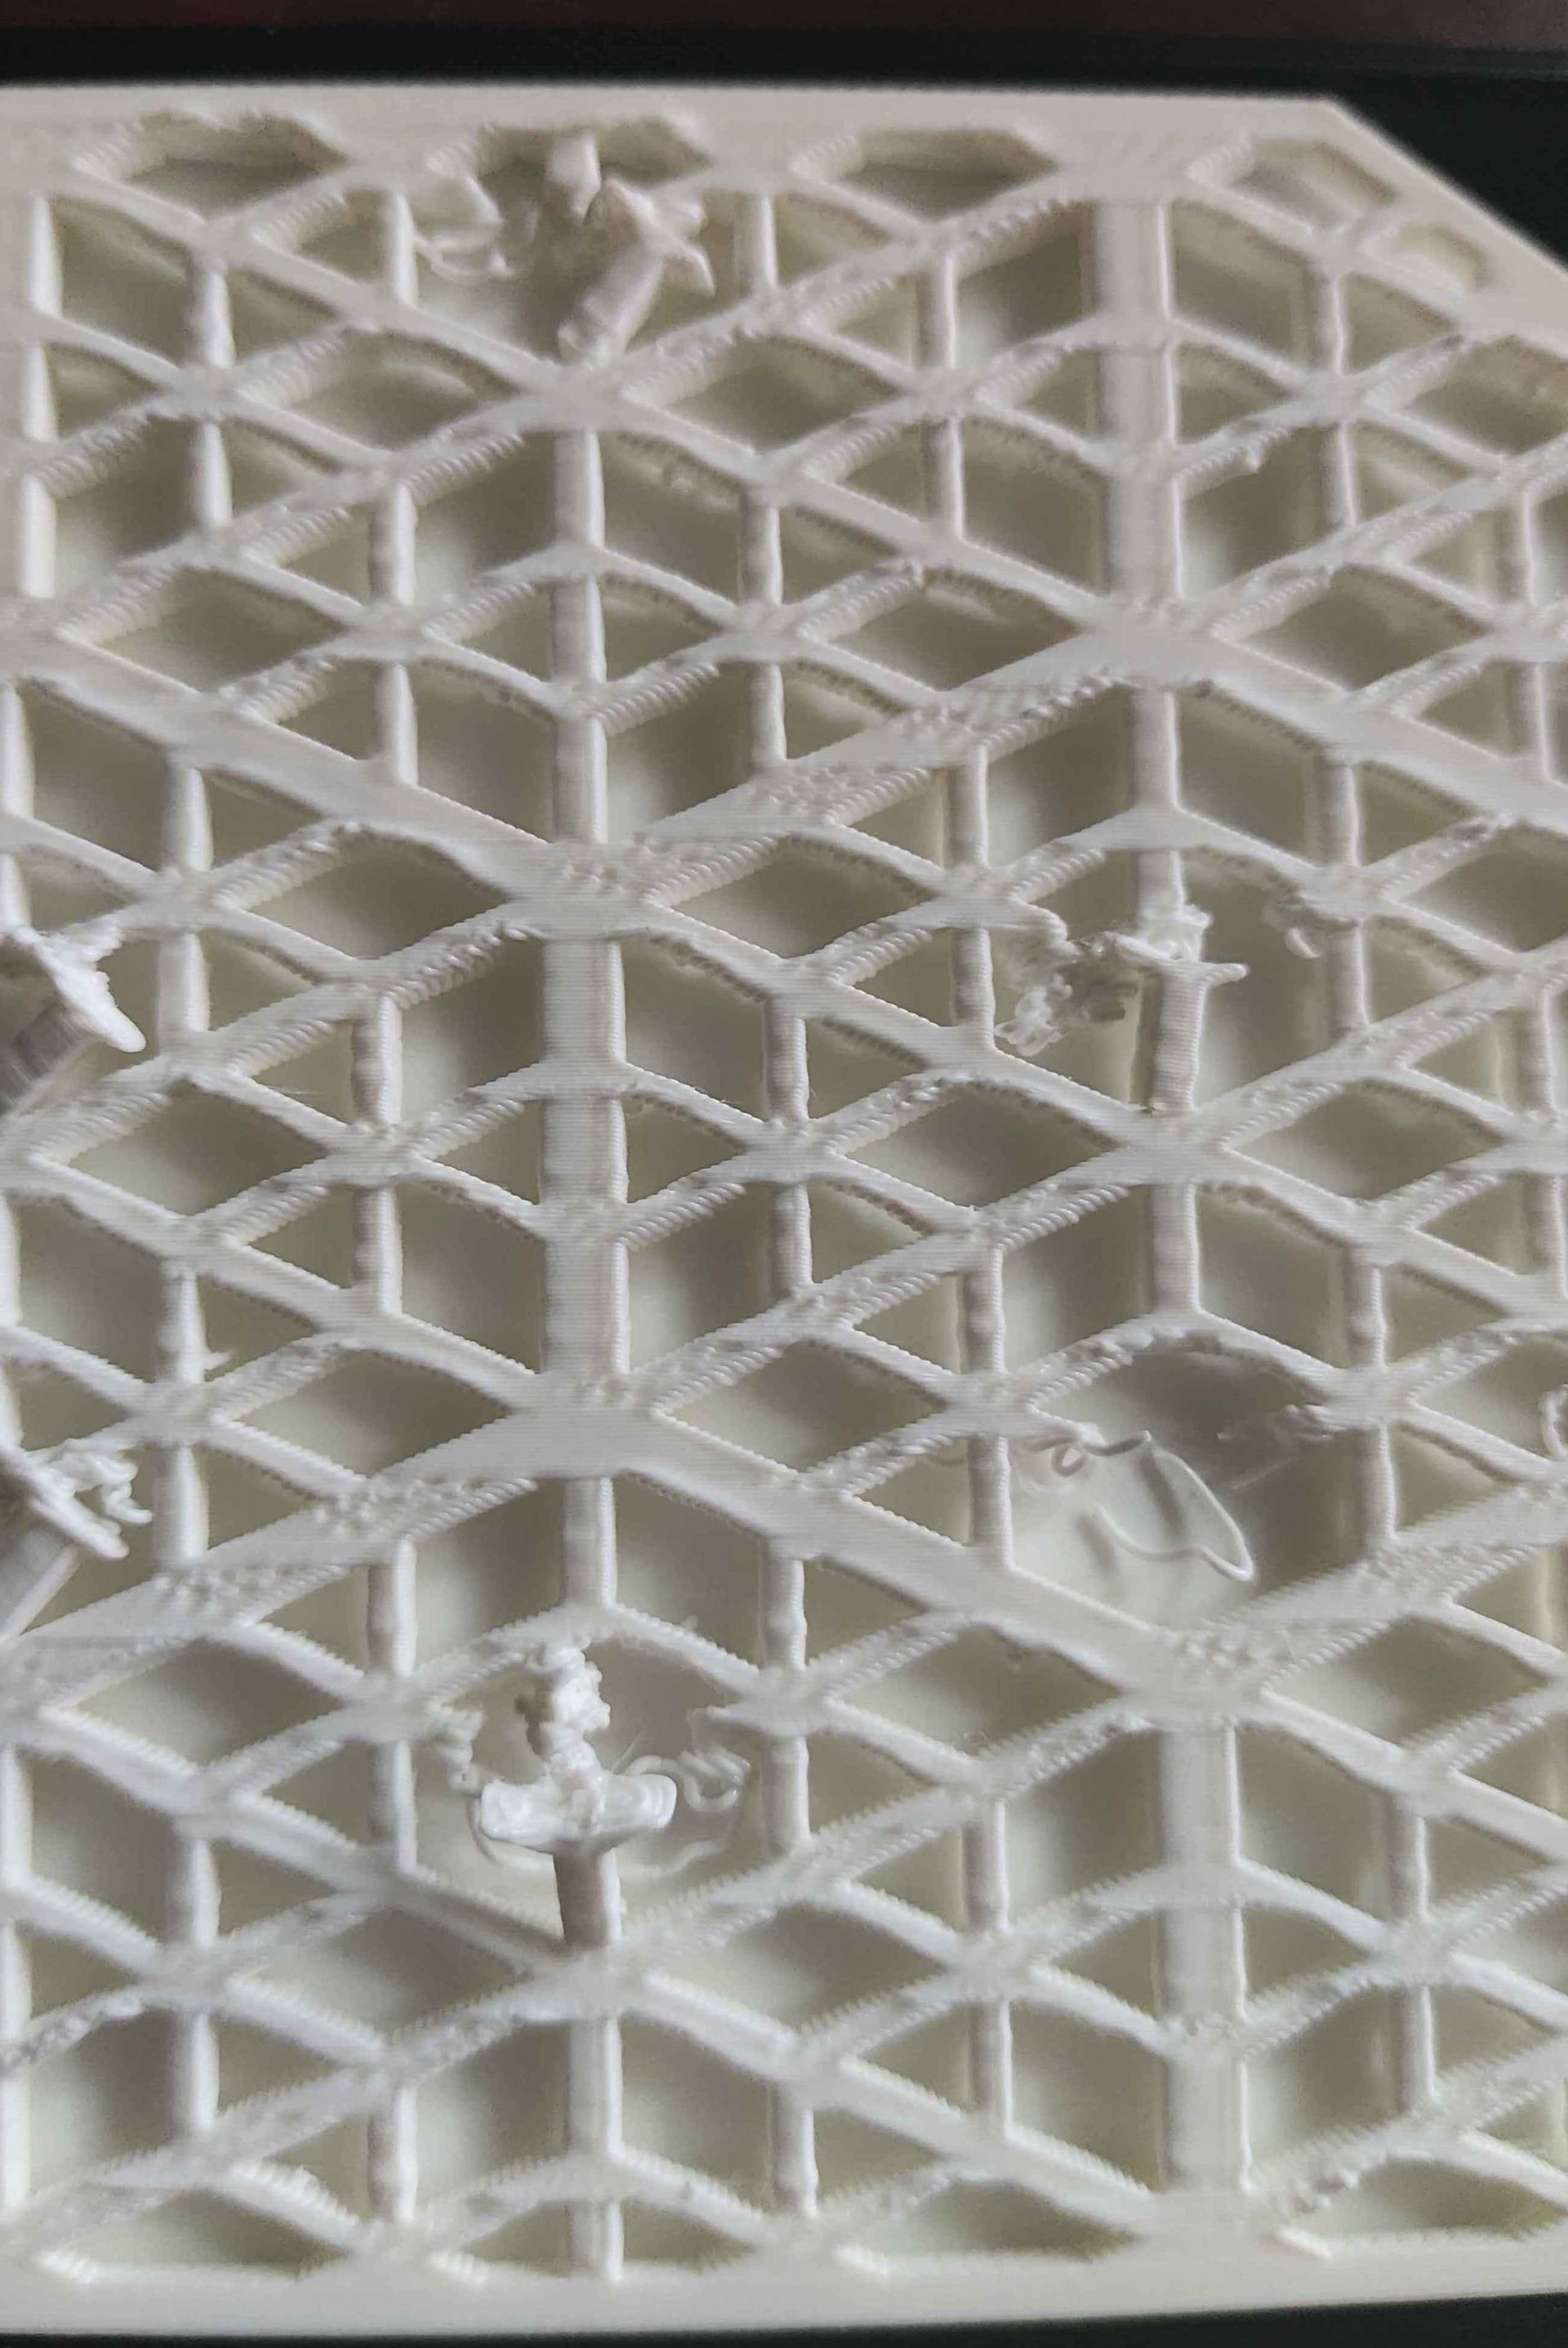
Not quite sure what I am looking at here. Are you trying to resolve the melted areas on top of the pillars? If the pic was taken from the top, it looks like the common problem of insufficient layer cooling time.
Slowing down (filament setting) is counterproductive in this case as it just keeps the nozzle in place for longer, injecting even more heat.
Common solutions are to print multiple parts on the same plate and/or enforcing a prime tower in order to give the material time to cool.
&
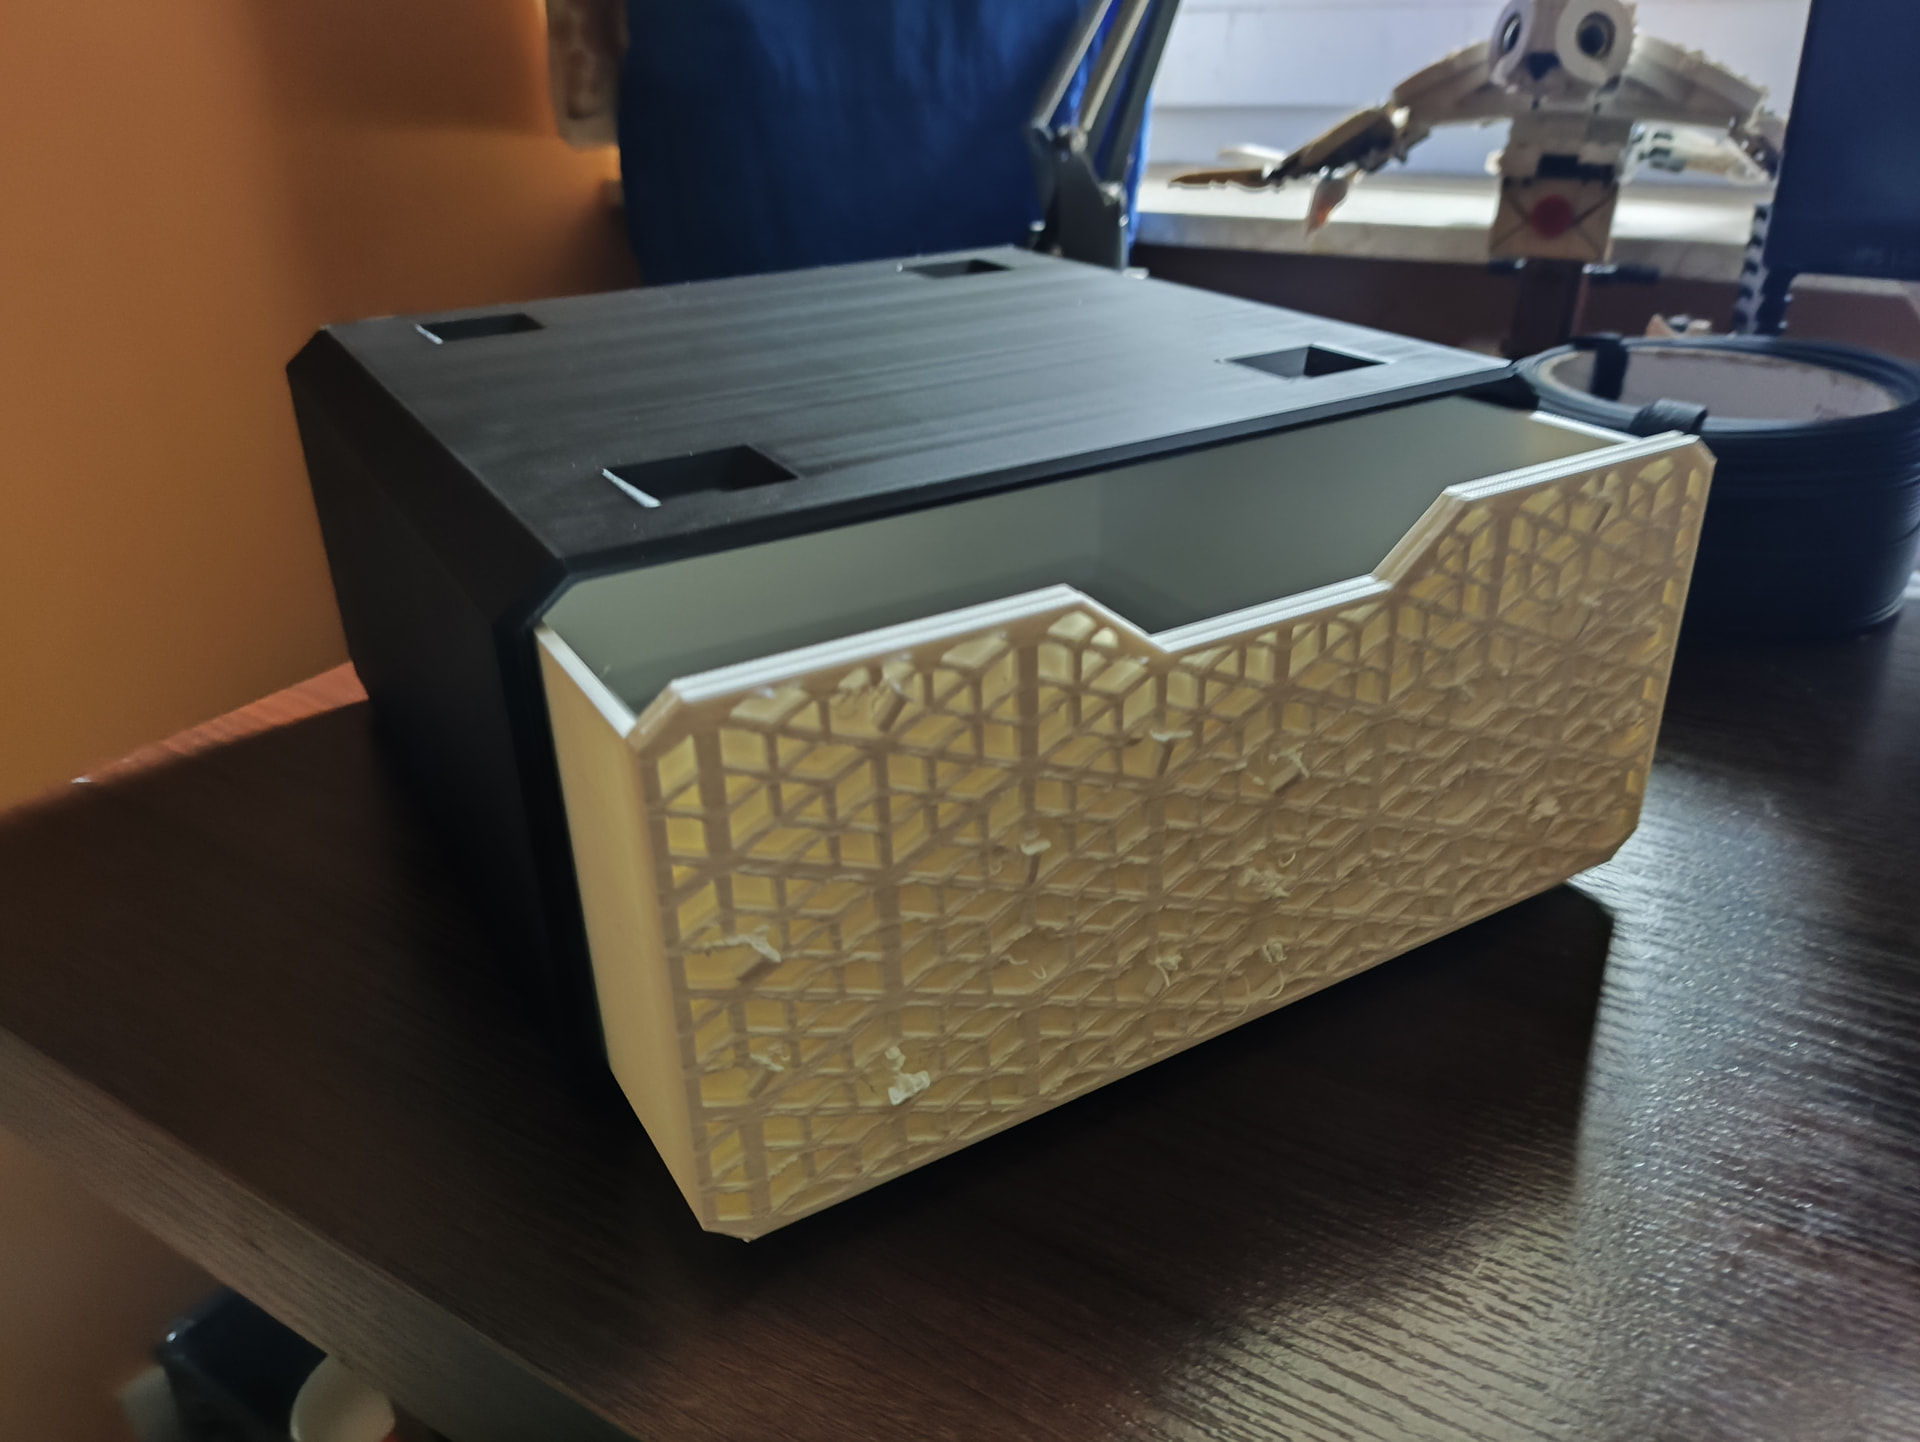
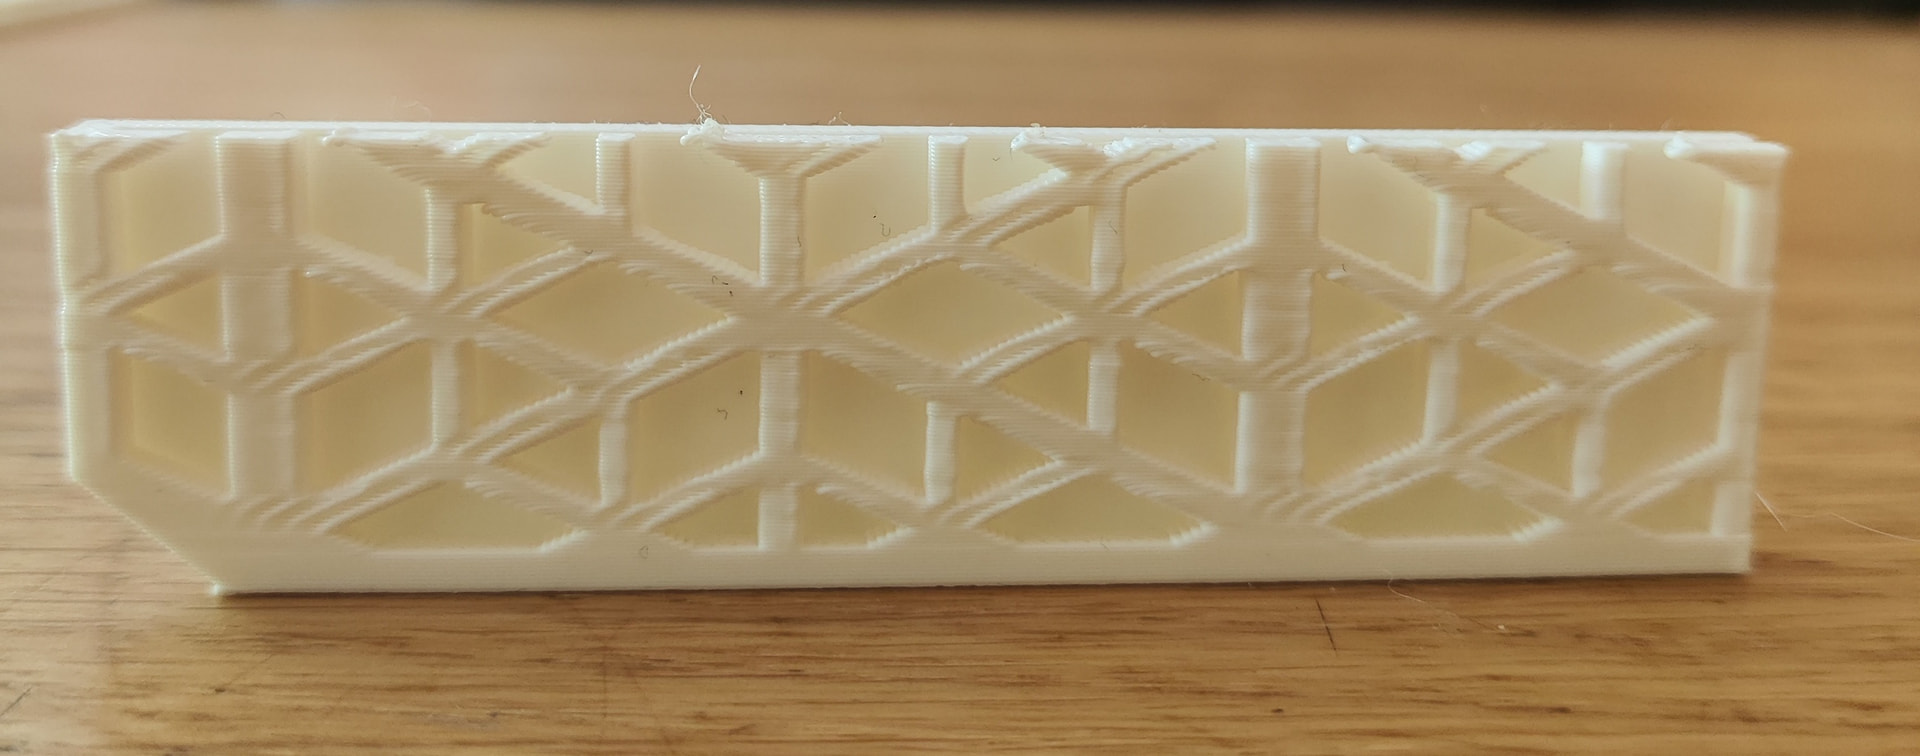
A flow ratio of 0.8467 seems very low. Have you tried running the flaw ratio calibration again?
Many thanks. That does help. But I am afraid that the high angles will require a lot of support structure and bone dry filament to prevent the visible edge curling.
A simpler approach may be to split off the front (either in CAD or using the cut tool), print it flat and subsequently joining it to the drawer. Swallows tails may work well if you are using CAD.
&
I did one yesterday,and after your suggestion i did one again.
The first calibration was best -5 (smoothest to the touch) but the lines on 0 are a bit more filled?
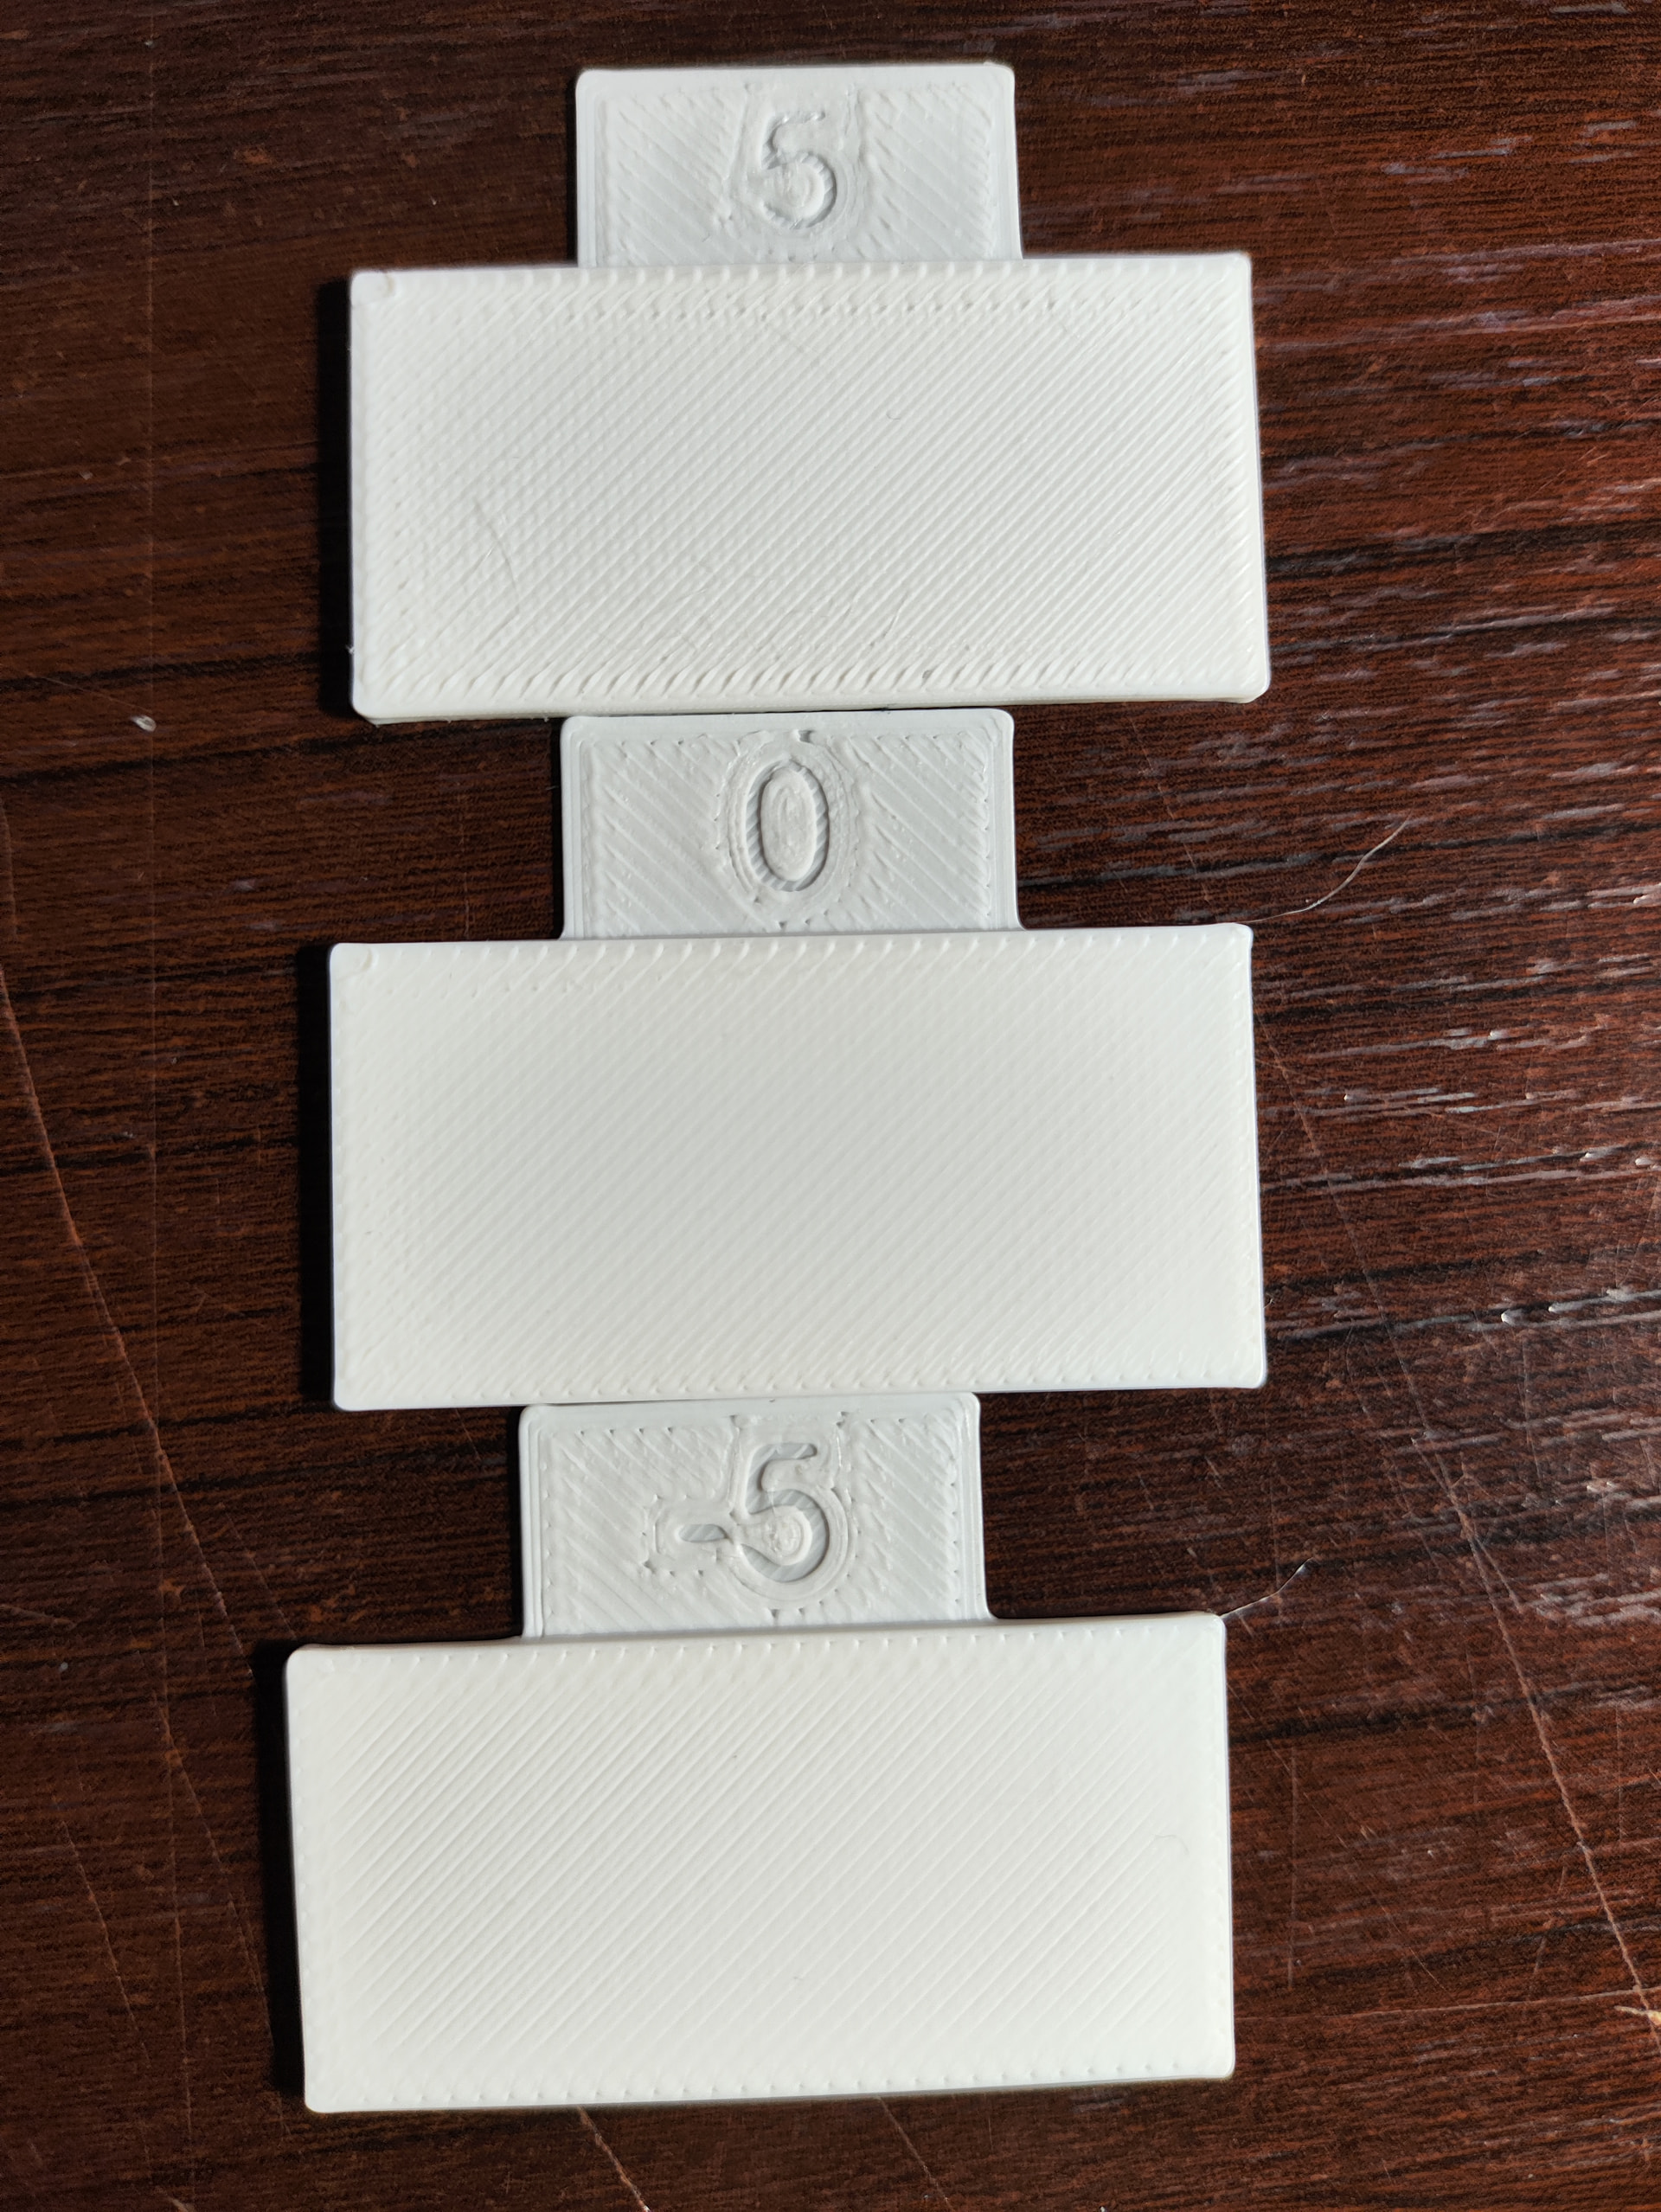
And as for the secound test test the 0 was definitly the best one. the new value is 0.931. I’ll try to print a section of the pattern and check if this helped