Prints keep getting knocked off plate

Ooo you know the wizard?! You fancy! I unfortunately have not had that pleasure yet.

Please let me know where to find him! Maybe send him my direction next time you see him! It’d be super helpful!

And I know there is a WIDE range of skill levels and to be honest, intelligence levels, in the hobby.

But if someone tells me one more time to dry my filament I am going to absolutely lose my ■■■■.

Drying filament is somehow both completely unnecessary while simultaneously being the absolute most important aspect of 3d printing…same thing for bed adhesion aids…YOU HAVE TO USE GLUE STICKS/HAIRSPRAY/MAGIGOO!!!

NO STOP! DON’T EVER USE THEM!!! AAAHHHH YOURE SO BAD AT EVERYTHING NEWB!

As a guy that’s still learning, but has also learned some things, it’s all so frustrating and confusing.

But seriously, why does my print fail, I take the failed print off and start the exact same file over again with absolutely no changes and it prints just fine? Was it a random draft? Maybe a weird spot in the spool of filament? Was the printer just being temperamental? Maybe the printer gremlins have taken up residence?! Who knows and good luck figuring it out!

Print a 500% scale totally not for a giant Lego man Stanley Cup, it fails 80% through
Print fidget spinners fails 20% through.

Print a tower test…perfectly fine…wtf

I think you are getting frustrated by going so deep.

Make download some “test” print from here. maybe the dumb benchy i’ve never printed myself anything that is a 15-20min ez print from here there are tons.

Send it to the machine but don’t print it. Once on the SD card power down the machine, turn it off. wait 10 sec, turn it on, WAIT until it does it’s booting and is ready. configuration → factory reset it.

Yes. do it. will wipe the thing out and bring it back to 0. once back up, configuration → FULL calibration. all the boxes. vibrations everything. once done, wash that plate… sorry but I can see grease smears from the pictures. A fly should cause the plate to squeak if it lands on it so clean type thing. I can trace the grease with lines in the pic icky… what is that??? gluestick?!
image

nice and clean, reset everything, print that 30min test whatever. Post a pic of it completed here please. Then all of us can be on the same page. If this doesn’t work we are all wasting our time with back and forth here.

We are glad you tightened the belts and got it all done that was step one especially after a failure. It still could be the hotend needing replacement (the test print will see to this) as the fan or heating element could be starting up but not keeping the heat or cooling failing 12 layers up.

We shall wait and see for the results I think that is best.

edit: post this fidget file for us to slice if you are allowed, we can see if it’s the model/your filament etc

2nd edit : how cold is it in your room? the print area? is the printer in a tent?

Not grease smears at all. It’s magigoo pla/PETG adhesion promoter. I don’t usually use it, only after a print fails the first time, regardless of reason, just for added insurance.

I routinely clean my plate with a lint free cloth and Dawn dish soap.

And yeah, defective parts out of the box do happen, but it’s unlikely. ESPECIALLY since it seems very hit or miss on if/when it fails.

I’m not saying it isn’t a possibility and that I won’t look into it.

I’m currently at work so I can’t post the file, but it’s definitely in one of the posts I’ve made recently about this on going issue.

The printer is sitting in the exact same place (well I guess not exact as I have rotated it and slid it back and forth over time to clean around it) it has been since I got it. It’s between 58°F and 68°F (14-20c) with an average humidity of 45%. My filaments are all stored either in a dry box or printed directly from a Sunlu s4.

I printed this test Improved Z Wobble Test Tower - Customizable + 50, 75, 100, 150, 200, 250mm Presets Remixed by Flying4T - MakerWorld while I’m at work. As well as this
Z Banding Wobble Test Tower by Caziuz Designs - MakerWorld

The camera on the A1 being as terrible as it is, I obviously cannot see how well it printed, but most importantly both prints finished successfully.

Purely informational, if I change sd cards in the printer do I need to do anything with the SD card, like put any files on it, or just plug and play? Would just be increasing the size.

Interesting ok we can wait until tonight after work sure!

I don’t like those room temps. my living room is 22c and the printer is in a tent as it’s too cold for the plate even with small prints. inside my tent it’s a nice 28-30c to compare.

This might be a cooling issue at a plate level where it’s kicking it off too early, but we can see n the testing sure! (cold room is just my opinion at this point)

I’ll try to find the file above in a bit to slice it as for the SD card YES. you MUST format it in the machine or it will bork out. the machines do not like pre-formatted in windows or nothing. yes yes it works but it bugs out.

They use unmarked lexmark cards by all accounts, I put a 32gb U3 lexmark in mine as well, formatted by the machine, then i eject and use it yada yada it’s fine.

You also must empty the folders on the SD card as they all jam the machine reading eventually when too full. I empty mine at about 12gb not letting it pack up past 20gb or it bogs down my mini here I’ve noticed. empty it’s blazing quick reading. Probably the machine itself that cant read it fast enough.

I agree on paper (phone screen??) that it could be a room temp issue, but again I’ve been printing in this spot for a year and a half (or whatever made up time i go with that’s more than 6 months but less than 10 years because I don’t actually know when I bought my first printer) and haven’t had issues like this that weren’t caused by either newbie mistakes or actual mechanical issues.

So what you’re saying is take SD card out of package, take original SD card out of printer, insert new SD card and continue with life?

I don’t understand anything anymore…well less than I did before.

Started this print at 9pm last night and woke up to this.

All I did was press reprint on the A1 screen changing nothing, and ended up with this.


Ran these two prints while I was at work. So I have quite literally done nothing to the printer and nothing you suggested.

The square one is wavy because it’s thin AF but the round and t one while I’m sure isn’t PERFECT it’s by far better than the spaghetti I have been printing…wtf


I think I would be less confused if it was just 100% failure.

Spinners.3mf (610.1 KB)
Fidget spinners DO NOT CHANGE!.3mf (504.8 KB)

the files I have been having the biggest issues with. MOSTLY printing them in PETG but also with bambu pla silk +

im honestly not sure if i should be chaning various things in the slicer (obviously besides filament type) before I print based on filament (speeds, infills, stuff like that)

question

image

I see a patch, did the print move when you “found” it failed? or did you move this for the picture?

I also see on those 2 towers a nice thick base.

If that print moved - this very well might be the temps playing up, especially with petg and stuff. if you said 6 months ago it was ok - well very possible that was an entire different season you know? humidity, temps air currents everything changes from season to season. I’m still on the fence about temps but that might just well be it seeing as we are getting success on test prints.

I’m STILL repairing this #$%#$%#%$ corcelain bowl - I better f*ckin win let me tell you… 1million vertices fixed and 3k left to go bah. And I’m cheating and using a server as well not my home machine this model I made is so broken i might have to just throw it away bah

I’ll see if I can load up a spinner now and see

EDIT: it’s ok to change settings but you also need to know how things work to begin with in order to know what to change. a chainsaw is only good if you know how to use it properly eh? Sometimes back to basics is best let’s see

SD card yeah let the machine format then you can use

1 Like

nope that is where i found it. I actually remembered to take a photo BEFORE i moved the failed print for once.

the printer was still printing nothing when i stopped it

ok so we shall test further but my vegas bet right now is 10 bucks on black - air temp flux during print

near the plate is fine but higher up the nozzle hits infill (grid usually - change to gyroid as a test to prevent nozzle crossing over) and the force vs speed is enough to kick the print off the plate.

1 Like

I’m with you Dawn is my go to, along with a white scotchbrite pad. Just enough grit to get off stuff without harming the plate surface.

I try to not use grid as much as possible, wife says it makes too much noise…not that I disagree.

I do use a lot of rectilinear, aligned rectilinear, and gyroid mainly.

The only time I ran into issues with gyroid was actually what started this whole fiasco to begin with. I was printing something that was like 30mm tall but only like 3mm wide, the gyroid infill shook the model knocking it over causing a BOD. But that was my mistake.

My wife keeps our apartment as close to 60° year round 24 hours a day …again…monster.

This is my personal opinion as many have their own ways.

In your do not change file I changed this and sent the file it’s printing now to see >


once you edit the pattern to concentric on 1 and 2 there is little point to keeping crossing grid on 3 so i changed it to concentric.

The infill never use grid that will cause nozzle clip, there are 8 total infills that do not clip it’s well documented I have it written somewhere you can search, just use the new cross hatch if you must.

Also on your wheels here there is almost no point to infill I made mine solid, concentric
even with cross hatch look at the lines - it’s actually drawing “grid” the gap is so close.

As I don’t want grid, i want cross hatch and the gap is too small - might as well solid fill it at the cost of 0.72g of filament VS the 45% fill. if this stops issues it’s a bonus, if there is a reason to make them 1.2 empty…maybe rc car weight or something then cross hatch is still the best bet as the nozzle direction will try to avoid crossing over.

a single wheel is printing now with nothing else of your MANY MANY settings changed we shall see haha :sweat_smile:

EDIT:

Fidget spinners DO NOT CHANGE - CHANGED.3mf (440.8 KB)

Here if you want to look > a1 mini printer, pei plate, your settings, scarf to 8% and the edits above thats all. oh on my esun pla+ because all other filaments suck naa naa

(honestly look into pla+ if you don’t use it… it is literally ±8% of everything petg is. strength, durability, bending everything. roughly only that far off it so close i just use pla+ almost exclusively now days.)

2nd edit. i just realized this was a spinner jesuz …i thought it was a frickin wheel that’s what i get for doing 50 things at once…

1 Like

haha that was a fun adventure to read the story progressed so well the longer i read!

So a few things. I discussed further with the wife about apartment temperature. during the day 68 at night 62 - 64. Which to me doesnt seem like it would be enough of a temperature difference to change anything. I was going to say maybe it got too cold or something at night causing the prints to fall off, but the wife reminded me that a print did in fact fail during the day the other day when it got up to 72ish in here. What any of that actually means I have no idea.

As for the fidget spinner file itself…it was one of the first things i downloaded when I first got my printer to the point that specific fidget is not available anymore. I assume it was during that whole fidget spinner boom when everyone was stealing everyone elses models and someone decided to sue over it…or something.

Well being the newb to printing that I was (am?) I would change settings and parameters and save or not save them over the original file. I got to a point they wouldnt print. At ALL. I eventually got the idea to find someone on etsy that was selling these (as their own of course) and asked them for the original model settings, they thankfullly obliged and thats what i then set those settings to, and have made sure since to not change anything. I may or may not be a bit afraid to do so for fear of not getting back to this point where they at least kinda sometime print.

As for filament. I absolutely LOVE overture PLA Professional. I wonder how much different their PLA Pro, Super PLA, and PETG are.

I like the 45% infill on the fidgets because its a nice weight while not taking 700 years to print.

But as far as PETG vs PLA should anything need to change between them as far as the file goes?


U see, well 100% infill worked fine here, gives a nice spin as well. I popped it off the hot plate as well no problems it is a perfect print.

I’m in a tent I posted about it in the show your build alt topic section.

I’m betting this is the plate not keeping the temps having the room drop too low. I’m on Canada so this is common for us to adjust and others in different environments might not think of it is all.

I rarely use petg anymore because of pla+. In the slicer and on the machine there is a profile called “esun pla+” just pick that, slice with that. Set and forget regardless of brand basically.

Esun, sunlu, elegoo, overture, they all make pla+ and I intermix without even looking, my kids do as well. Esun slice, any roll PLA+, kids have a successful print if the plates aren’t dirty.

I can’t have complaining nor fighting in the house. It must work out of the box to teach them or it doesn’t even stay in the house haha

1 Like

Thank you so much for all the help

Two (hopefully) final questions…Global vs Objects when do each of those parameters get used? I have an a1 so when i open your fidgets do not change - changed file i obviously have to change the printer to A1. It asks if i want to use or discard. I choose use…i noticed that the global parameters match what you set above, but if i click on the individual model and select objects its more or less my original settings.

also…wtf is scarf and how do i change it to 8%

If this were makerworld i would definitely boost your model…which sounds oddly kinky…sorry.

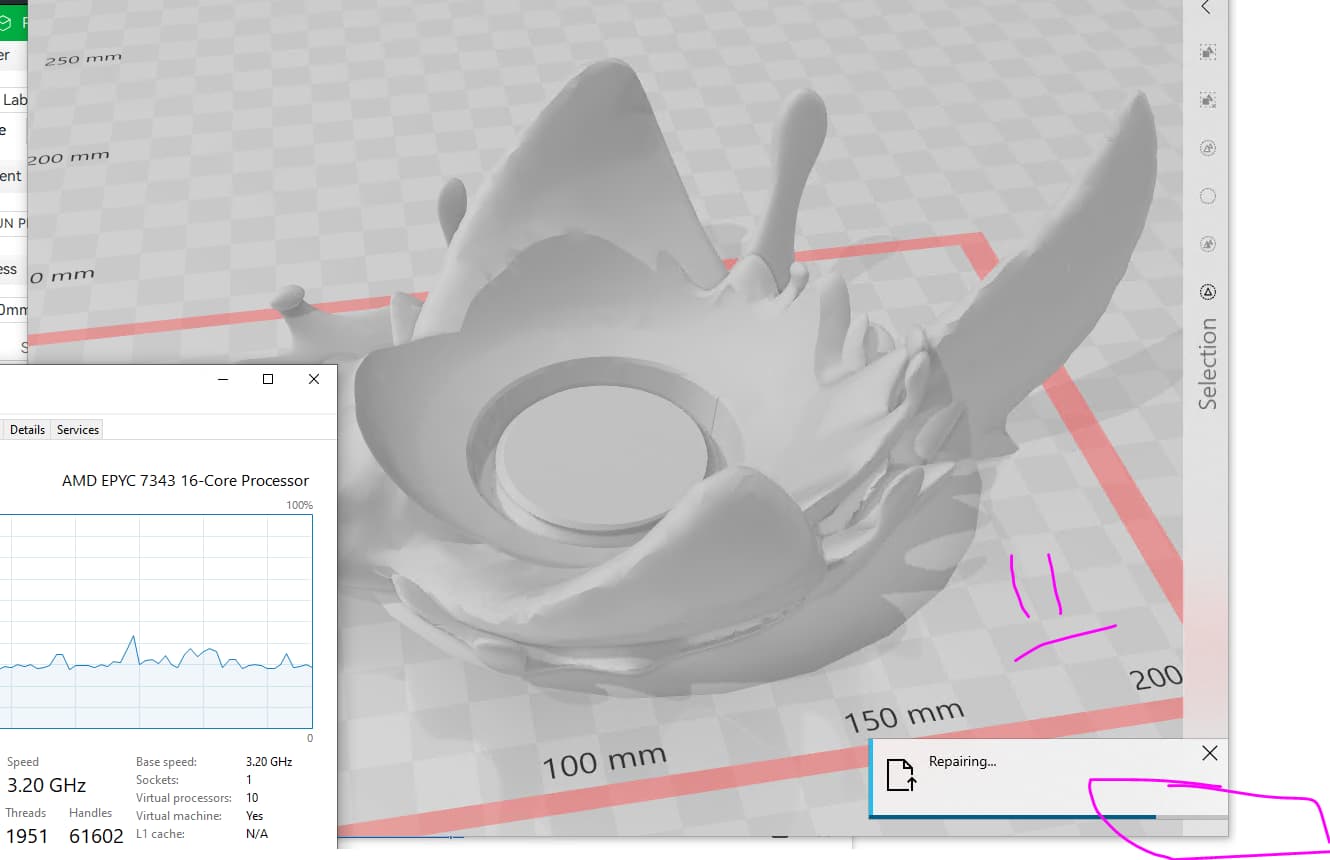
yes when you open alt projects and they are for say the X1 or something, all you do (if the model isn’t giant I mean to fit on our smaller printers) is change the machine type - the studio is smart enough to do everything between it’s own brand of machines.

It will prompt as you see to use the settings or discard them for the defaults but it’s not quite clear on that sentence when it asks. but that is what it means and correct, I didn’t change very much trying to preserve your settings.

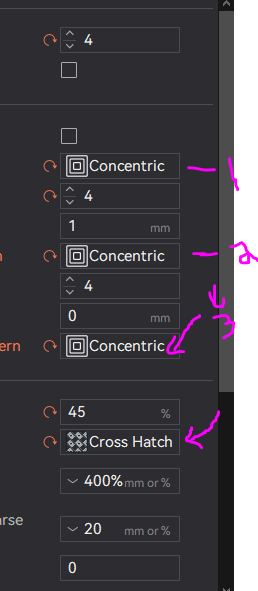
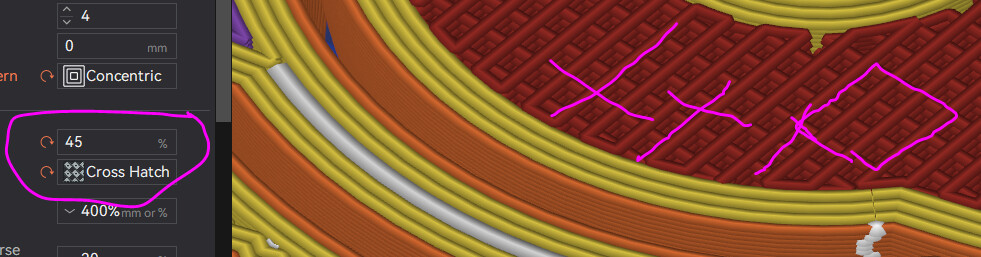
I noticed my concentric infill was a moot point as for whatever reason it refuses to draw in a circle inside, but on larger models it does work. Usually with the new cross hatch or gyroid (safest) infill you don’t need past 25% if even that…15% the default is already too much in most cases I start with 10 and see from there. Obviously changing this changes the properties of the print as well.

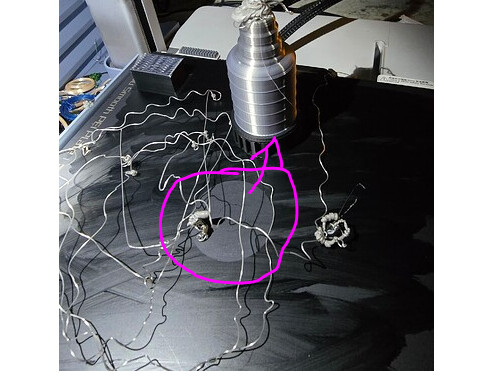
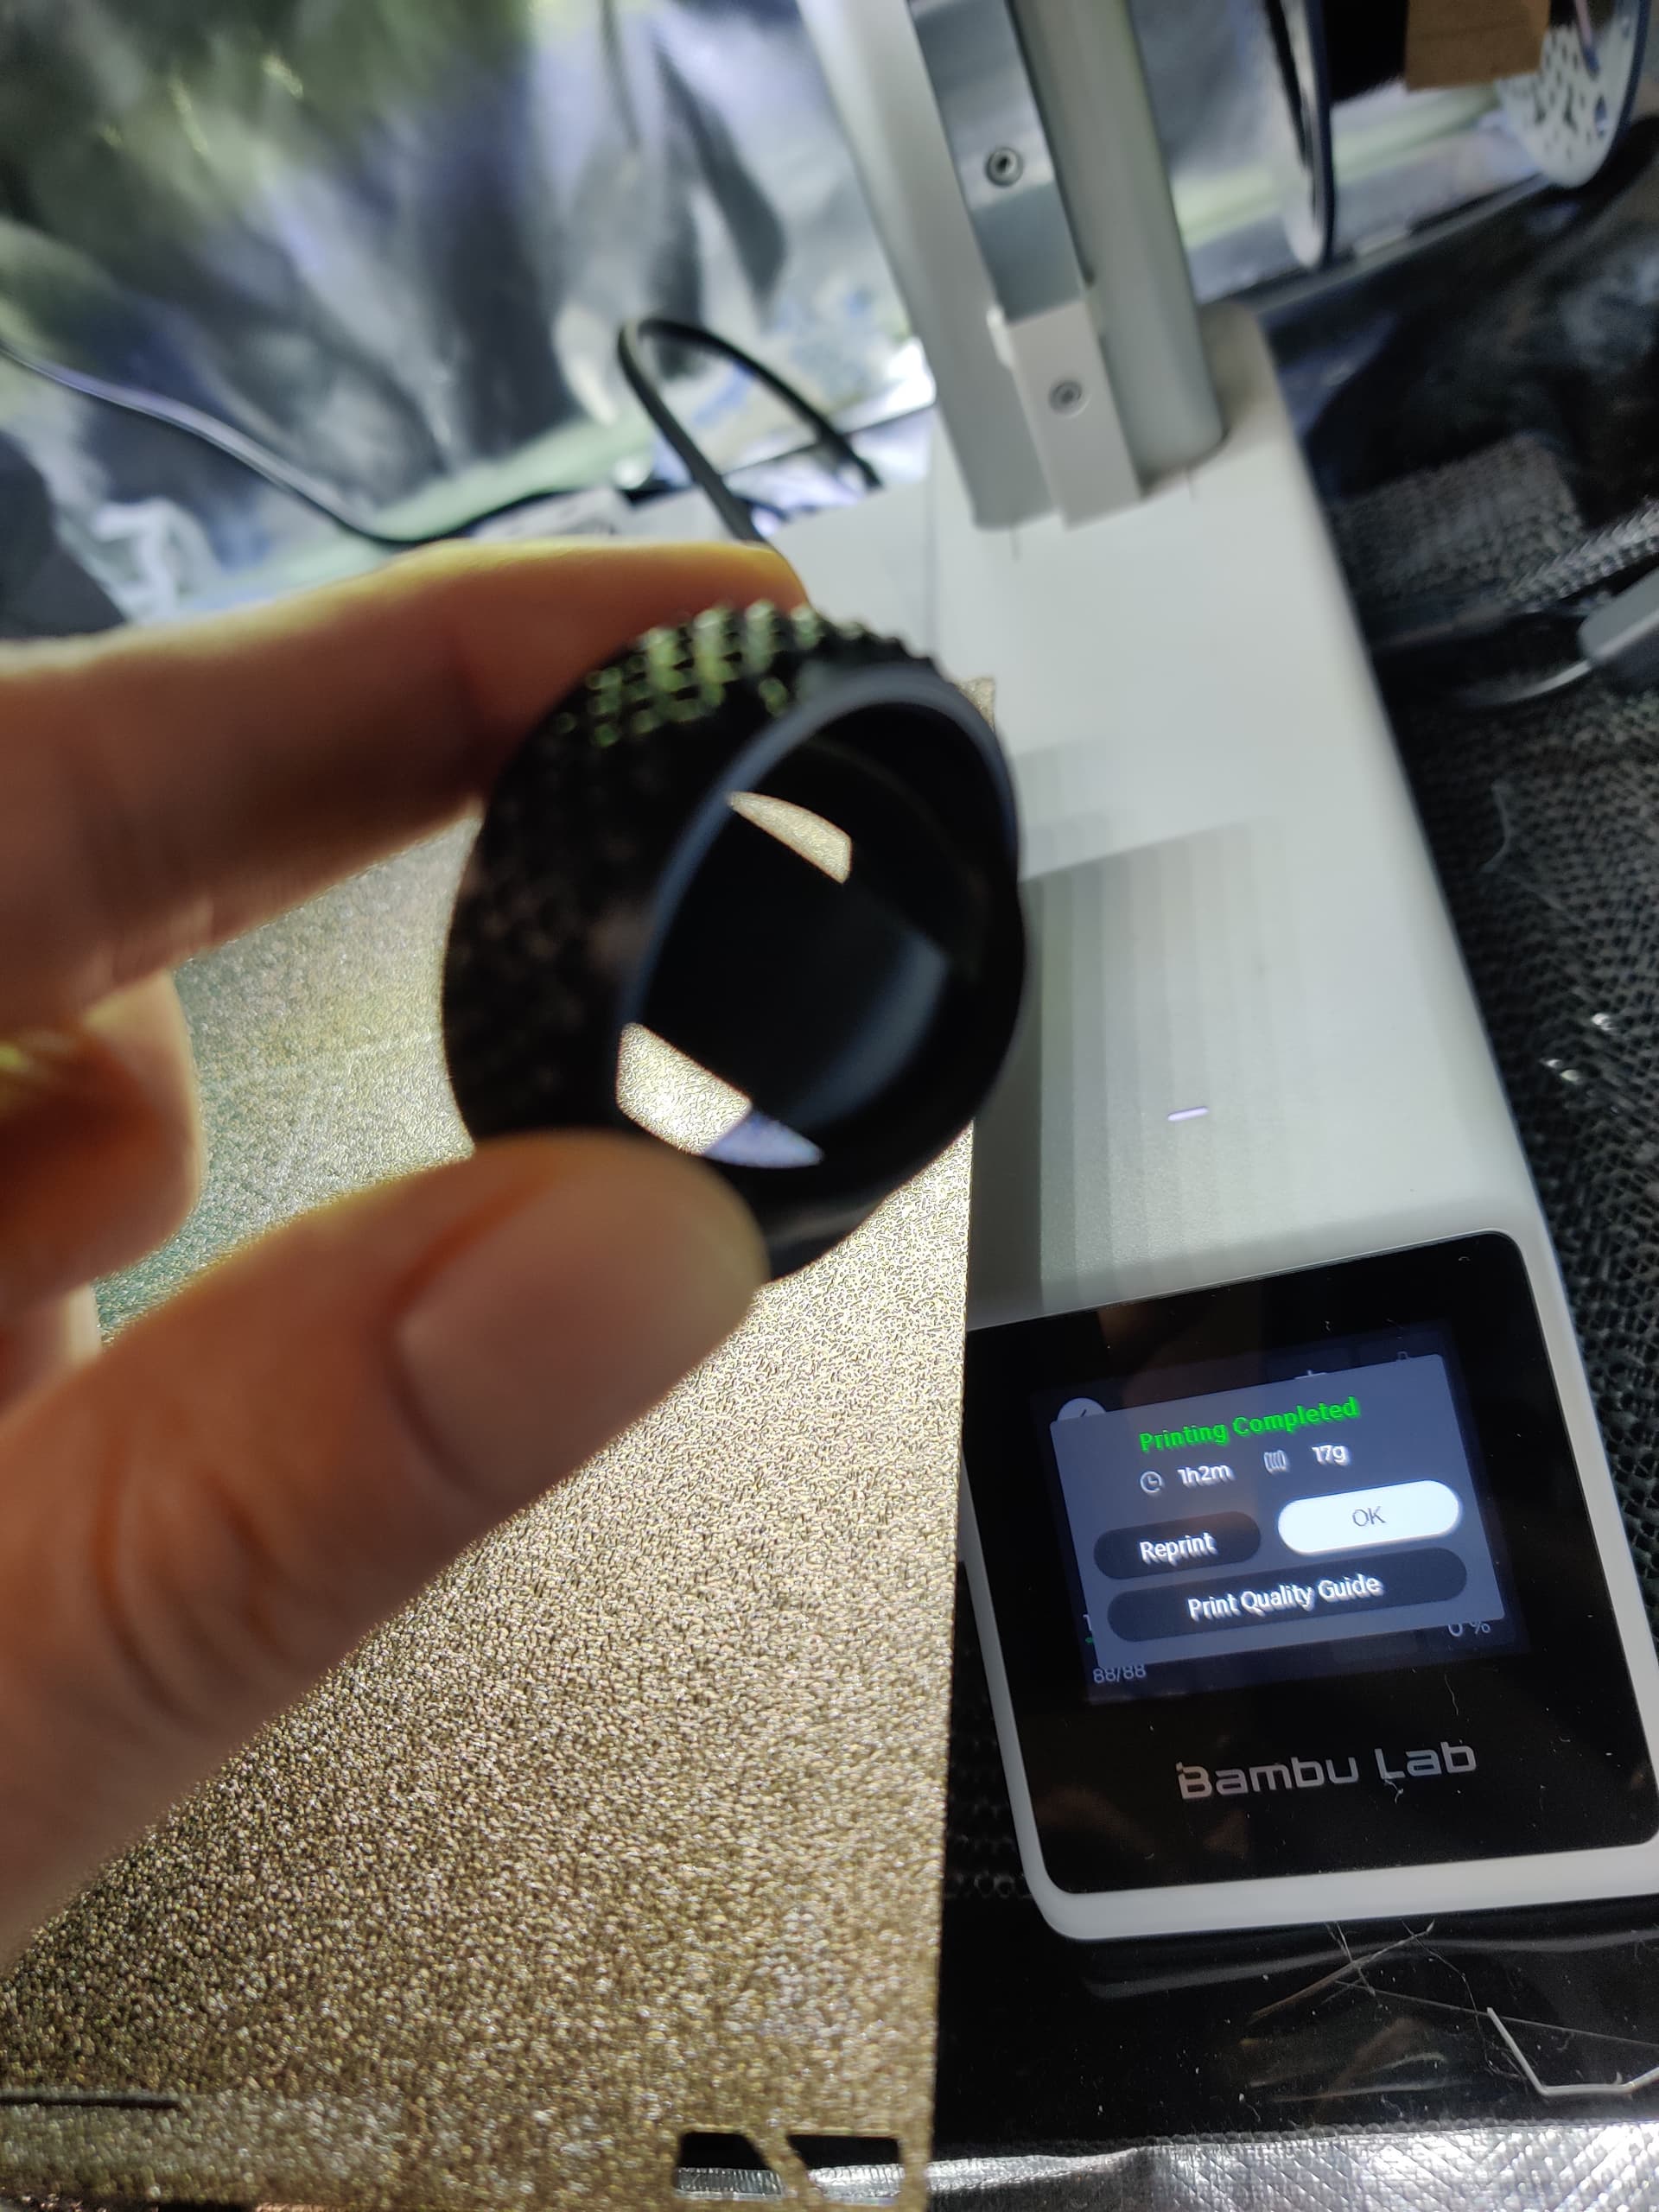
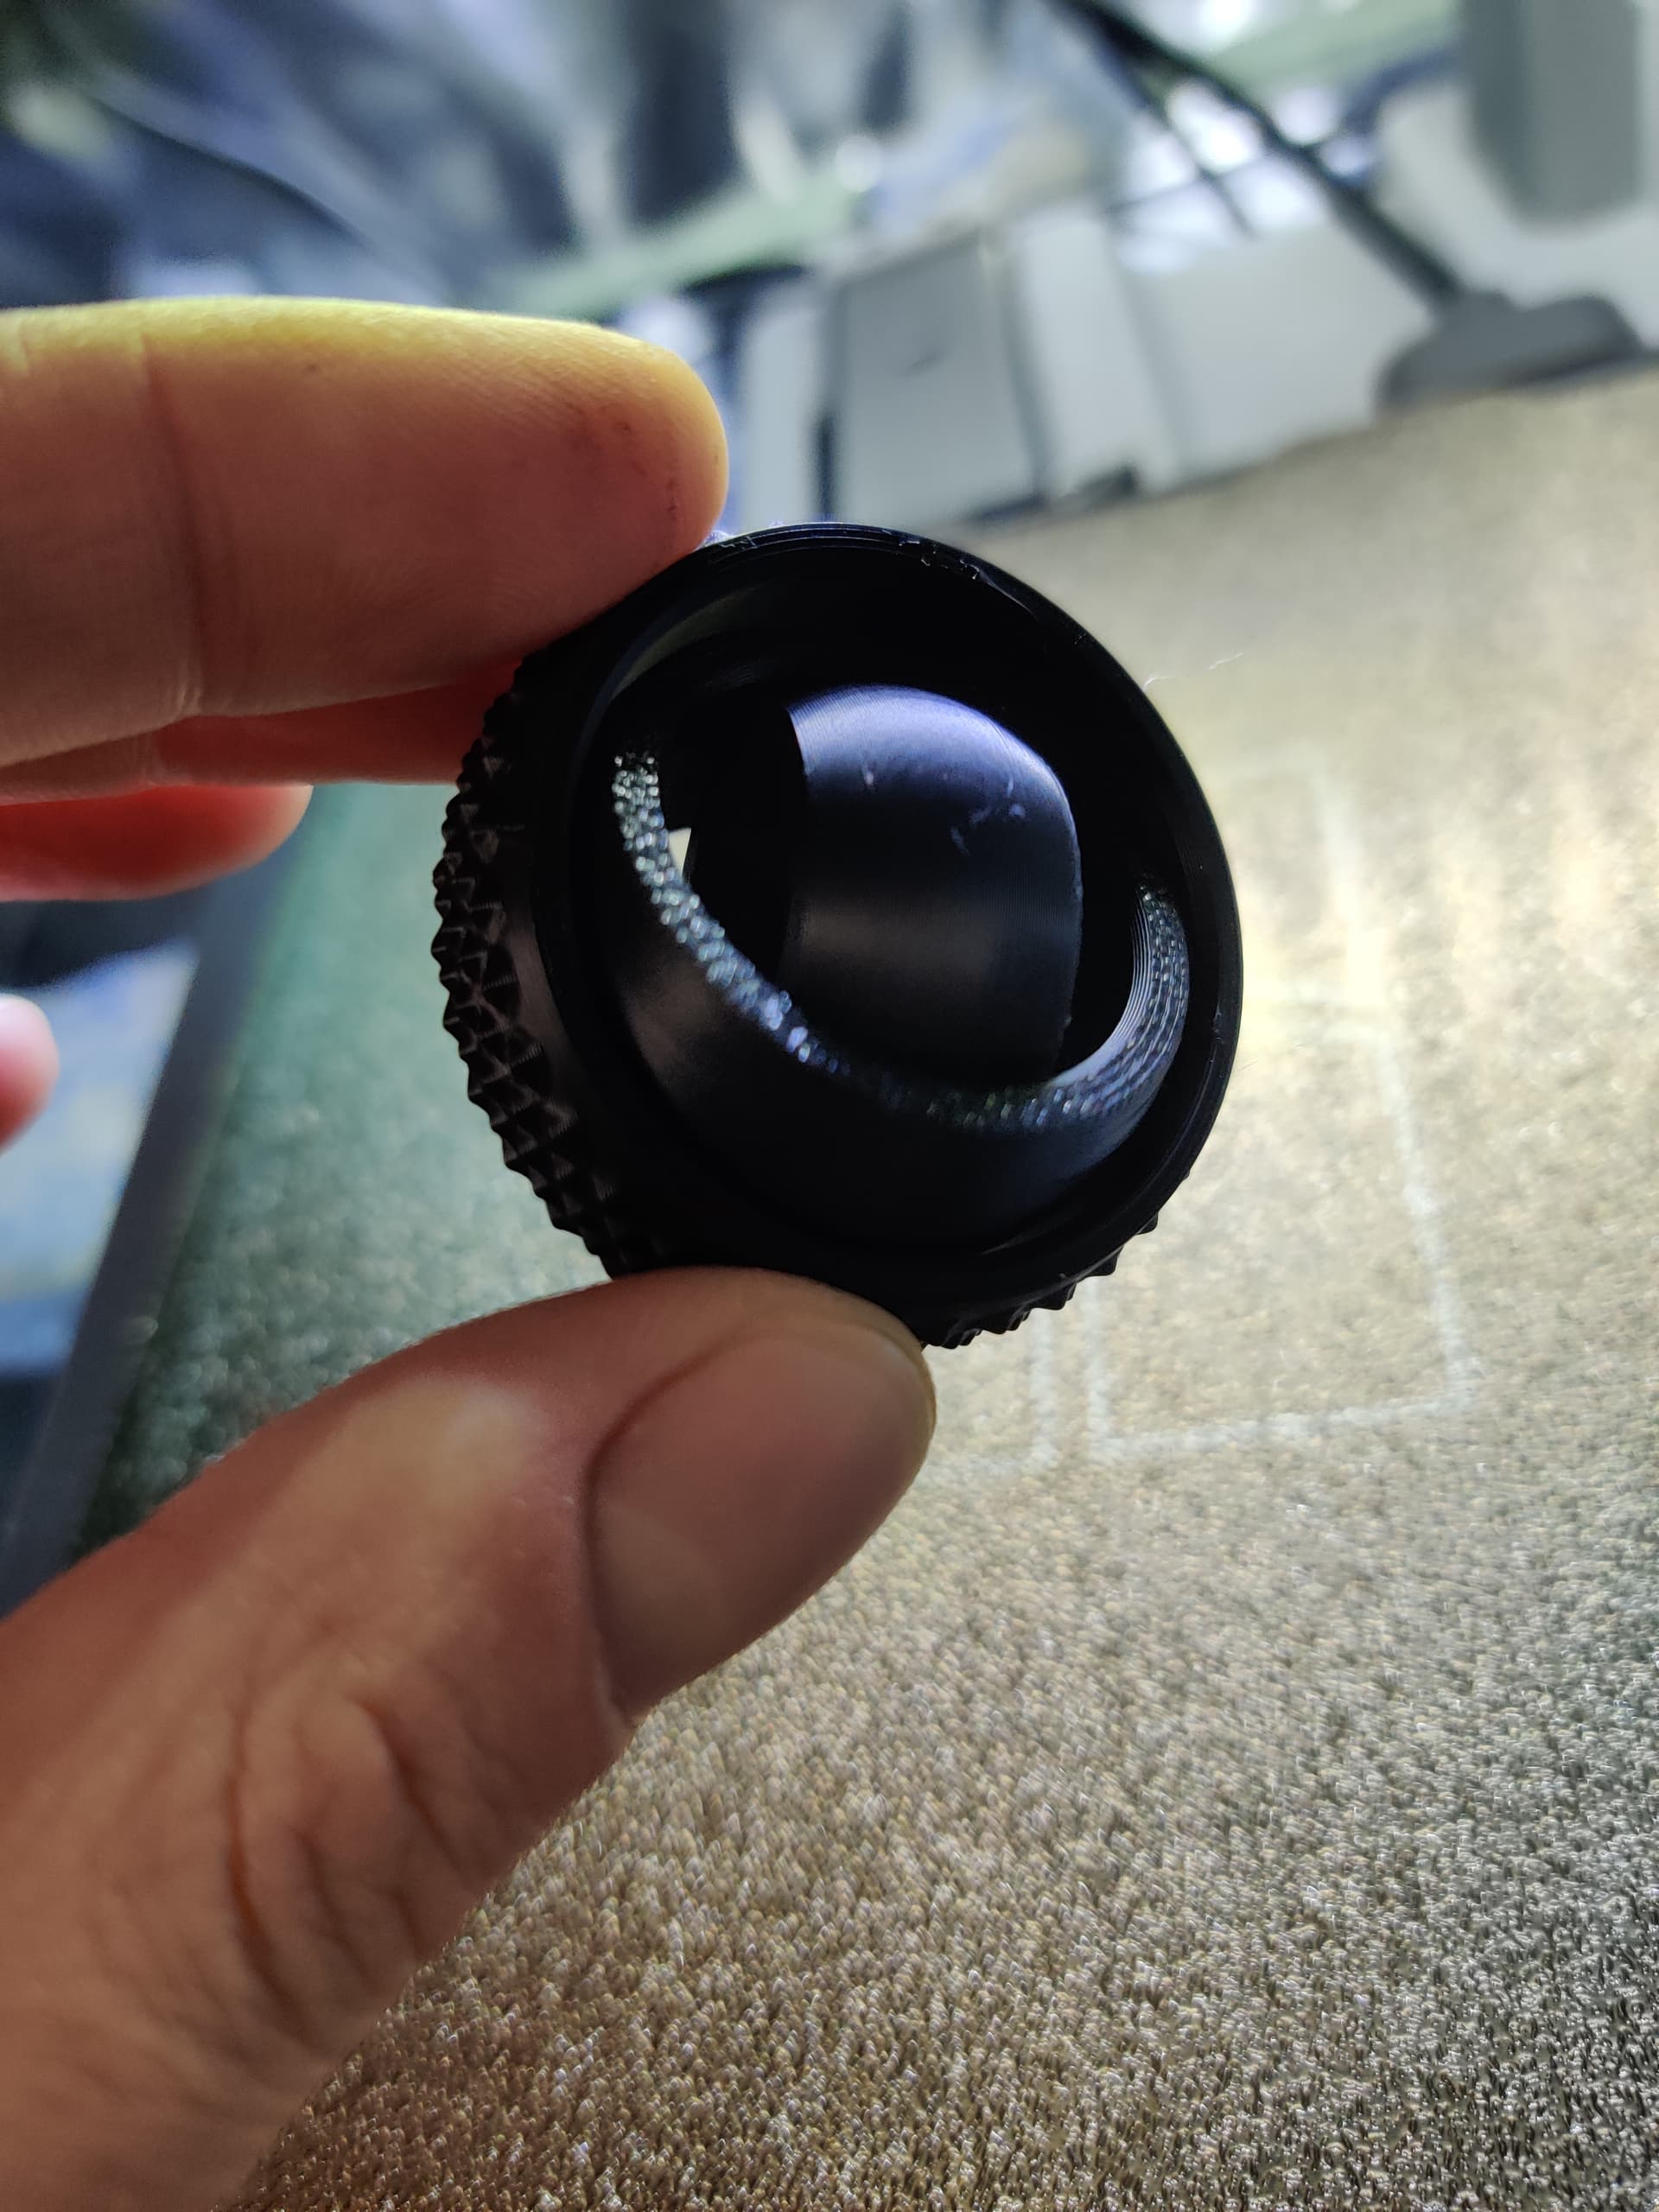
your fidget spinner I would honestly try once solid like i made IT SPINS FOREVER omg thanks for sharing that my kids already made it vanish and are asking for more. the extra 100% solid weight makes it a real nice toy there.

As for objects you will use both, all the time, depends what you are doing. just go slowly at first. The default stuff is actually so good that most peoples “tinkering” settings are worst.
If you aren’t sure just use the default 02 Layer height profile, chances are it will print just fine.

As to options and where - there are options hidden from you and you need to press the slider option “advanced” or the “dev mode” in the bottom of the settings panel. then extra stuff shows up.

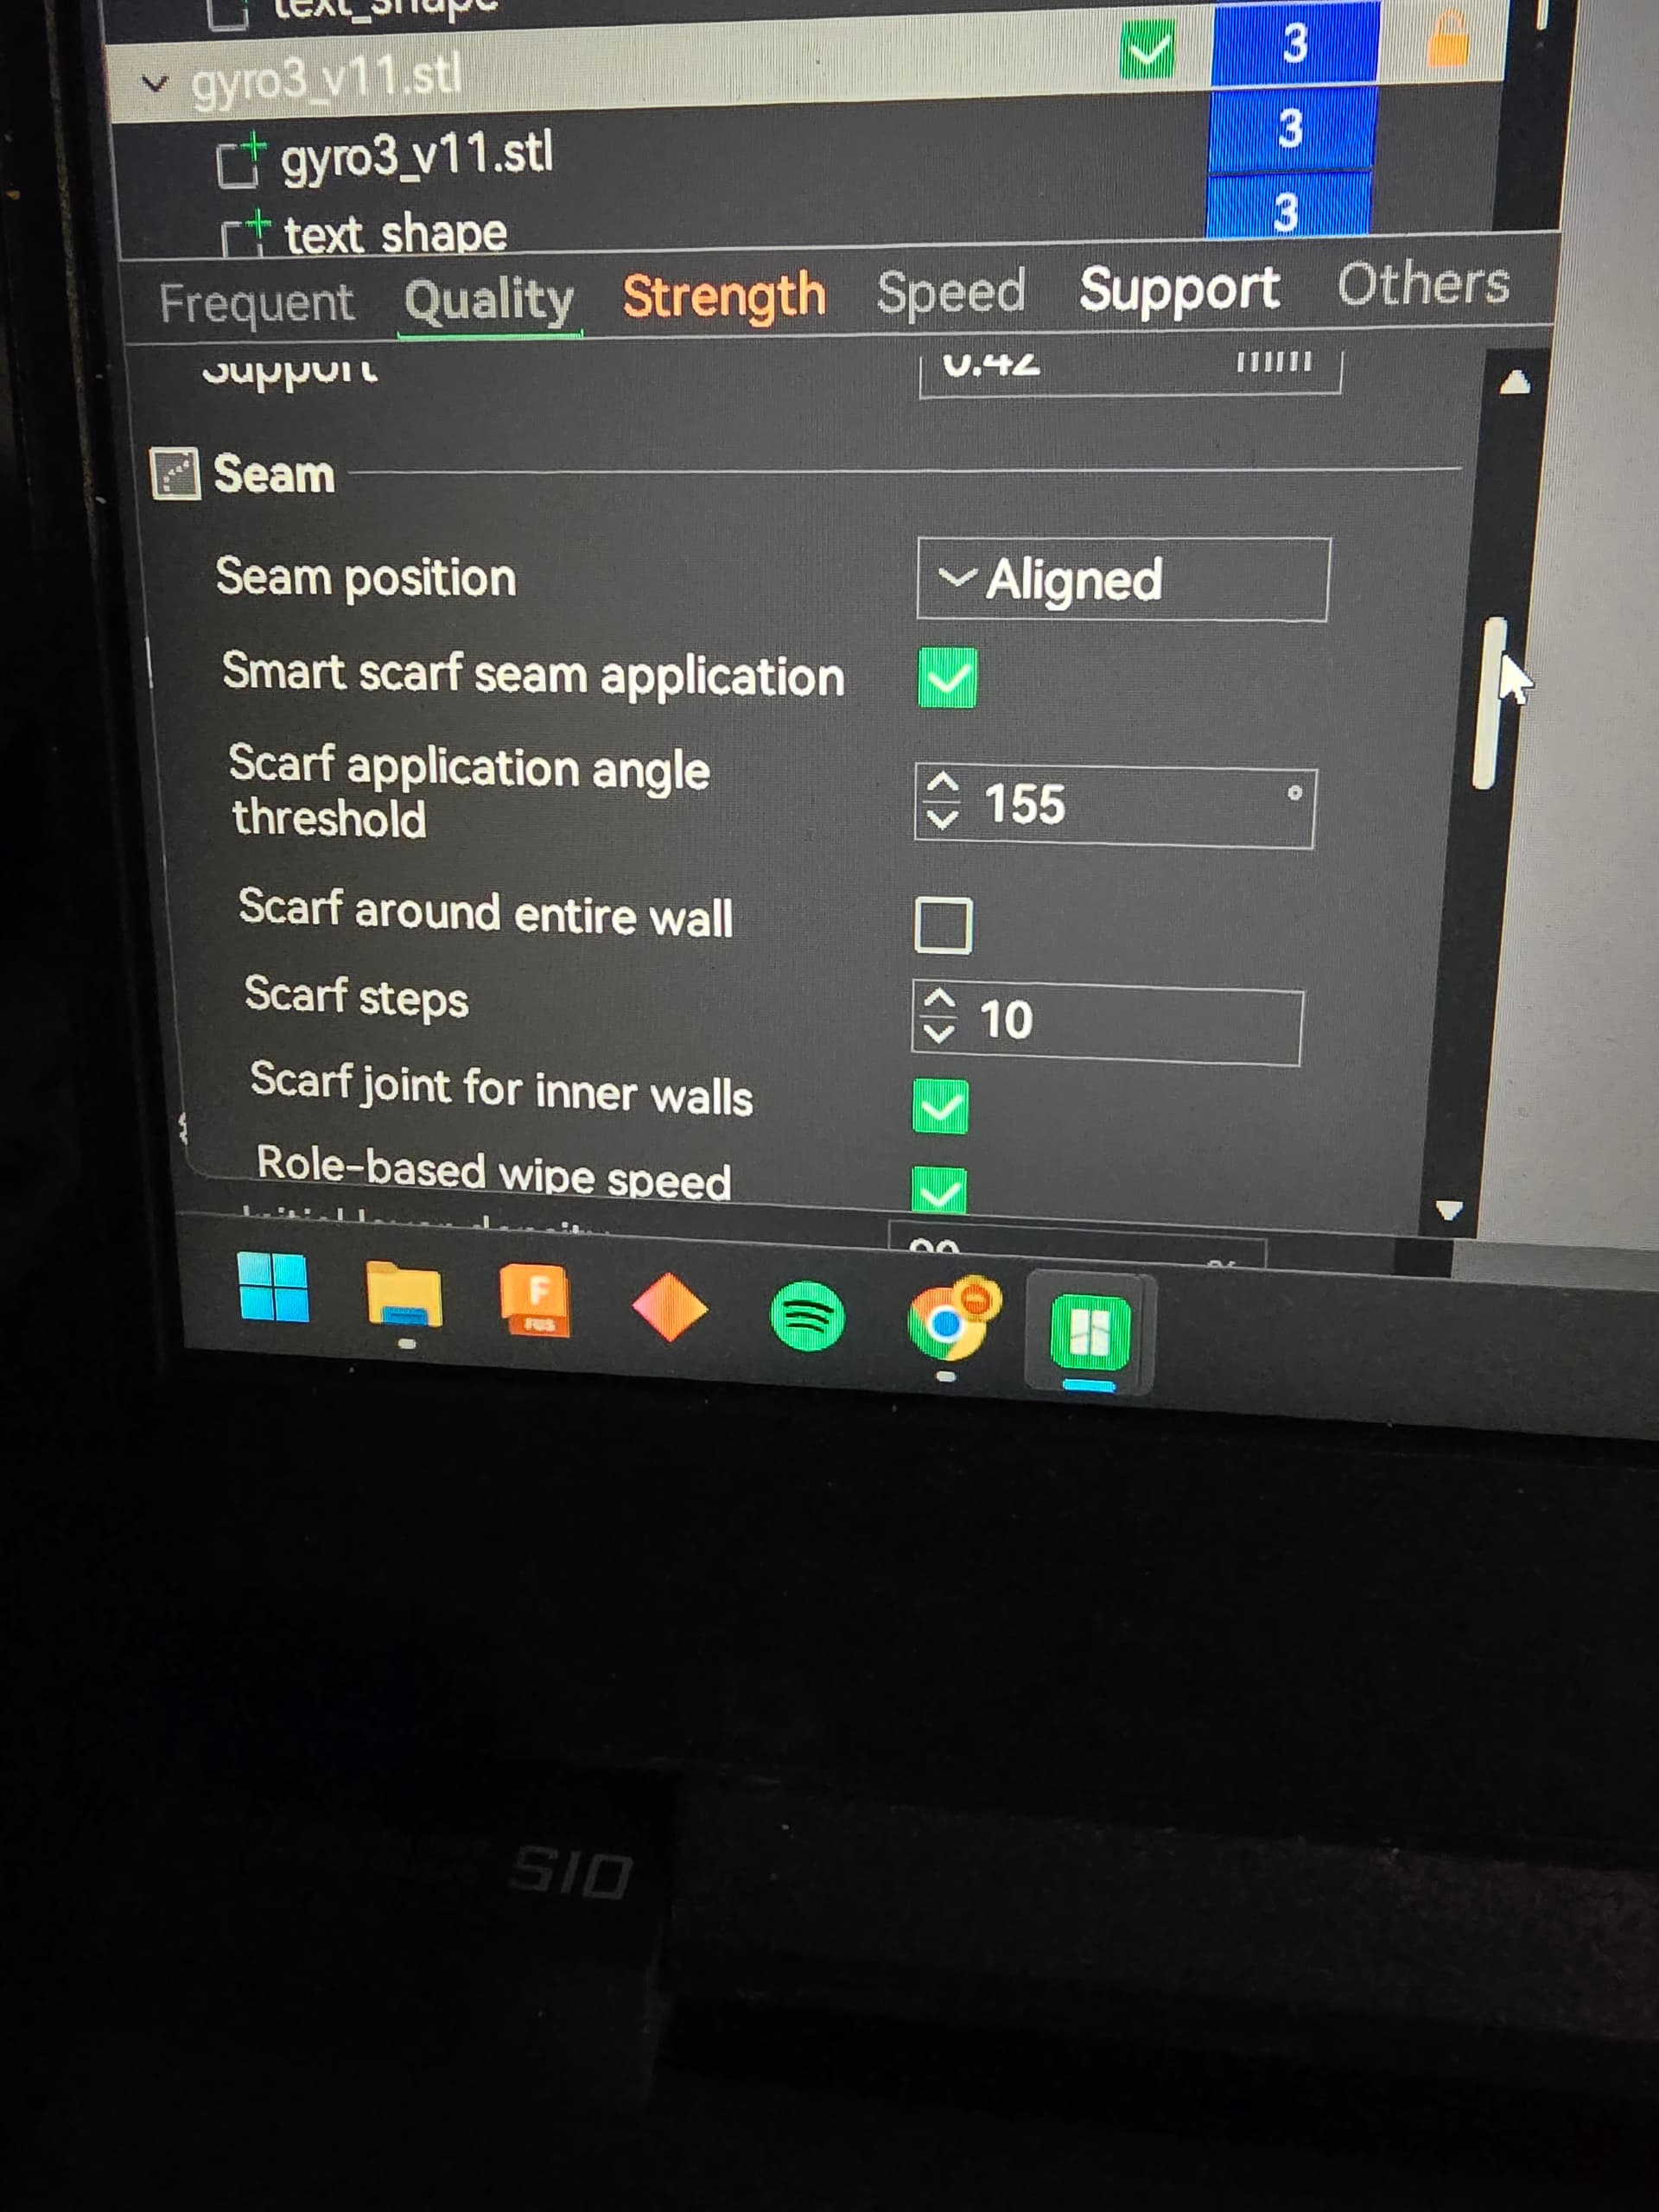
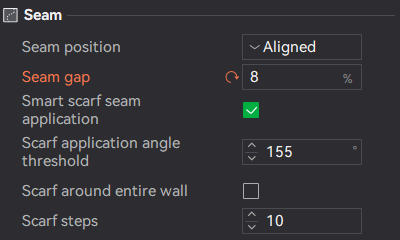
Scarf is something I’ve been testing and I personally find 8% down from the 15% is the sweet spot, going lower somehow adds small holes due to the speed of the print, maybe reducing this will help but i don’t give a sh*t there will always be a seam.

image

note there is a search magnifying glass to look stuff up in the settings if you can’t find it.

And as to what it is - a debate basically. and how good your printers are. The gist is here

But don’t, you can’t get invisible so hence the debate. Some have gotten close but it all depends on a slew of things and literally never changing them. on FDM you get a seam. I find personally 8% is about the sweet spot for regular speed printing. If you aren’t sure just don’t touch it.

A lot of what we are talking about is intermediate to more advanced 3d print learning. Scarfing and seaming is generally when you are so bored and done everything and just want to squeeze that lemon a bit more meh.


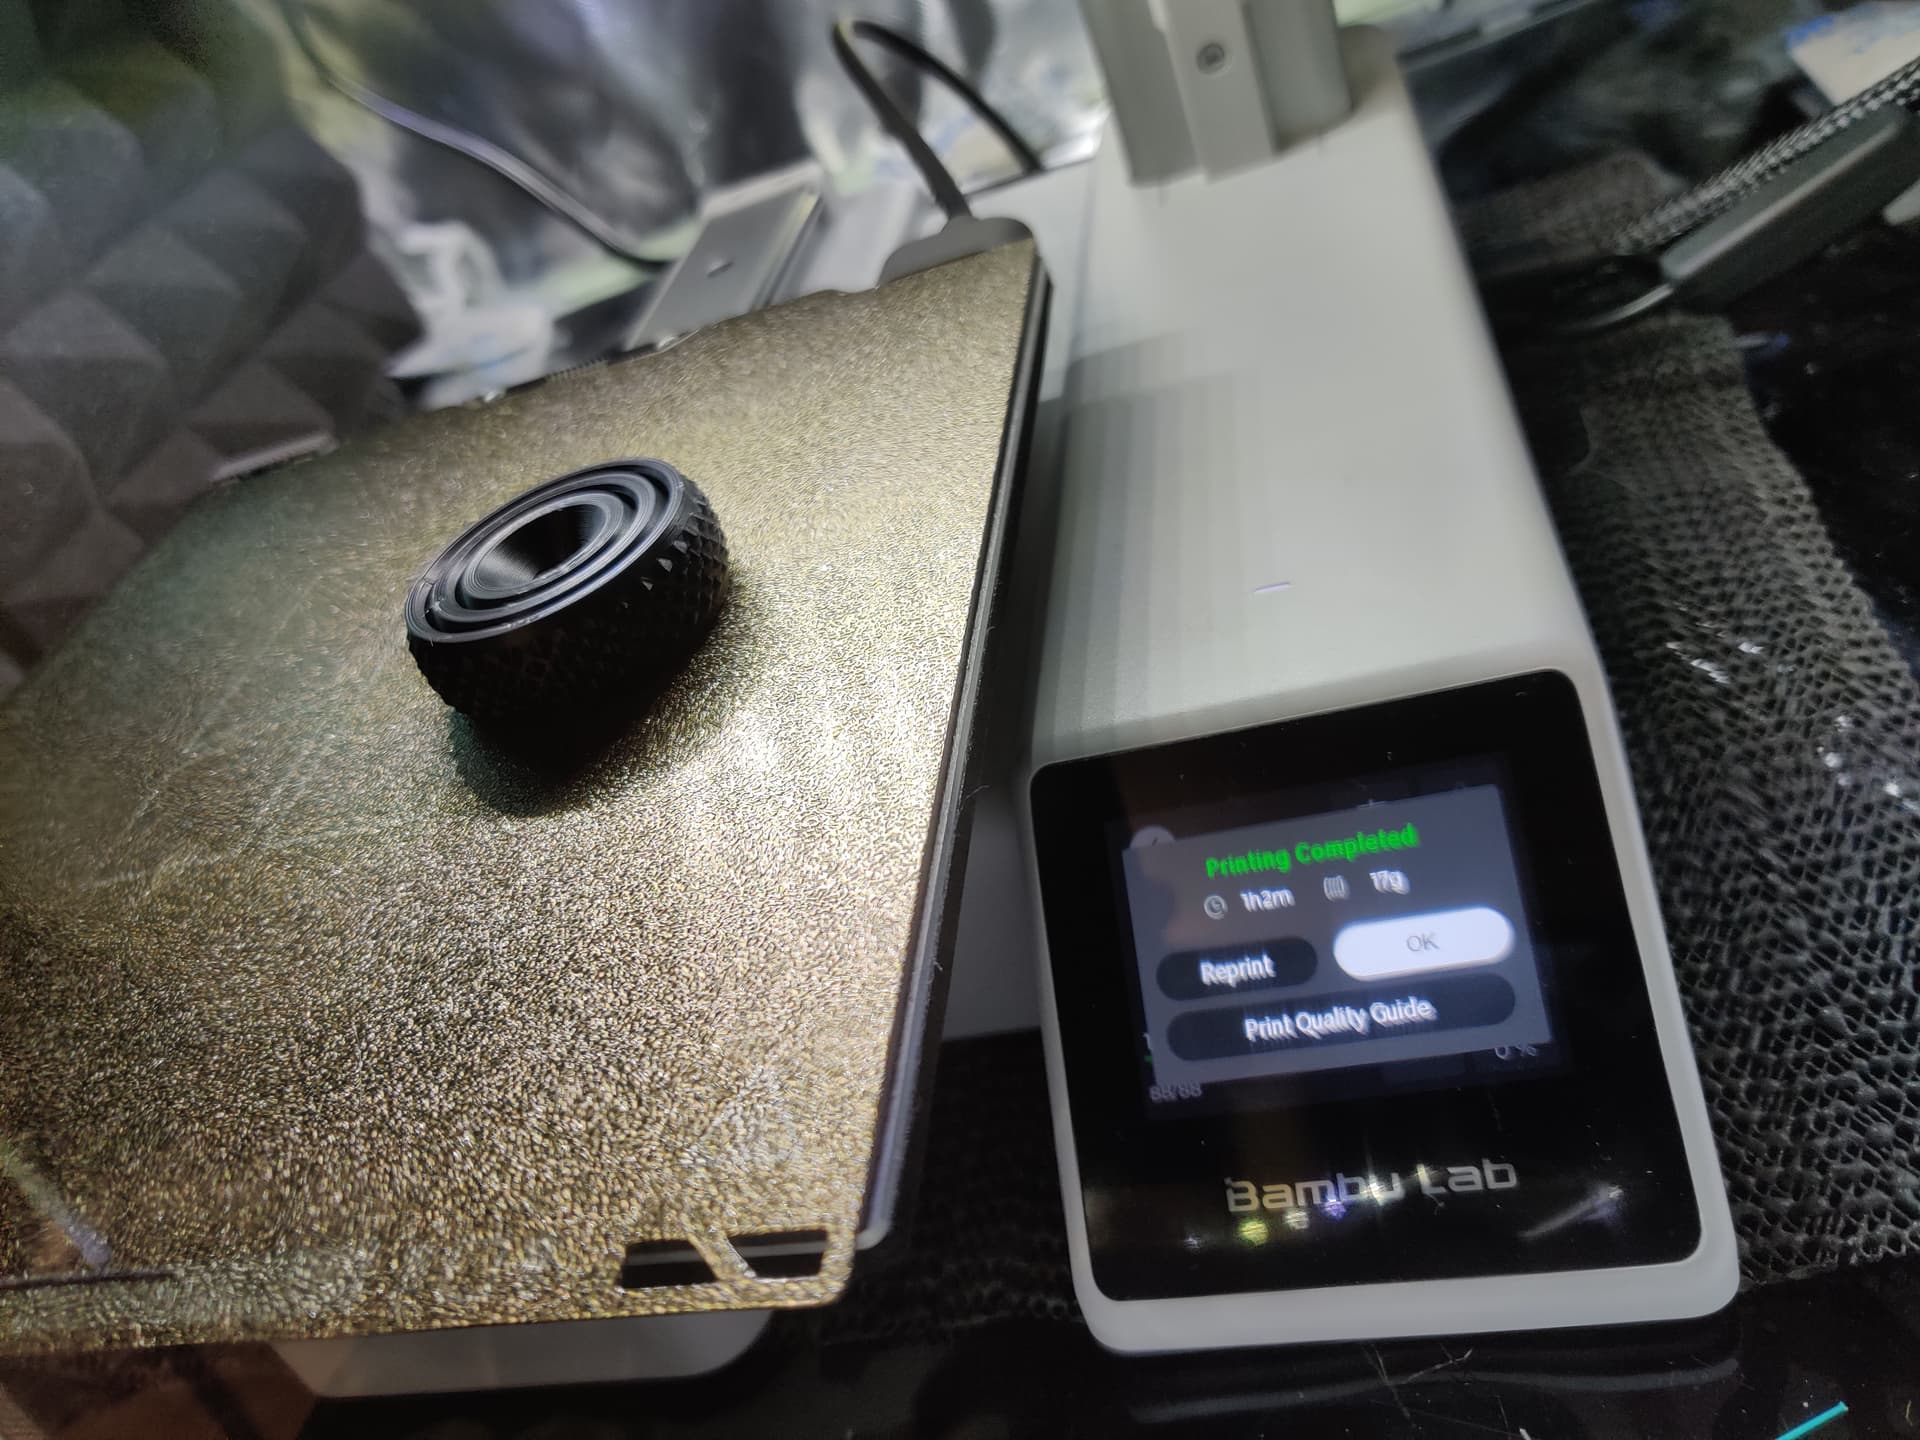
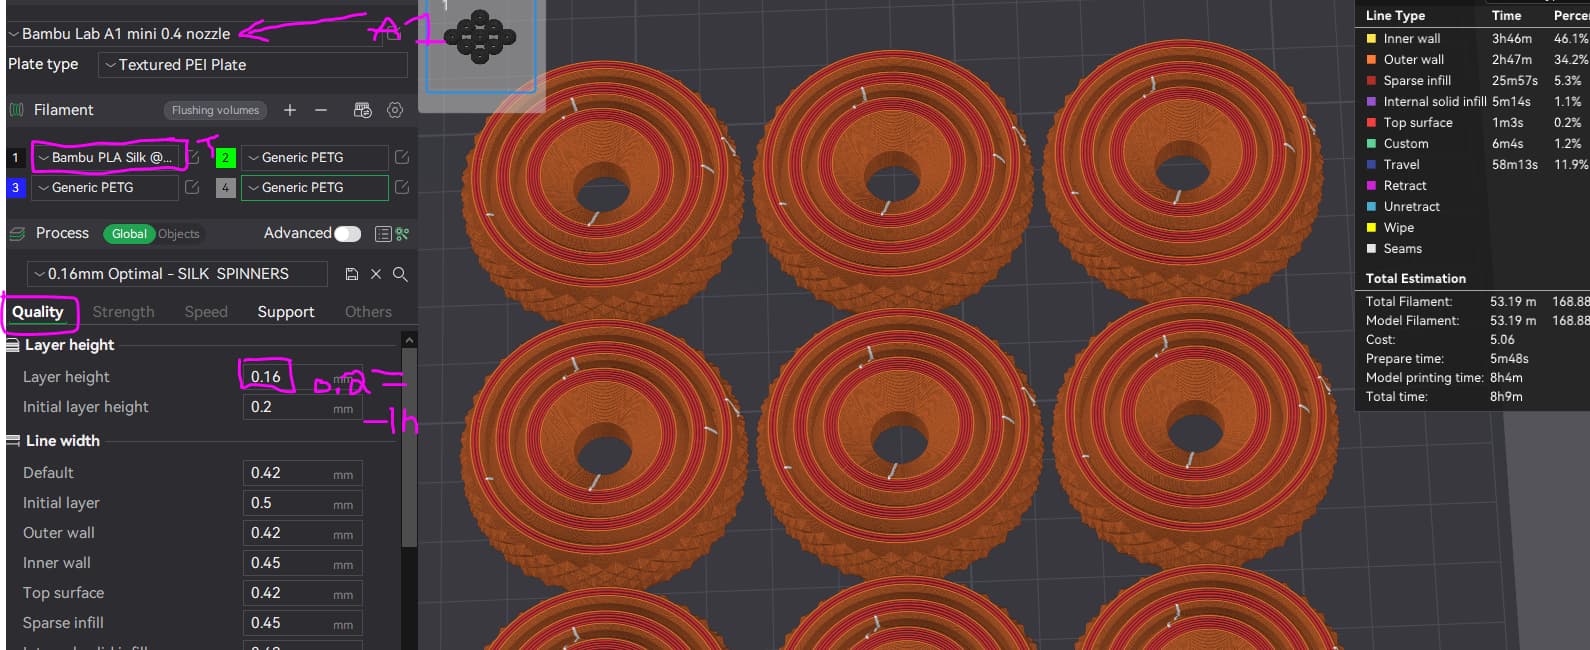
As people here in my house want more spinners you get lucky tonight haha, Also silk is a bit tricky, I made a profile i will print tomorrow in silk myself, so all you need (in theory it will keep my settings) to do is change the printer to your A1 and change nothing else, send it and 8h later your 9 spinners will come out. BUT i don’t think 016 is needed…making this one change with this same file to 02 layer height will shave off 1 hour. But legit it takes 45min per spinner normally so the 8h for silk is very damn fast for solids!

You can try as-is then with this one change to compare the two as you seem to be manufacturing these so quality might be important to you. I’ll post back when i get a set done to let you know.

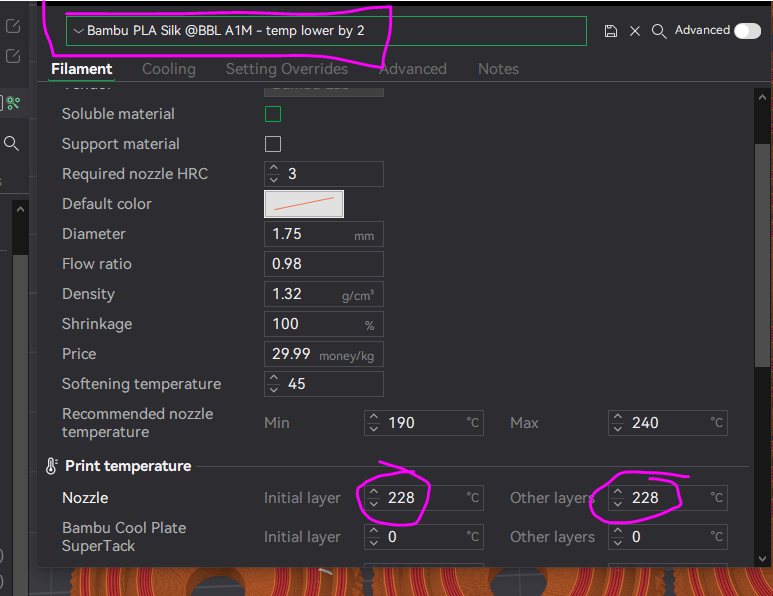
Note this is a special silk setting slice and it will suck using it for say pla+ or matte. there are special temp and speed settings you need to use for silk to get it super bright and shiny. You can however use it on other silk junk, that will make it very nice! You can go as high as 235 for silk but it makes it very stringy depending on brand and quality, i found the sweet spot to be 228 forced across the print vs shine vs 0 stringing vs speeds. it’s all a fine balance.

IF the settings for whatever reason do not carry over this edit of the silk filament TO these temps and resaving to your own to select should match mine to recreate.


Project Spinners 8h 016LHO SILK.3mf (551.0 KB)

EDIT: was it from averagejoe model this spinner on makerworld? If so I can upload the profile directly there for everyone in silk making it easier as then you can just hit print from the app. Let me know I’ll se it up tomorrow for single/plate if it’s him over there.

1 Like

No it was from a user named 3dprintbros.

Depending on your definition of manufacturing…maybe? The wife has a mostly hate/hate relationship with 3d printing, takes up my time that could be used for actually useful things. But she has realized that a. People LOVE a fidget spinner b. People LOVE free stuff and c. A great way to get along with coworkers especially in a sales based environment is to give them 3d printed free stuff.

So now whenever she travels to various locations she takes a bunch of spinners and yubikey (USB computer security device) covers (which is a whole different set of struggles, maybe I’m just really really bad at 3d printing) and gives them to her coworkers, everyone is happy.

But to over simplify everything we have covered here, not just for this model, most models as a whole, basically don’t touch stuff other than change infill type, correct? (Again over simplified, as each model is different, filaments, etc)

I will print the new don’t change setting 3mf and compare to the others I have printed. I still don’t understand infill and percentage. Like I understand the idea of what it means but at the same I don’t. Like how the heck is 10 to 15% enough, I can’t wrap my head around it. (then again I mostly print useless decorative ■■■■ that isn’t exactly structural or life altering if it fails)

There was something else but as I typed i forgot what it was.

Thanks again for all your help, it has been greatly appreciated!

Edit: oh yeah filaments. The only reason I print with PETG is for its higher glass transition temperature. Most of my 3d prints end up on a shelf at work. It’s a non air conditioned diesel shop where in the summer it gets quite warm, I printed a print in place pickup truck with suspension in PLA and the weight of the print collapsed said suspension. At the time, being new to 3d printing I thought it was because of PLA lower glass transition temperature so I switched to buying mostly petg. I now realize that heat may have played a small role it was much more likely due to the fact it’s more or less like 3 layers of plastic and will infact sag over time. But now I have entirely too many spools of filament (especially for someone that obviously has no idea what he’s doing and mostly only prints useless ■■■■, I REALLY need to figure out CAD) that I need to go through before I can even think of changing brands/going to exclusively one filament.

Also I figured out why, in part I was confused about scarf. There’s no option to set degree