It’s important to manage your expectations up front. What you are asking cannot be done with the Bambu plates available in the Bambu store. There is no slicer checkbox, no magic build plate, and no filament that will give you molded-plastic results out of the box. That said, there is a way to get close - but it comes with real effort, iteration, and tradeoffs.
If you are the kind of person who wants to push a button and get instant gratification, or you would characterize yourself as being a member of the TL;DR club, this long post is not for you and you should skip the rest of this post.
What follows is not a recipe, it is a process. It involves sourcing non-standard hardware, modifying surfaces, wasting filament, reprinting parts, and accepting that some results require manual finishing. That is the reality of FDM today, there are no shortcuts I am afraid.
Here is an “extreme” benchmark example of what is physically possible using a combination of methods. I realize this is well beyond what you are aiming for, and most people will never reach this level. I am including it deliberately so you understand where the upper bound actually is. If you can approach this, everything below it becomes easier by comparison.
This is one I did in 2023 during a very good exchange with fellow forum members. You can adapt elements of these methods to get closer to a “molded plastic” appearance, but doing so requires specialty build surfaces, surface modification, repeated tuning, and patience.

This thread is long, but it documents how optical transparency was achieved and the techniques the group used to get there. In all candor, this is from what I consider “the good old days” of this forum, when the majority of contributions were focused on how to achieve results rather than asking for shortcuts. It shows what sustained collaboration and experimentation can accomplish.
Steps to get there
1) Build surface
Forget about most of the Bambu Lab smooth plate or any of today’s Bambu stock plates, they are “ALL” overpriced and underperform, you can get much better build surfaces from Amazon or Ali Express than than the Bambu store for 1/3rd less. The sole exception is the engineering build plate which frequently is unavailable.
https://us.store.bambulab.com/products/bambu-engineering-plate?id=657433241362993164
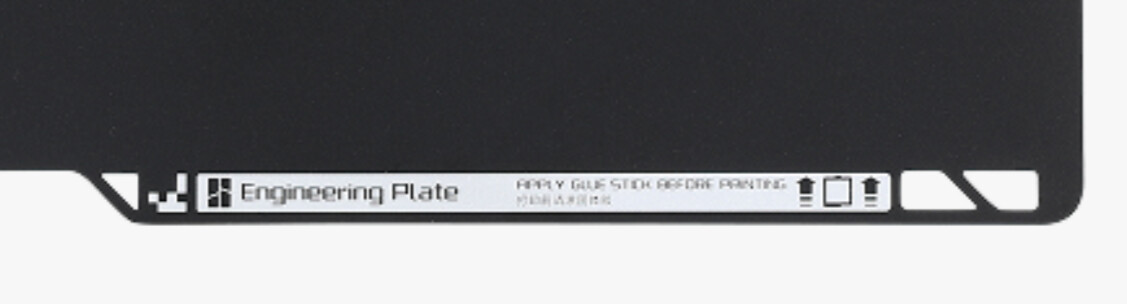
I maintain nine 255mm plates and have one copy of each Bambu smooth or engineering plate. One man’s smooth is another man’s rocky road. If what Bambu is presenting as smooth, then asphalt is polished marble.  Let’s just be grateful Bambu is not in the optics business, because what they call smooth is, by any reasonable definition, a matte finish.
If you want to search intelligently for smooth alternatives, the terms you are looking for are “specular” or “mirror” finish. These are not common anymore. I was able to find exactly one plate two years ago that disappeared almost immediately. It does exist, and you might still find one on AliExpress, but do not expect availability or consistency. If you find one, please post it here.

If that plate is unavailable, your next-best option is a smooth engineering plate or in a pinch, you can use their Smooth PEI plate, assuming you can still find one. Once again, Bambu giveth and taketh away. The engineering plate was one of several popular plates available in the early days and is now gone. Other manufacturers still make equivalents, but you will have to search, test, and accept that not all of them are equal.
2) Modify the build surface using Kapton (polyimide) film
Once you have sourced the smoothest build plate you can reasonably obtain, surface modification becomes unavoidable. This is not optional if your goal is to minimize visible nozzle paths.
Here is another long post that goes deeper into this subject:
Below is an example using a combination of methods, including a strip of Kapton tape, with filament similar to yours. No, this is still not molded-like. But it is materially closer, and that difference did not come for free.
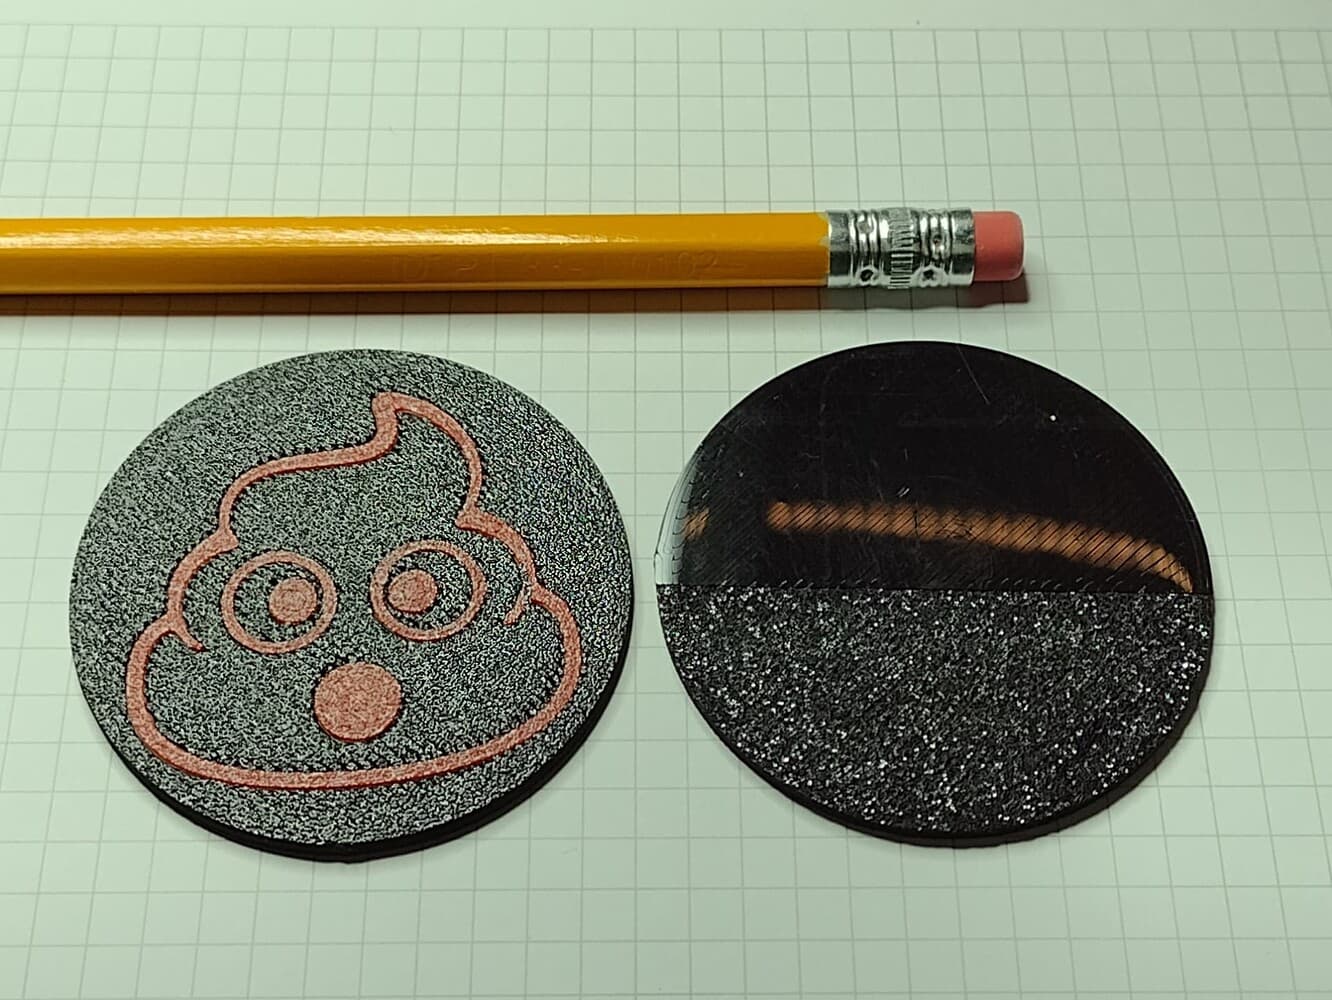
3) Camouflaging the bottom surface through texture and filament manipulation
If you are chasing a solid color, you need to accept an uncomfortable truth: you cannot completely eliminate filament lines on the first layer without post-processing of some kind. What you can do is camouflage them.
This can be done through silk filaments or first-layer pattern manipulation. The downside is that silk filaments are mechanically weaker, more brittle, and less forgiving to tune. This is a tradeoff, not a win.
Here is a post from the other day where I showed a member how to do this:
This example comes from an experiment using three-color silk filament and a Hilbert curve pattern. It does not meet your stated objective, but it demonstrates how perception can be manipulated even when geometry cannot.

4) Post processing - sanding, glazing, etc.
This is the step many people hope to avoid - some might even call it heresy - but it is also the step that actually works and works extremely well with patience and practice
Post processing using wet/dry sandpaper is unavoidable if you want to remove nozzle artifacts rather than merely hide them. This is a manual, time-consuming process using progressive grits of emery cloth or wet/dry sandpaper. The optical cube example above was achieved this way. I started at 400 grit and worked up to 1,000 grit. There are no shortcuts here.
The final cheat:
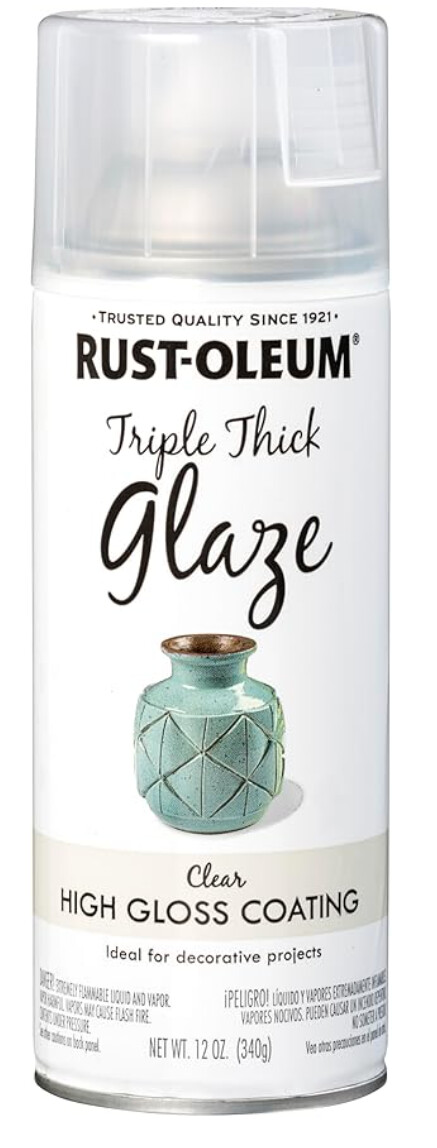
This will sound like heresy to some, but Rust-Oleum Triple Glaze has no equal when it comes to producing a glossy finish. I’ve tried others but this one performed the best. For your application this is overkill, and you still must sand the surface first to remove nozzle lines. That said, my experience has been that I can stop at 400 grit wet sanding, apply Triple Glaze, and achieve a result that most people outside this forum would assume was injection molded.