I’m gonna try these in some days. I started my vacation now ![]() Cheers for everything and i’ll be back in 10 days for more tweaking
Cheers for everything and i’ll be back in 10 days for more tweaking
PETG Chamber Temperature
@djeZo888 already adressed this issue: chamber temperature at around 40°C works quite well.
Here are some pics from a failed print where the chamber temperature was only about 20°C (PEI Plate @ 75°C): heavy warping.

So in the end 3D Printing underlies the same principles as metal welding. The process is liquifying the material by heating it up (nozzle or the arc in welding), cooling down happens in a “passive” way since the heat dissipates to the environment or the attatched parts/material. So the material will shrink, which enduces stress in every layer. The bottom layer experiences the sum of all stresses in the layers above. When those stresses exceed the adhesion strength of the bottom layers bond to the build plate, it will begin to lift up.
So what do we do? We reduce the stress by not letting the printed layers cool down so much and we do this with an elevated chamber temperature.
In my case, Bambu PETG with stock slicer settings. After heating up the chamber to around 40°C everything went fine.
By the way, 35-40°C is also needed for PLA. I also got warping with PLA when the chamber was at 20°C.
Issue with dynamic flow calibration and PETG
-
First I did an auto calibration, which set the K-value to 0,041
-
Then I did an manual LINE calibration, I chose 0,04
-
After that, I read a recommodation for the PATTERN/CORNER calibration, since the corner should make it easier to identify the correct value. Unfortunately, I identified a value of 0,02 to have the best corner.
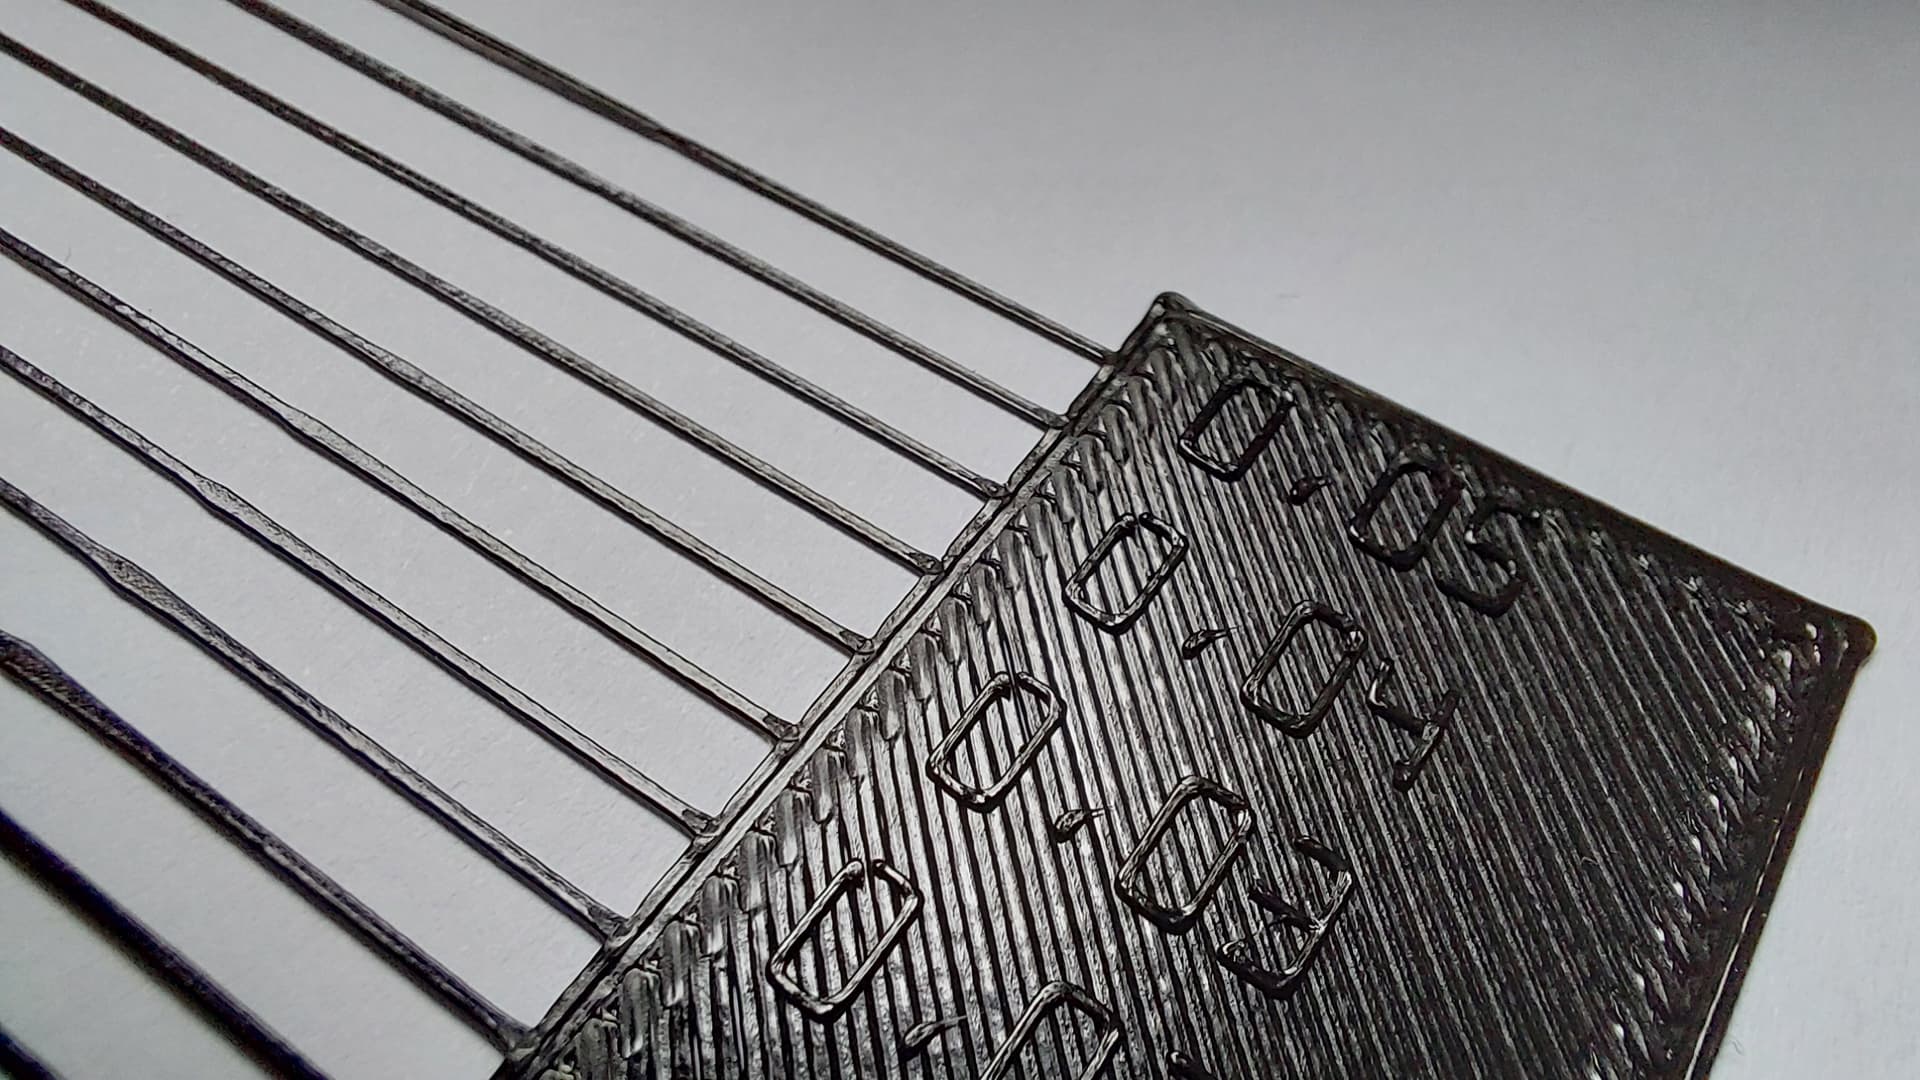
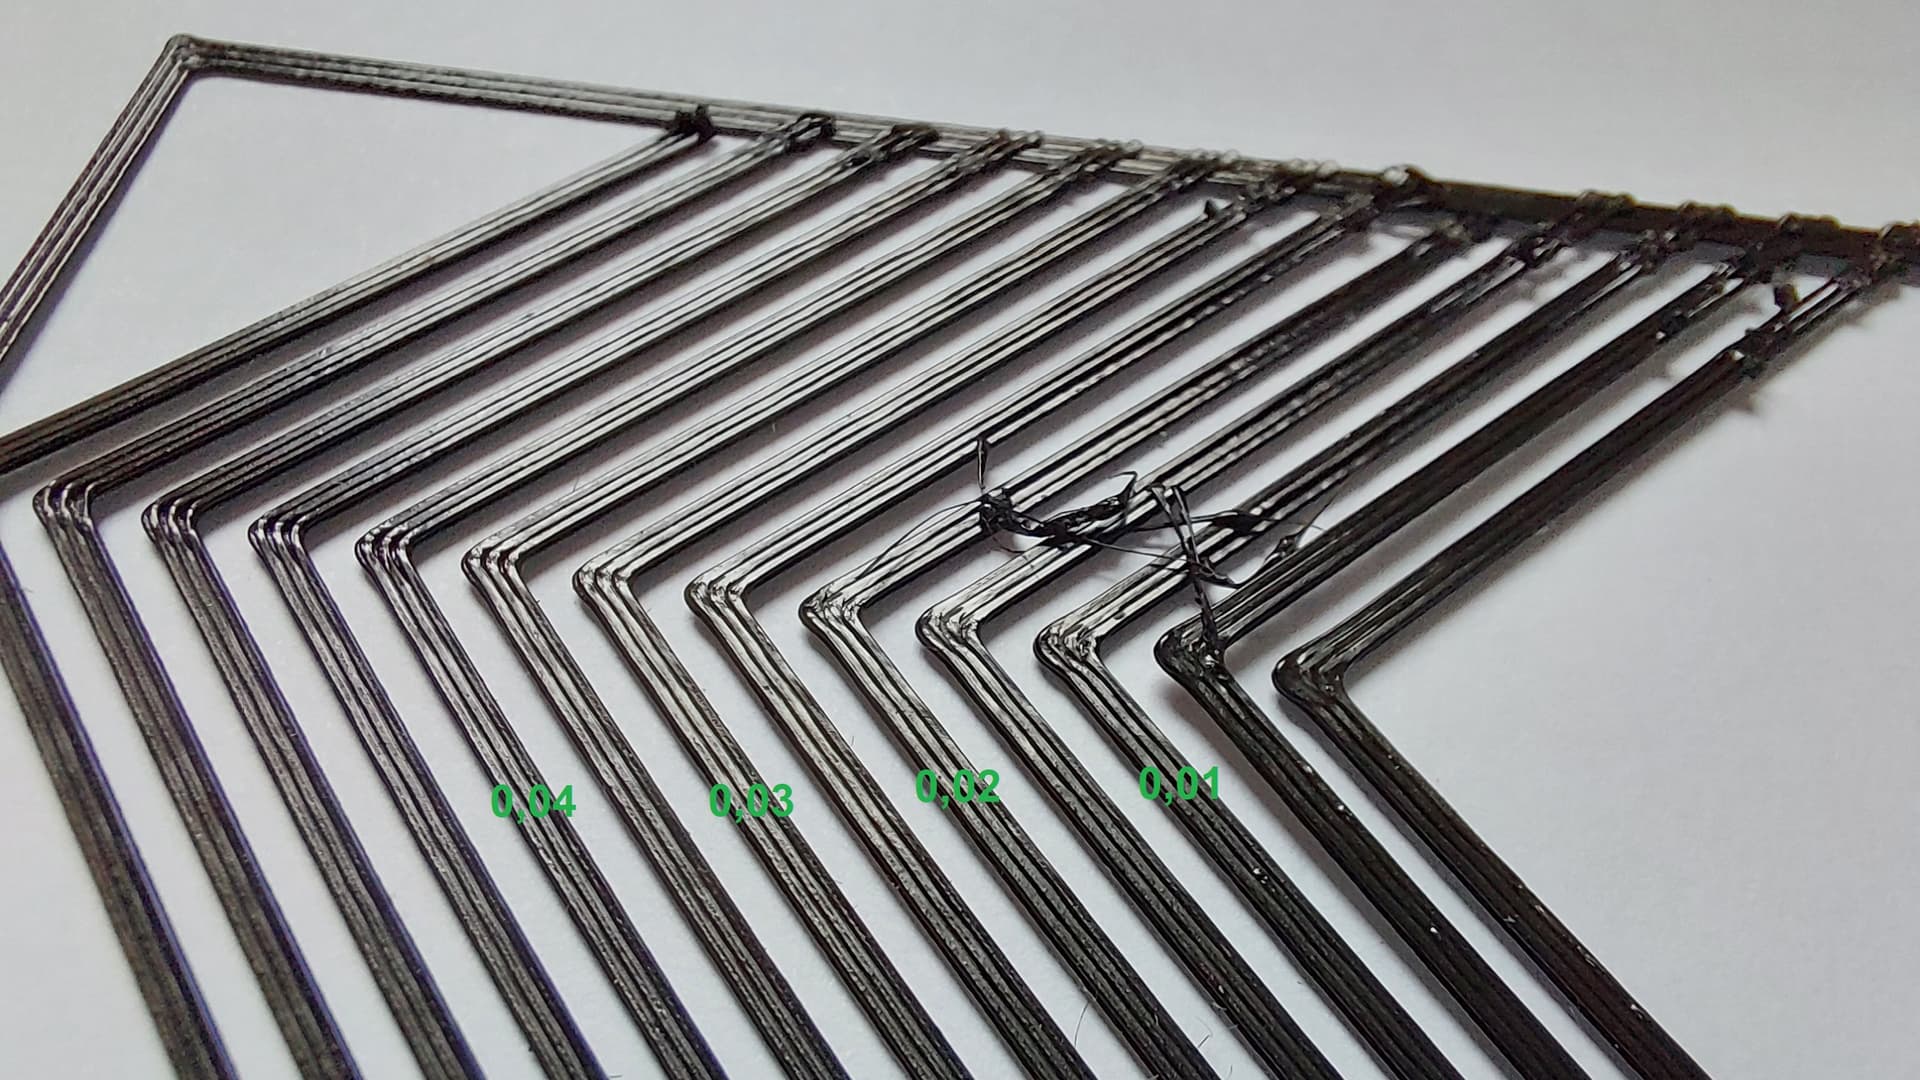
You can clearly see underextrusion on the corner from 0,04 and 0,03. Value of 0,02 seems the best to me. But this doesn’t match the line calibration, where 0,04 is best.
So now I have the situation that there are two calibration tests with different results.
Which value or test would you prefer?
Maybe try the tower version to break the tie? If nothing else it would be good to know from that which of the tests is providing faulty results so we can avoid it in the future.
Choose the test that you can judge best!
Your last picture always shows the same basic pattern, just printed with different flow of filament.
If you do the line test, look at the lines with a magnifying glass so that you can recognise them better.
In my opinion, the values 0.03 to 0.035 are the best values for the corner test, on this picture.
Whether the lines are close together or not, or even overlap and form a closed surface, depends on other print settings.
PS:
I took another look at the line test on your top picture, and I see the best value there is 0.035. That would correspond with the corner test.
2 Likes
@NeverDie what is the tower version? For dynamic flow calibration Bambu Lab only provides “line” and “pattern”.
Perhabs it’s not an issue with the tests themselfes, but with my interpretation of the results. I was looking for the corner to be completely “filled”, eg having no gaps.
You’re proposing not looking at the voids, but searching for the constant width of every single line (which inevitably leads to voids in a corner).
Using this approach, I agree that the optimal would be between 0,03 and 0,035.
Thanks for your contribution!
A theoretical consideration:
If the filament flow is perfect and you print two lines next to each other at a distance of 0.4 mm with an exact width of 0.4 mm, these lines will never overlap and should lie exactly next to each other. However, you have no influence on deviations in the filament diameter. If the filament diameter varies, this can, if we stay with the example, lead to the two adjacent printed lines overlapping in some places and even creating a minimal gap between them in other places. In the slicer, this is compensated for by a planned overlap so that two adjacent lines theoretically appear as a single wider line after printing. This is the only way to achieve a secure hold between the lines and keep the printed object stable.
Best regards!
PS: Moist filament can also lead to misjudgements in the tests because it can result in uneven extrusion.
It’s in Orca slicer. Sorry, I didn’t realize you were limited to Bambu Slicer.
Hi ! Back from vacation and back tinkering with the P1S.
I think I made some progress ![]()


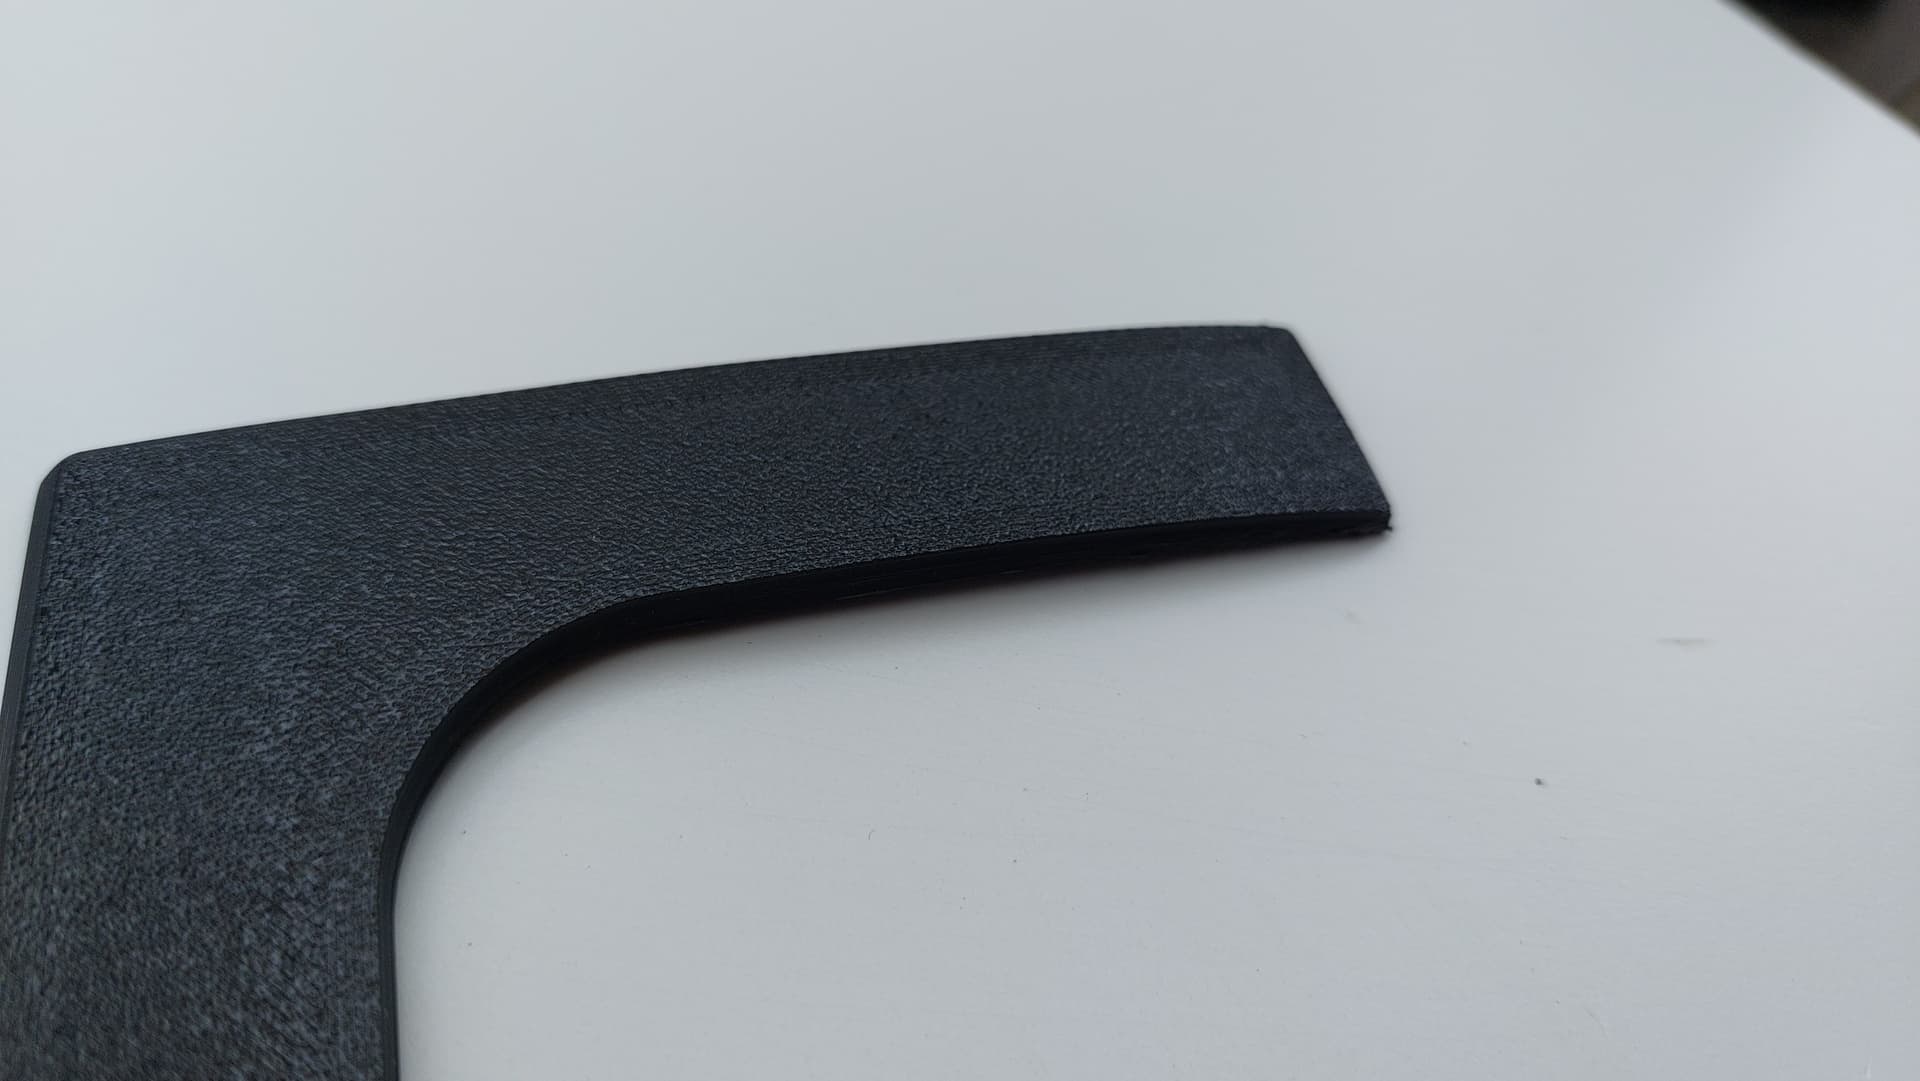
The corners where the seams are located are protruding a bit.
Also some gaps here and there.
Bridges look ok.
Any thoughts on what to change next to improve ? Or should I settle for this ? ![]()
The corners with seams. Seam position is aligned.
These are at 2x magnification and very close. Not really visible from 50 cm away.
And I’m done. I think settings are very good now. At least I can not do any better. Layer height 0.16. Prusament PETG White.
Pics were taken with 2x magnification.

Printing this model helped also as it was quite a challenge to print it without supports in a vertical position. Layer height 0.16 also. Prusament PETG White.
vladimir.minkov … just wanted to extend a big thank you, the settings from your post solved all the problems I was having with blob buildup causing tear/streaking in otherwise smooth walls. Thank you!
Tested with all your settings but adjusted temperature min230 max250 for use with Overture PETG
2 Likes
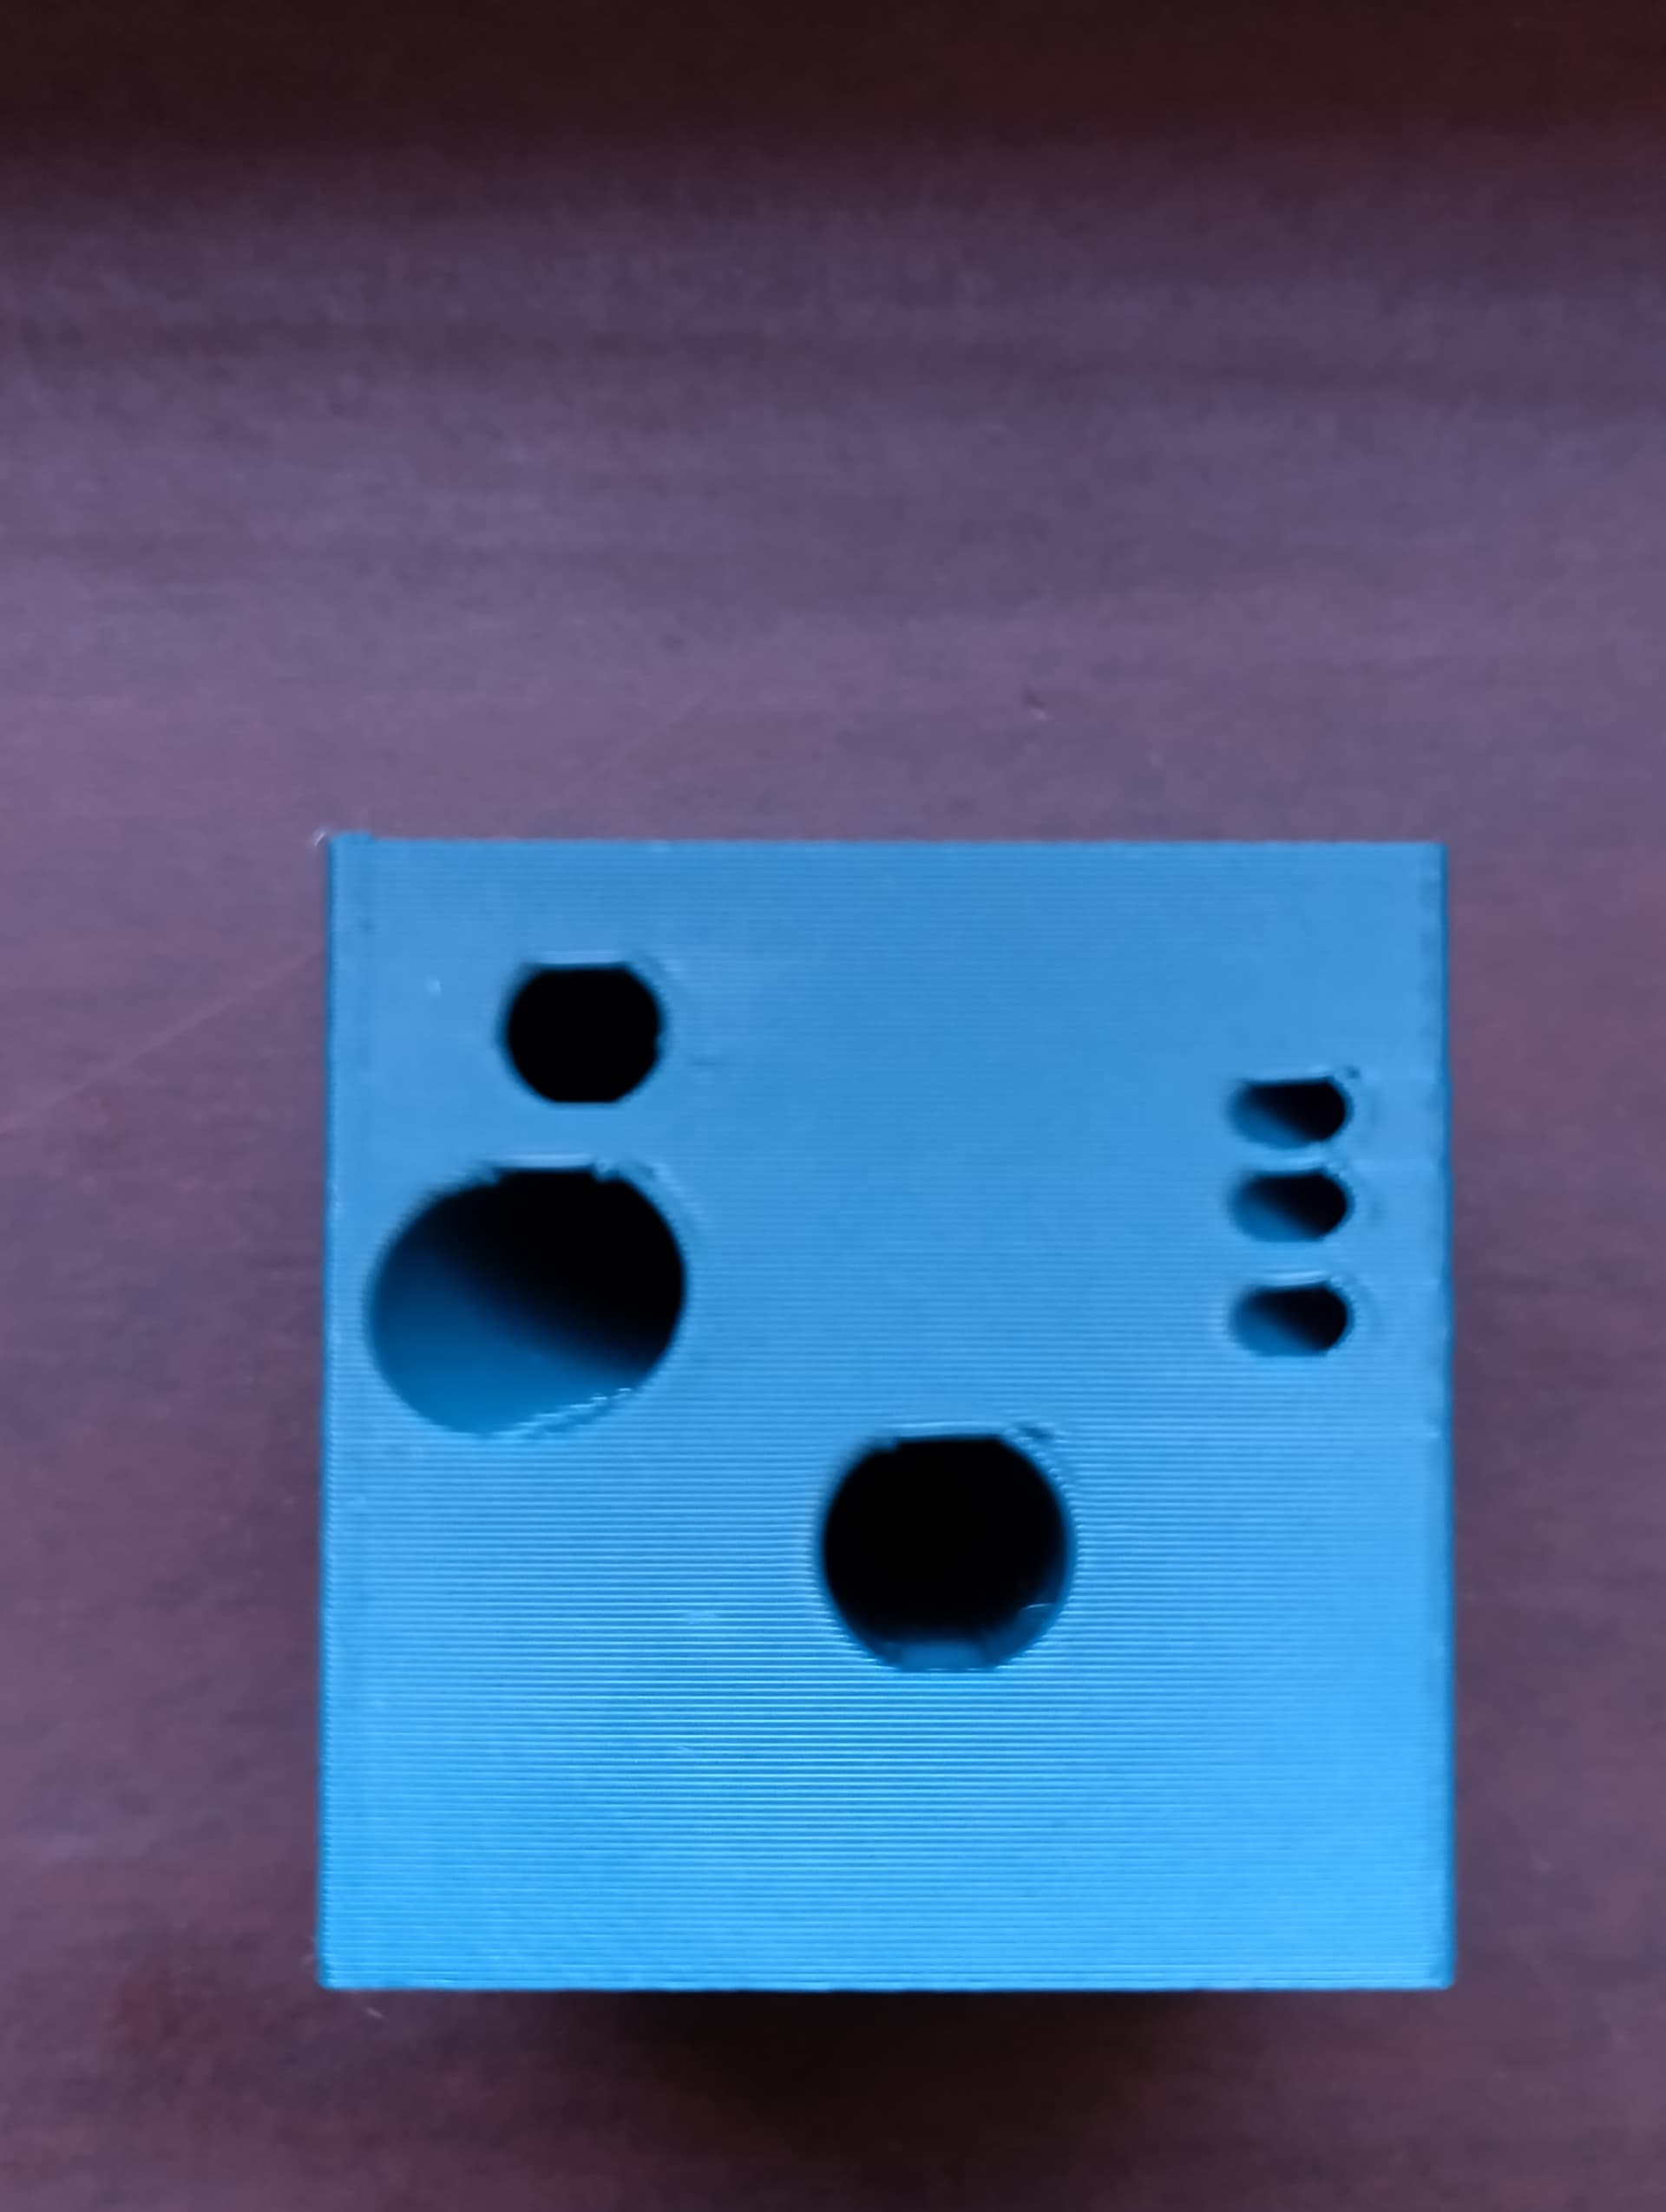
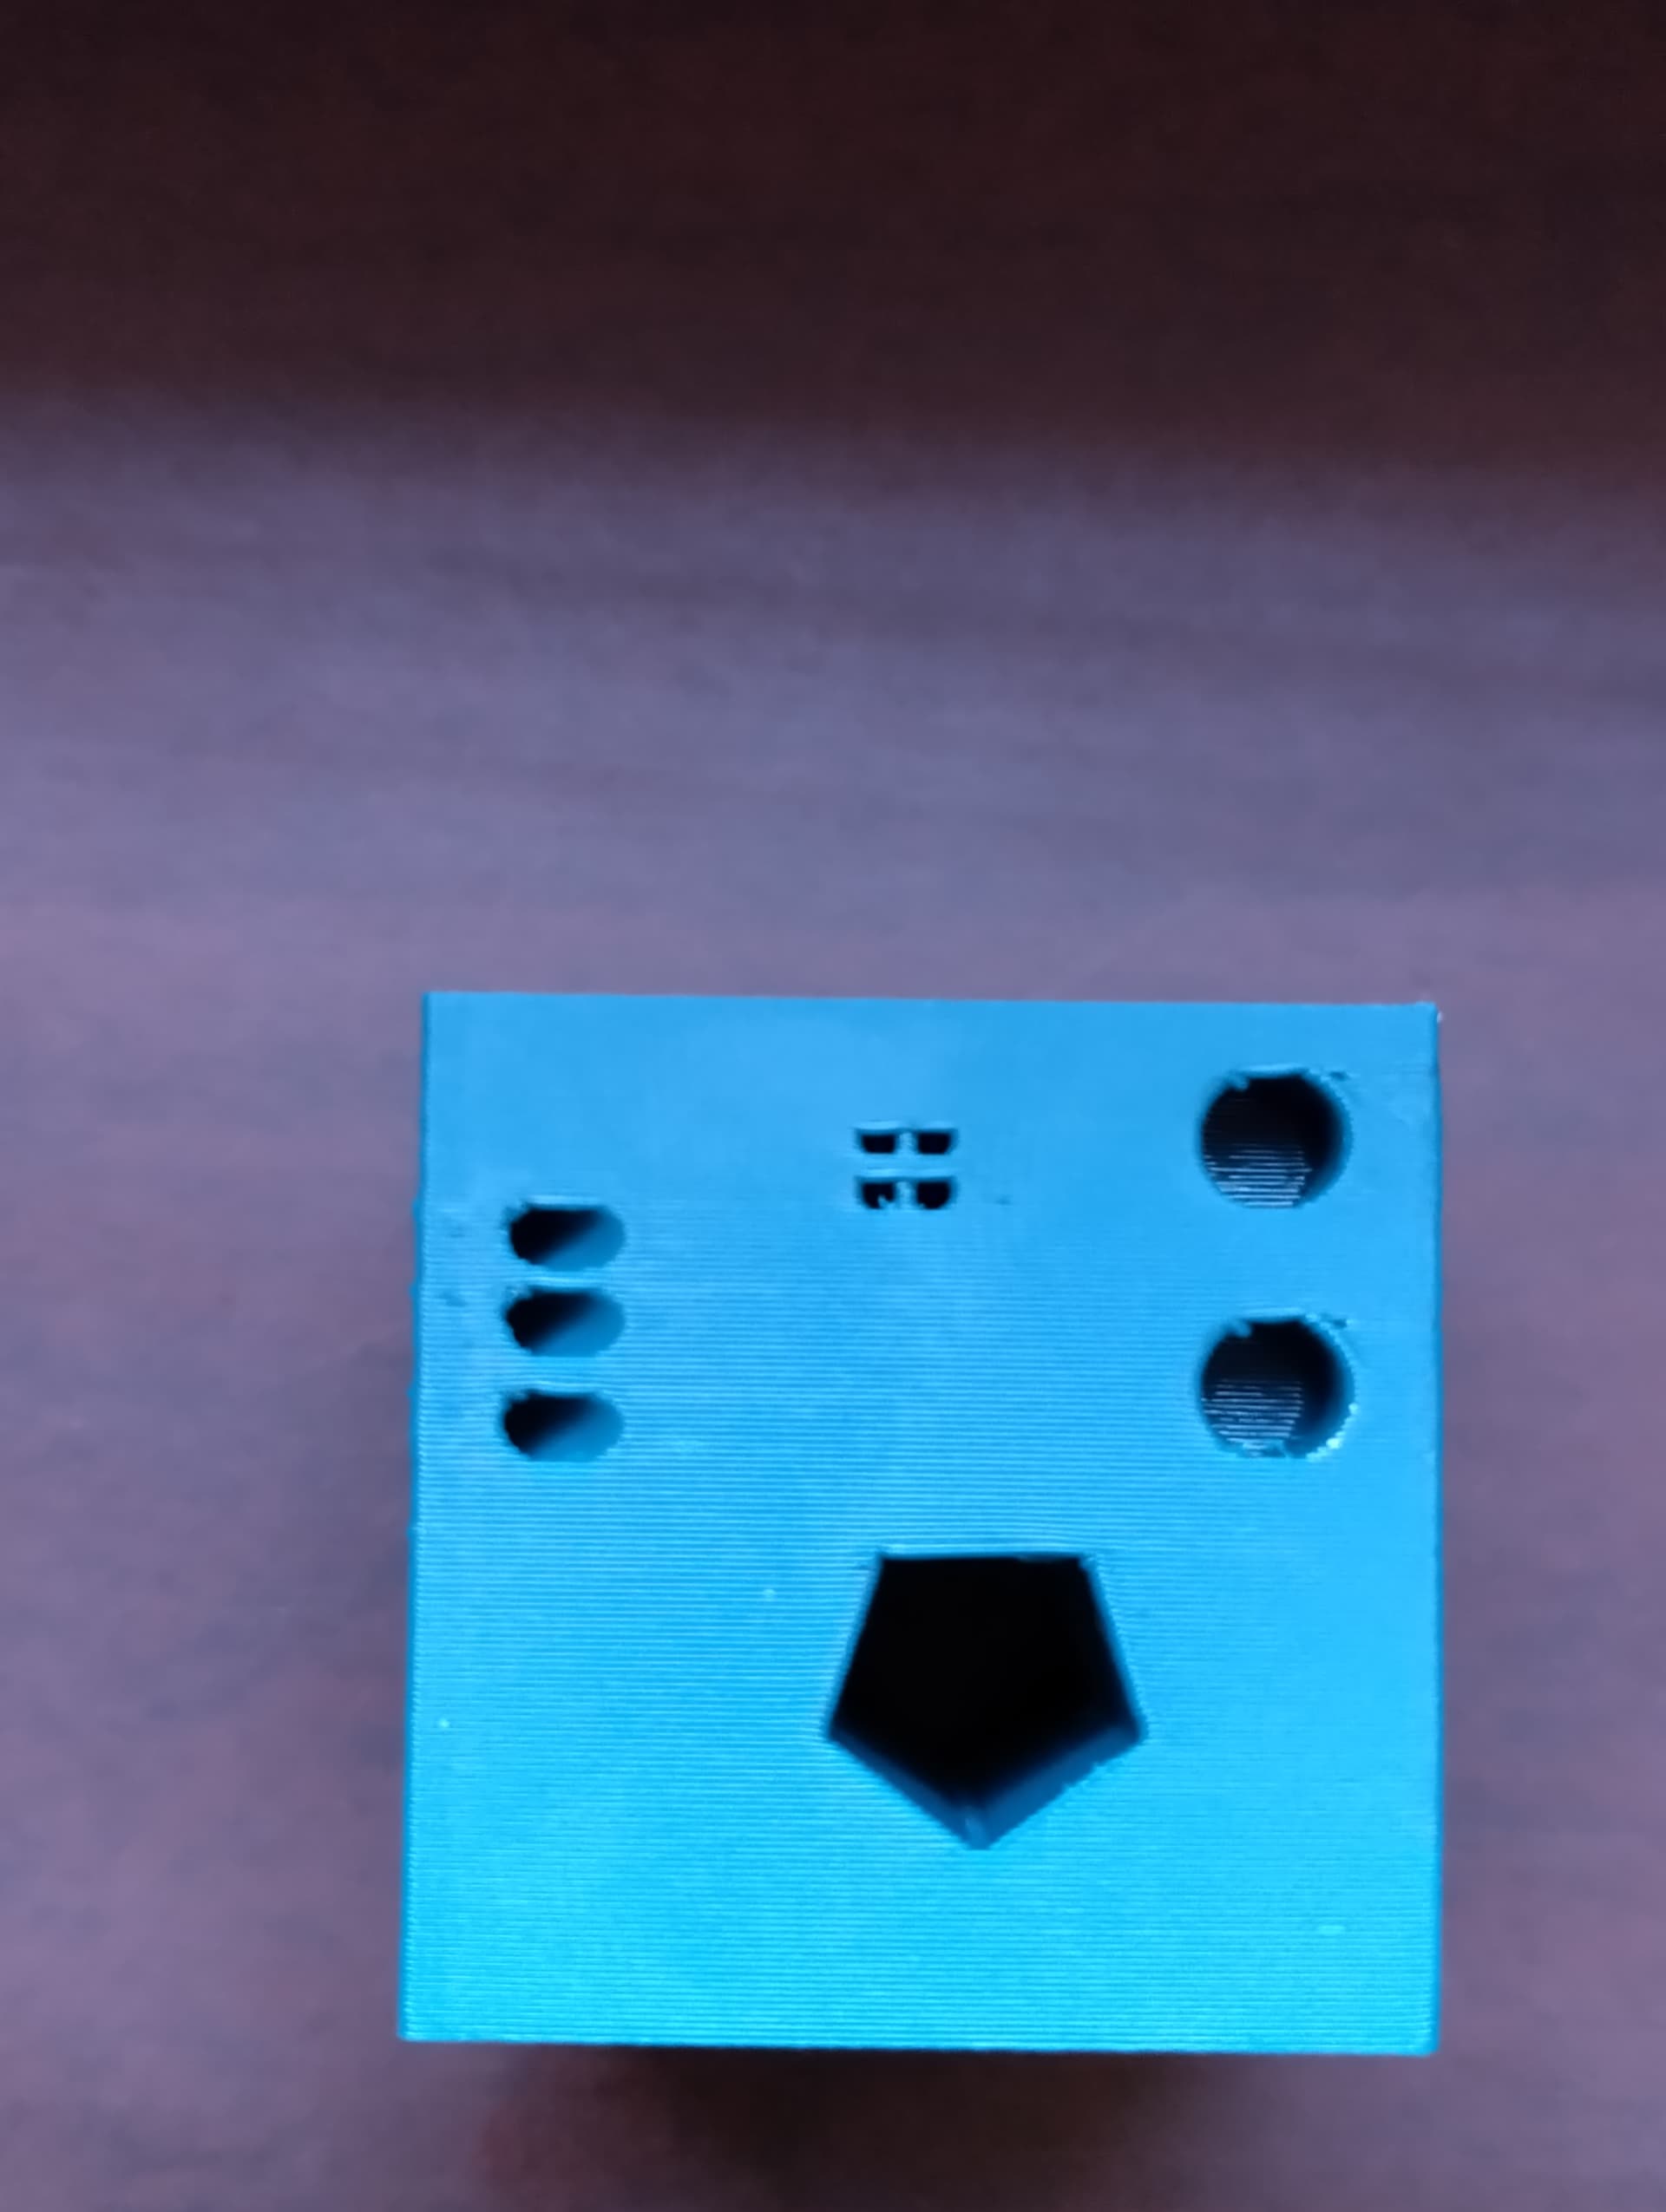
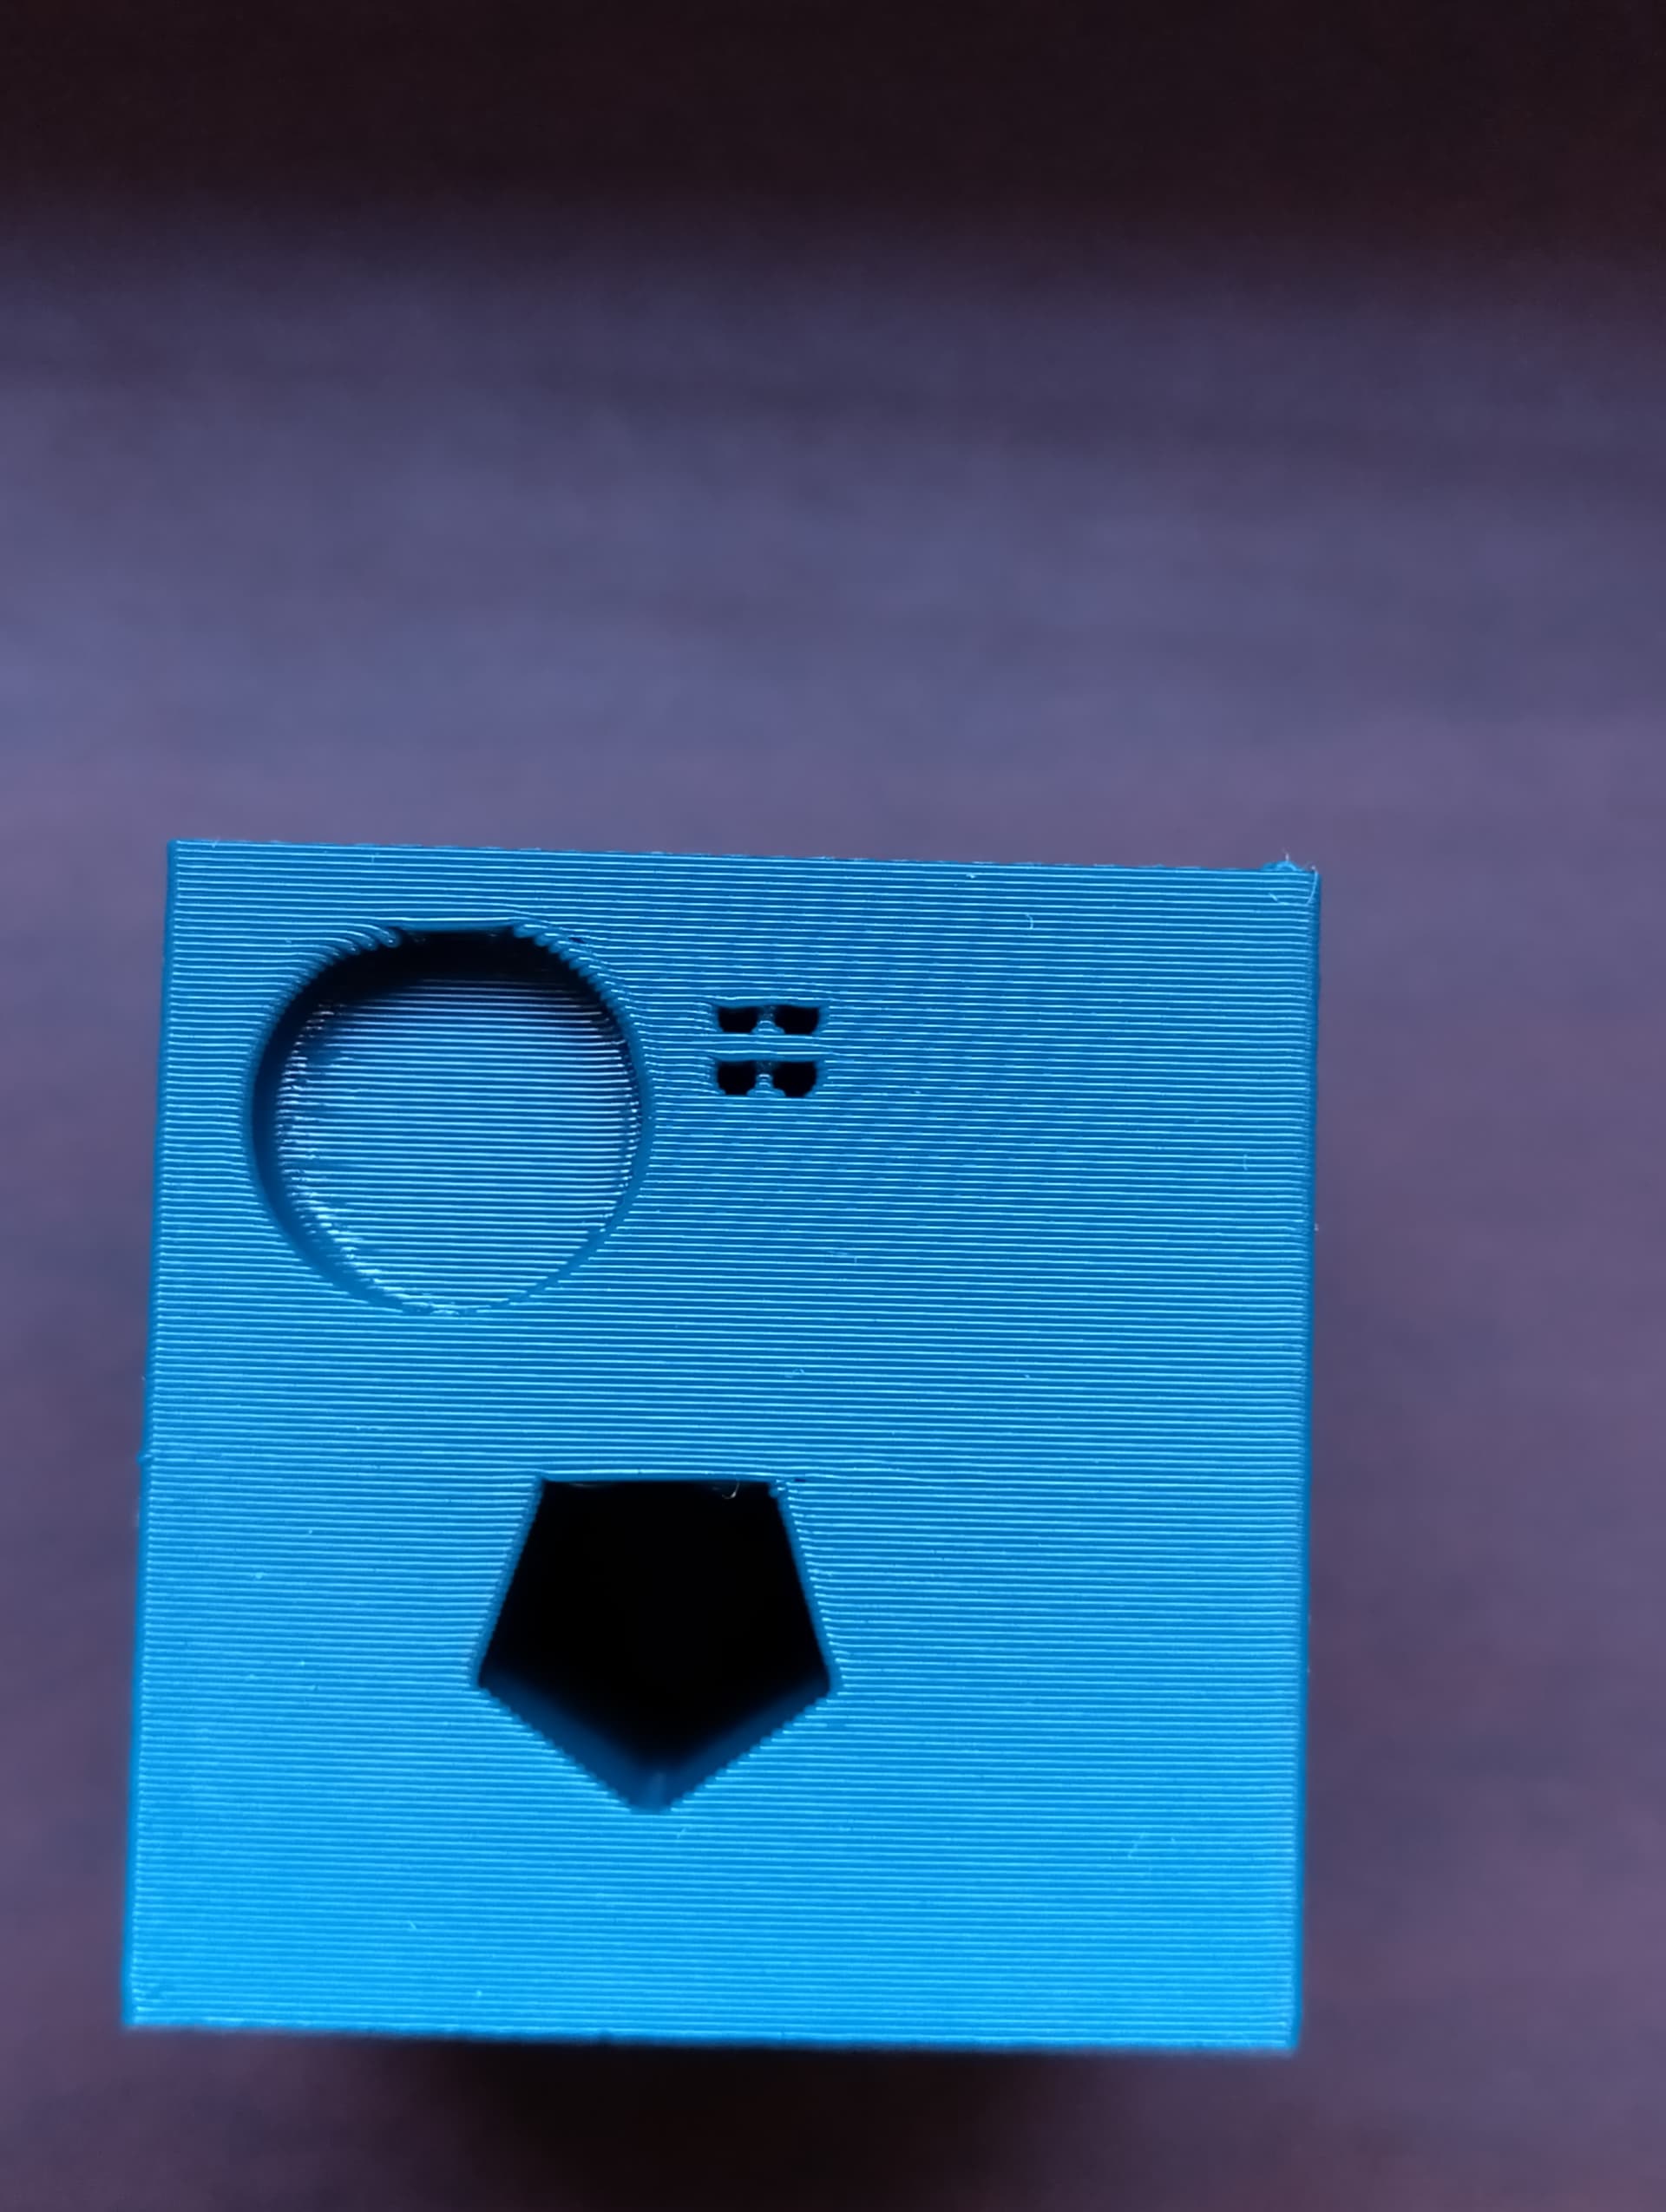
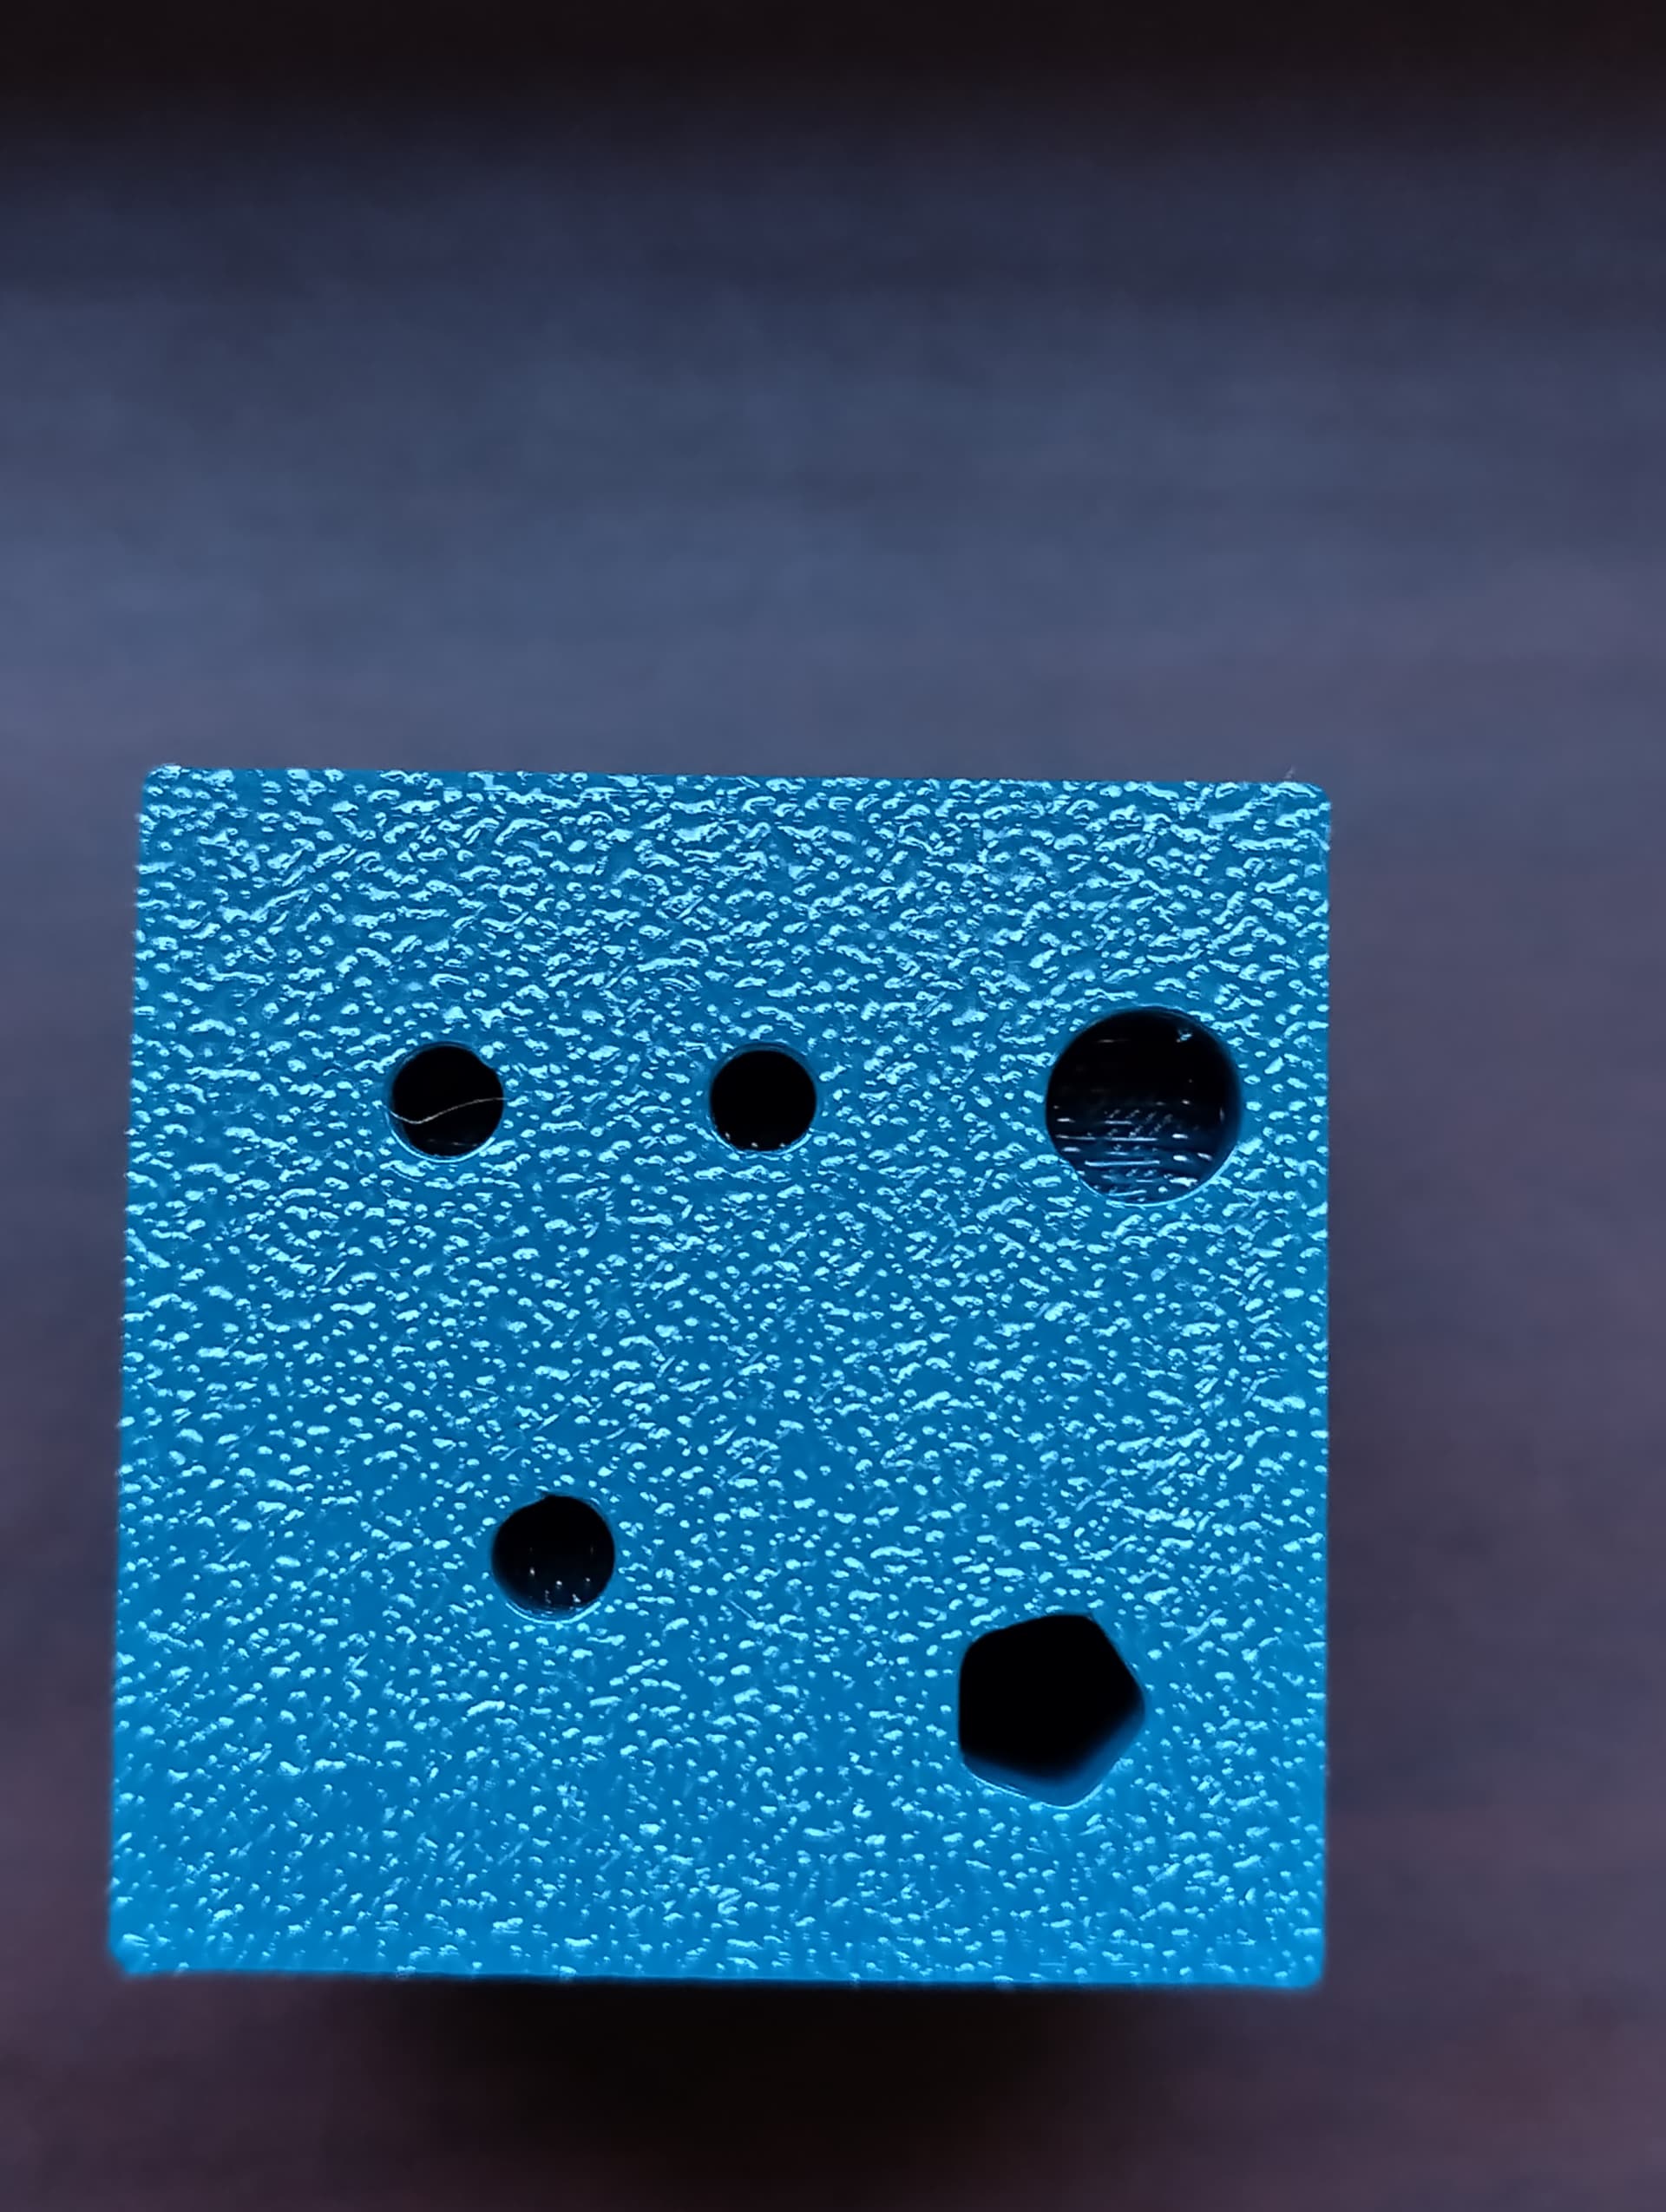
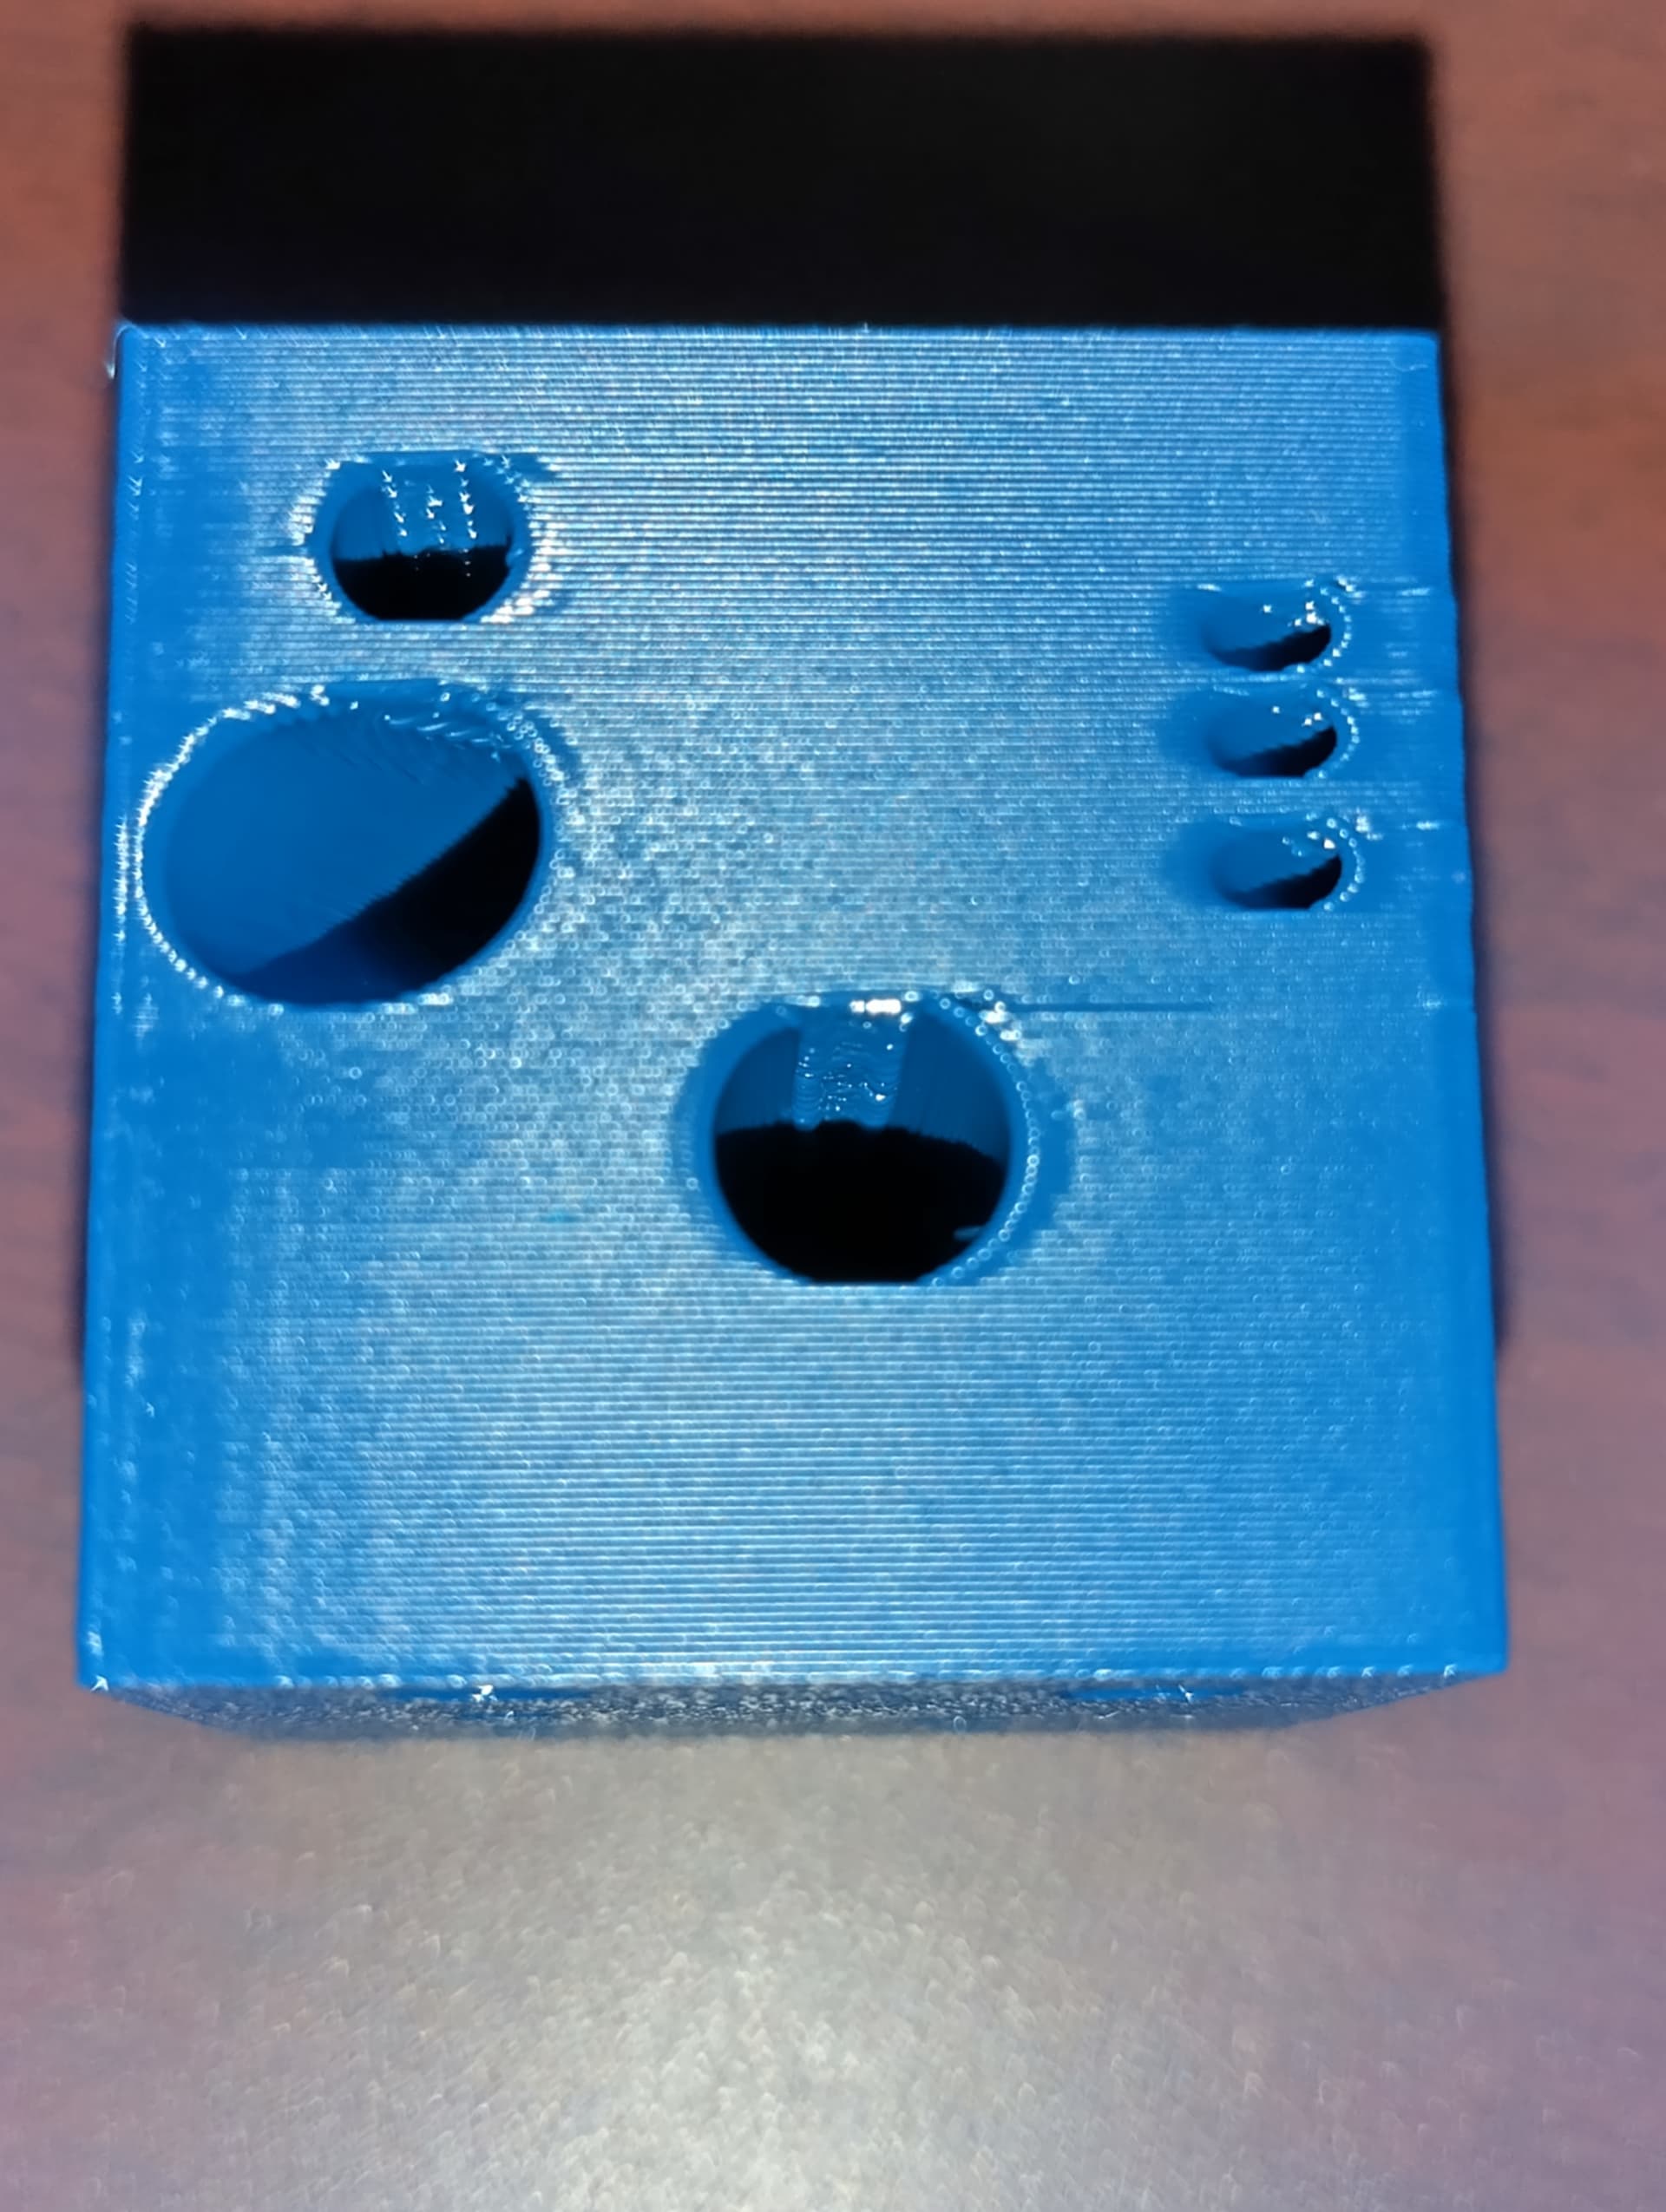
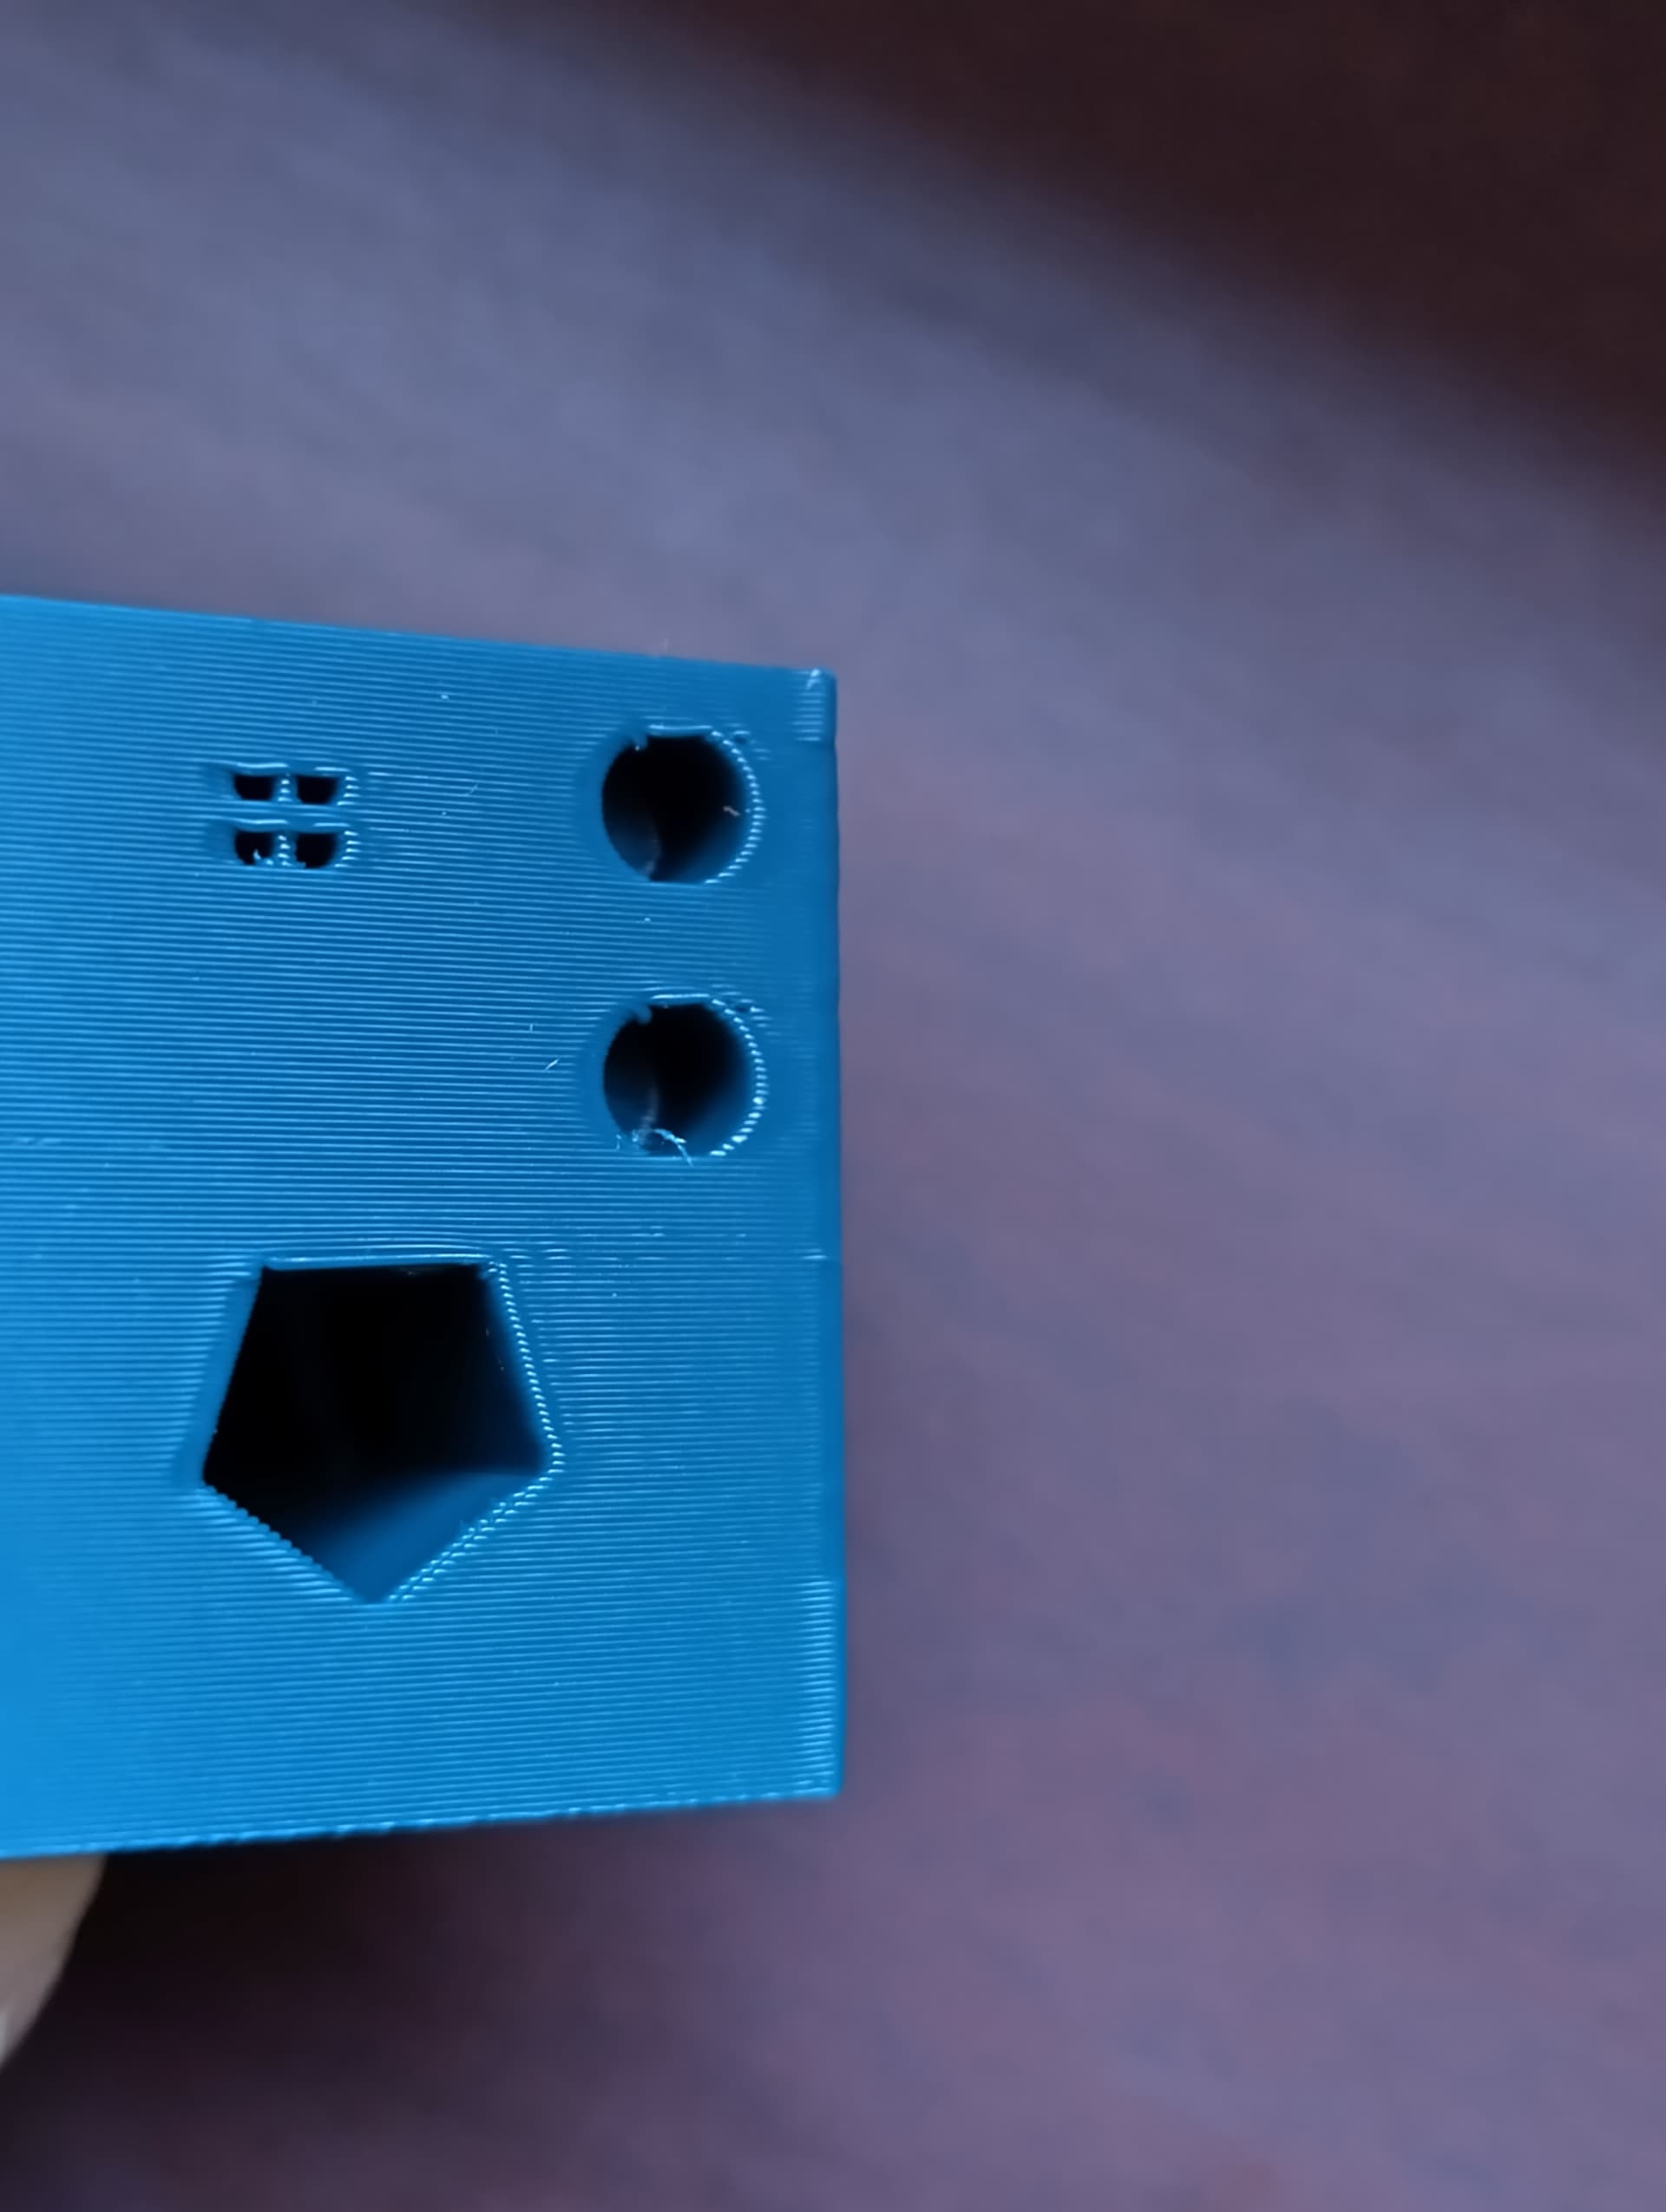
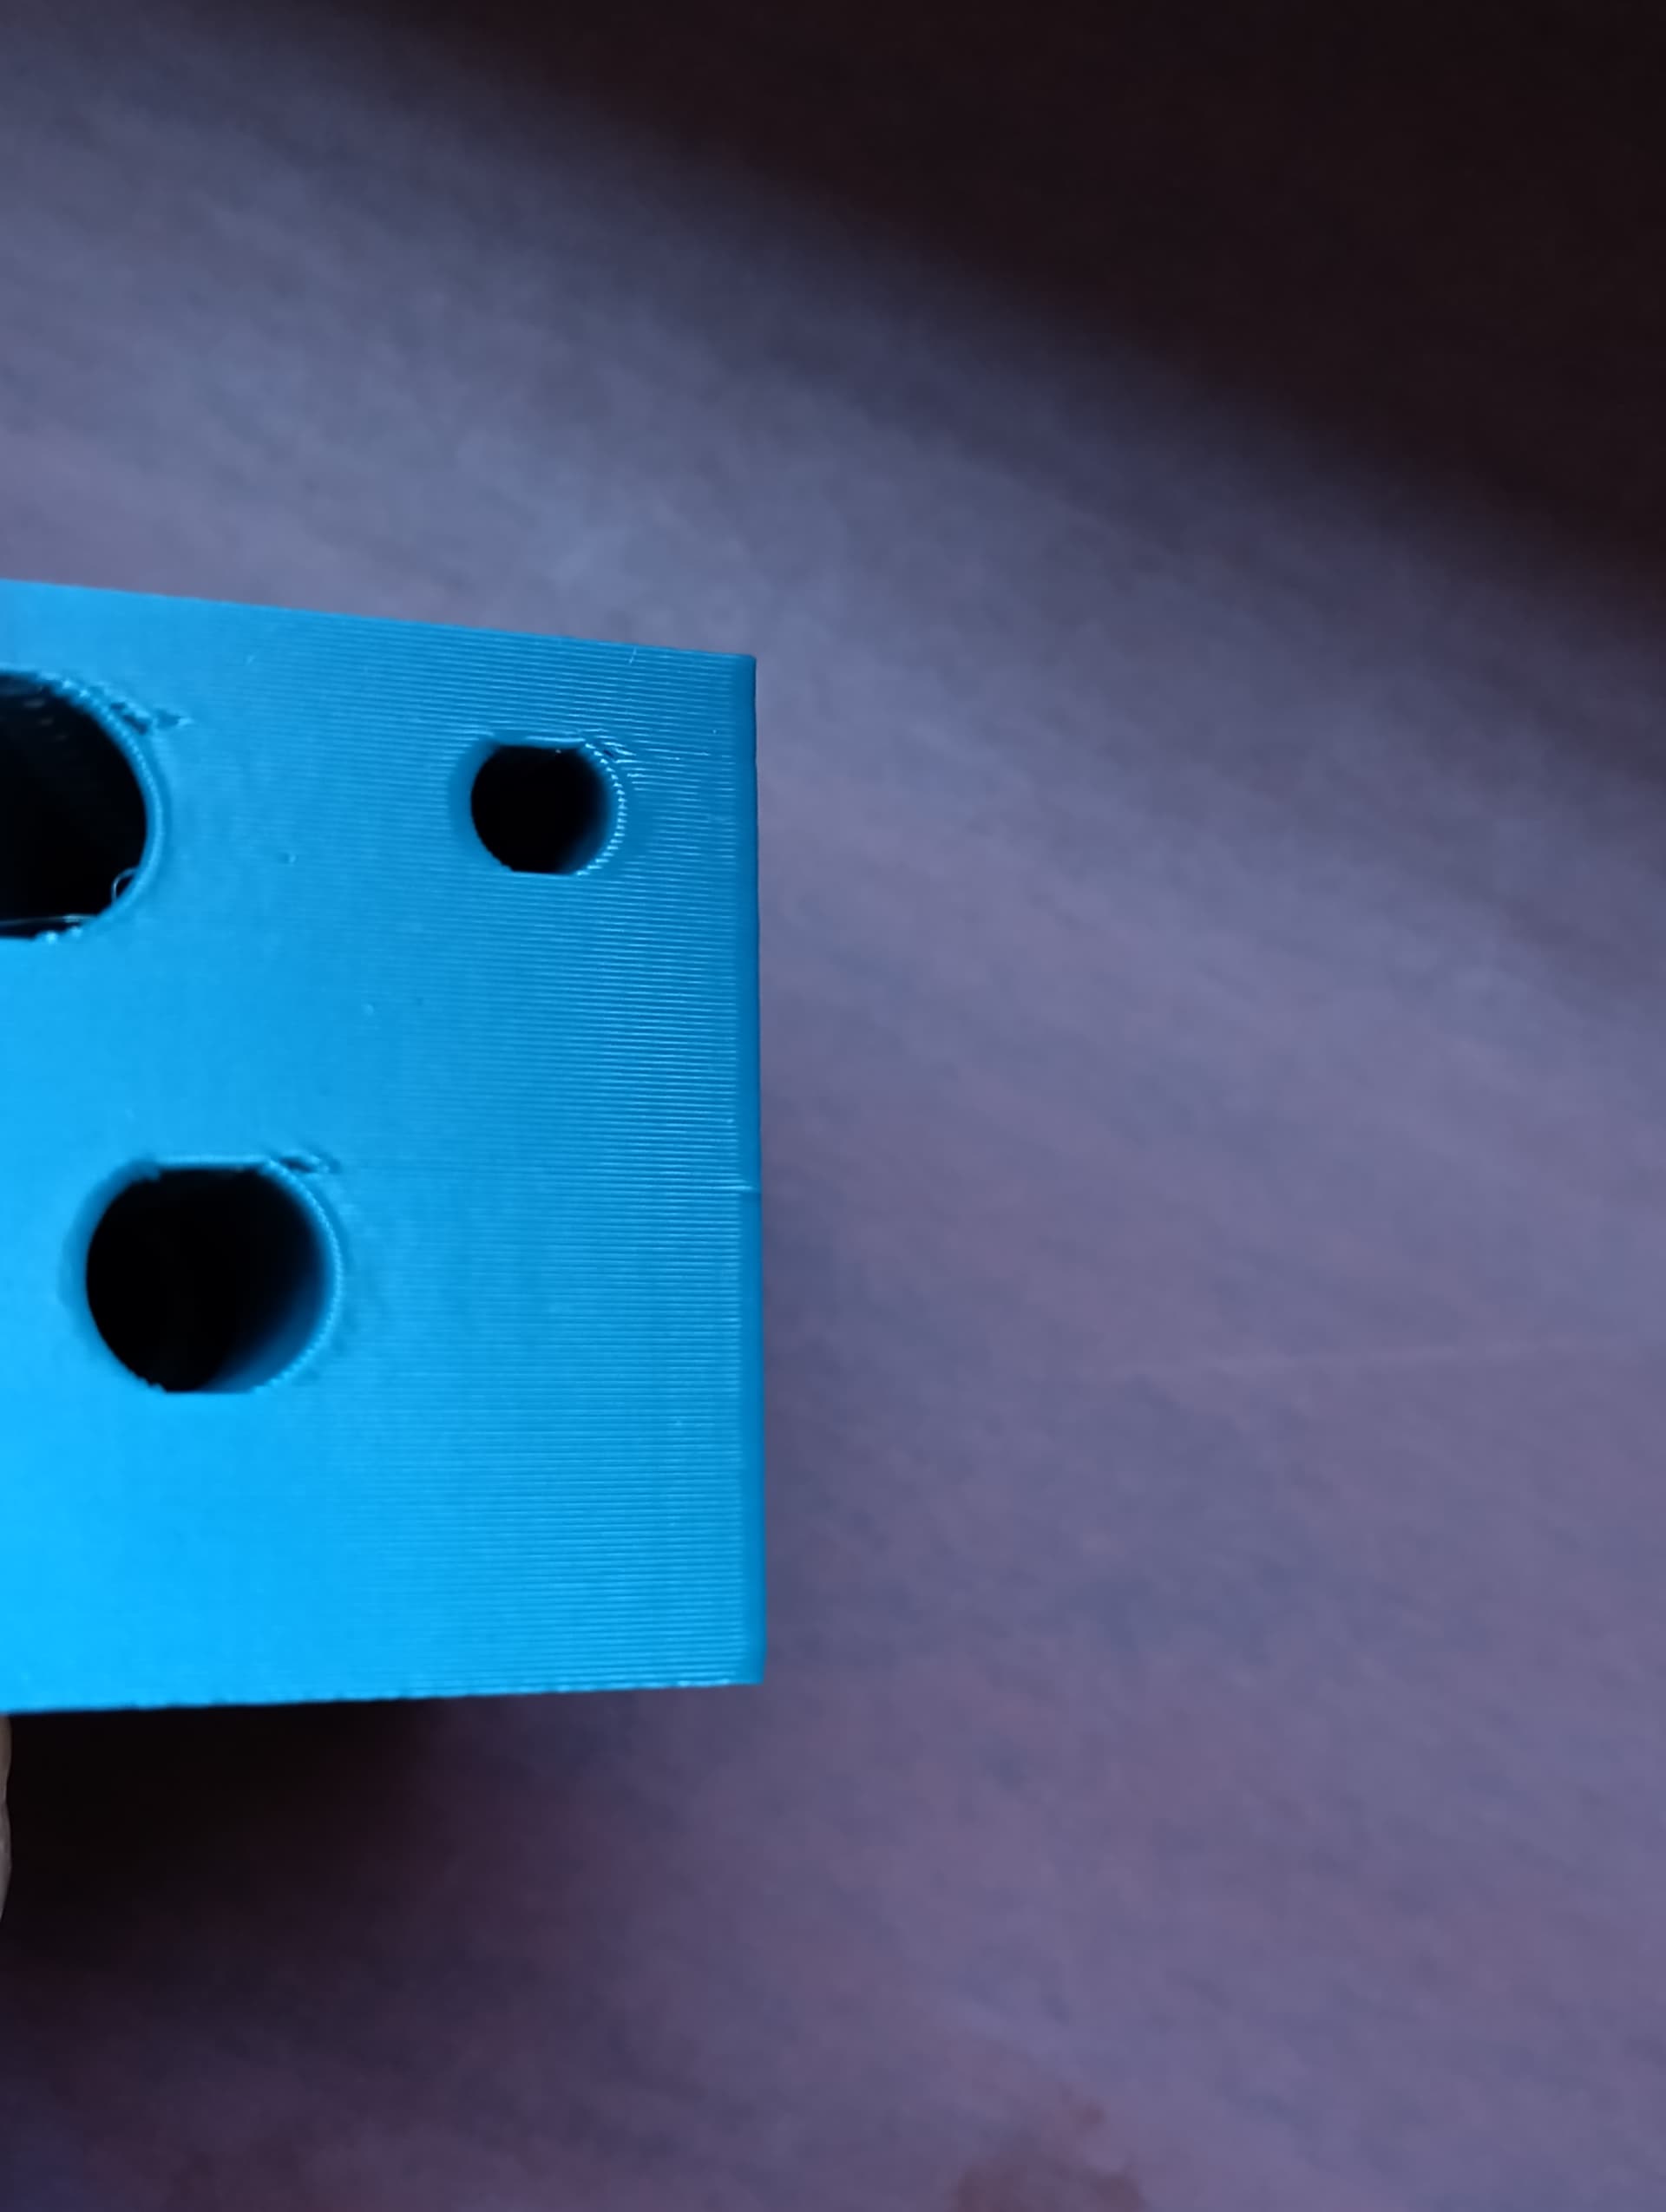
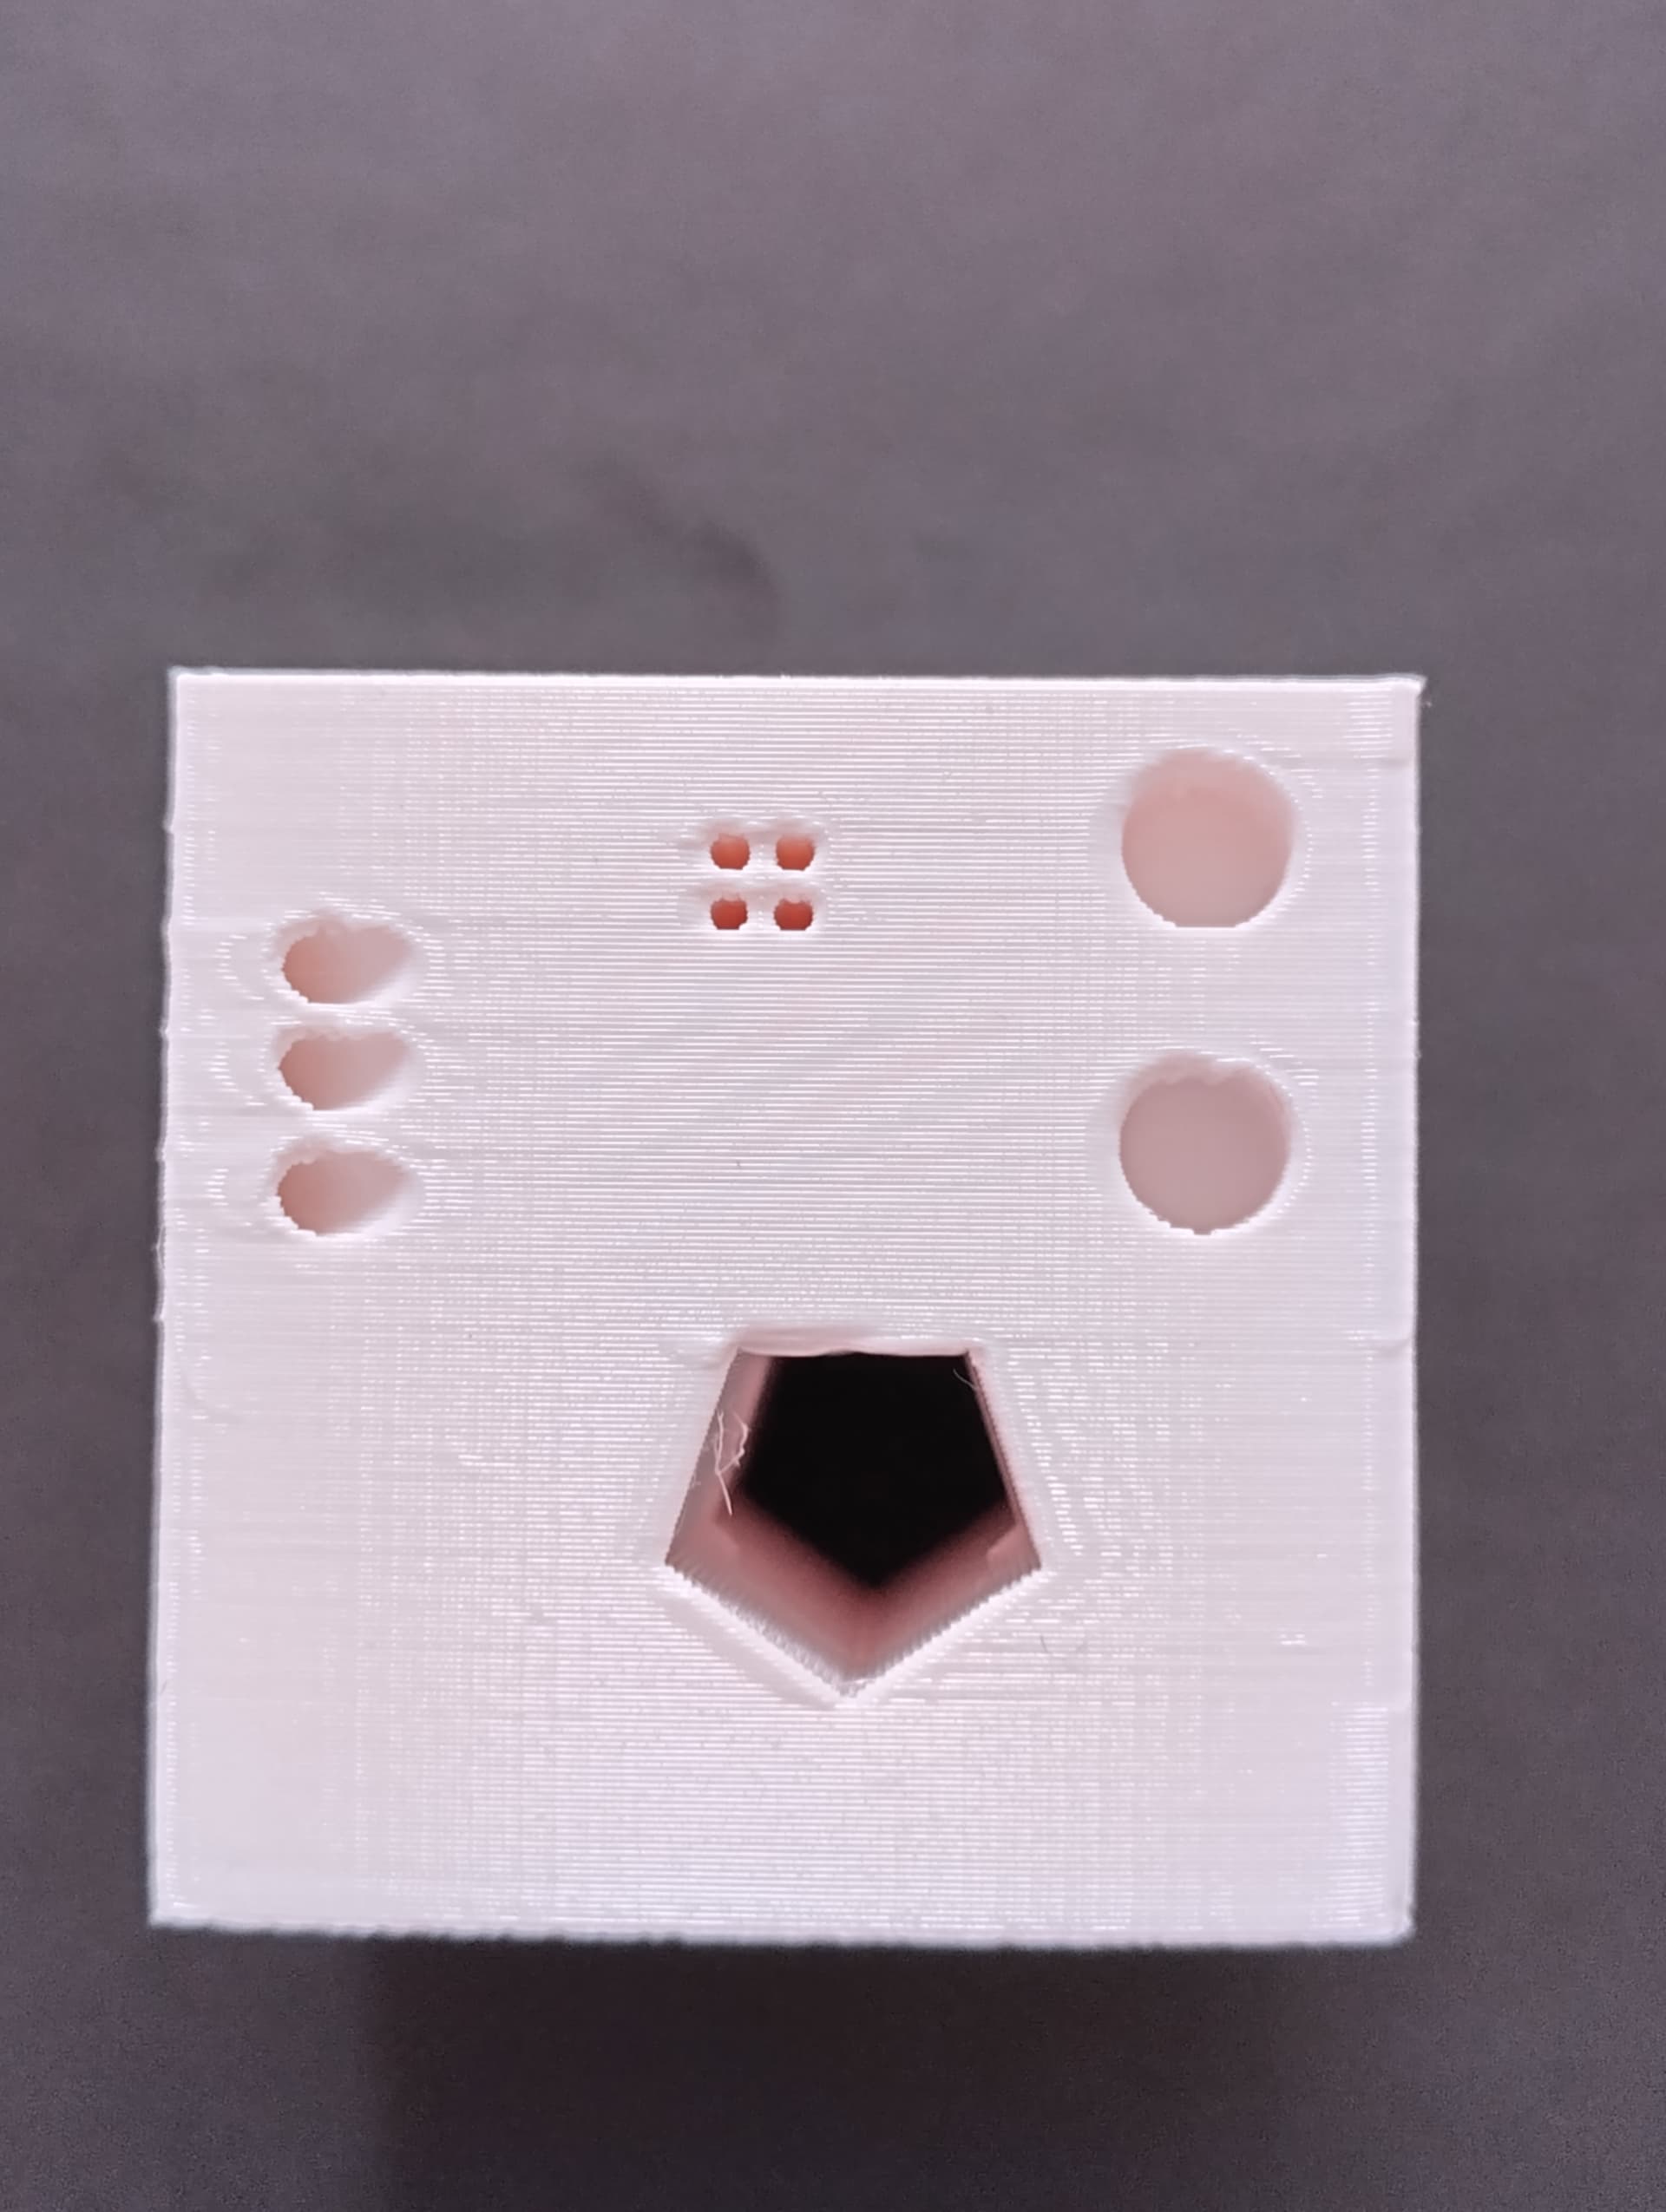
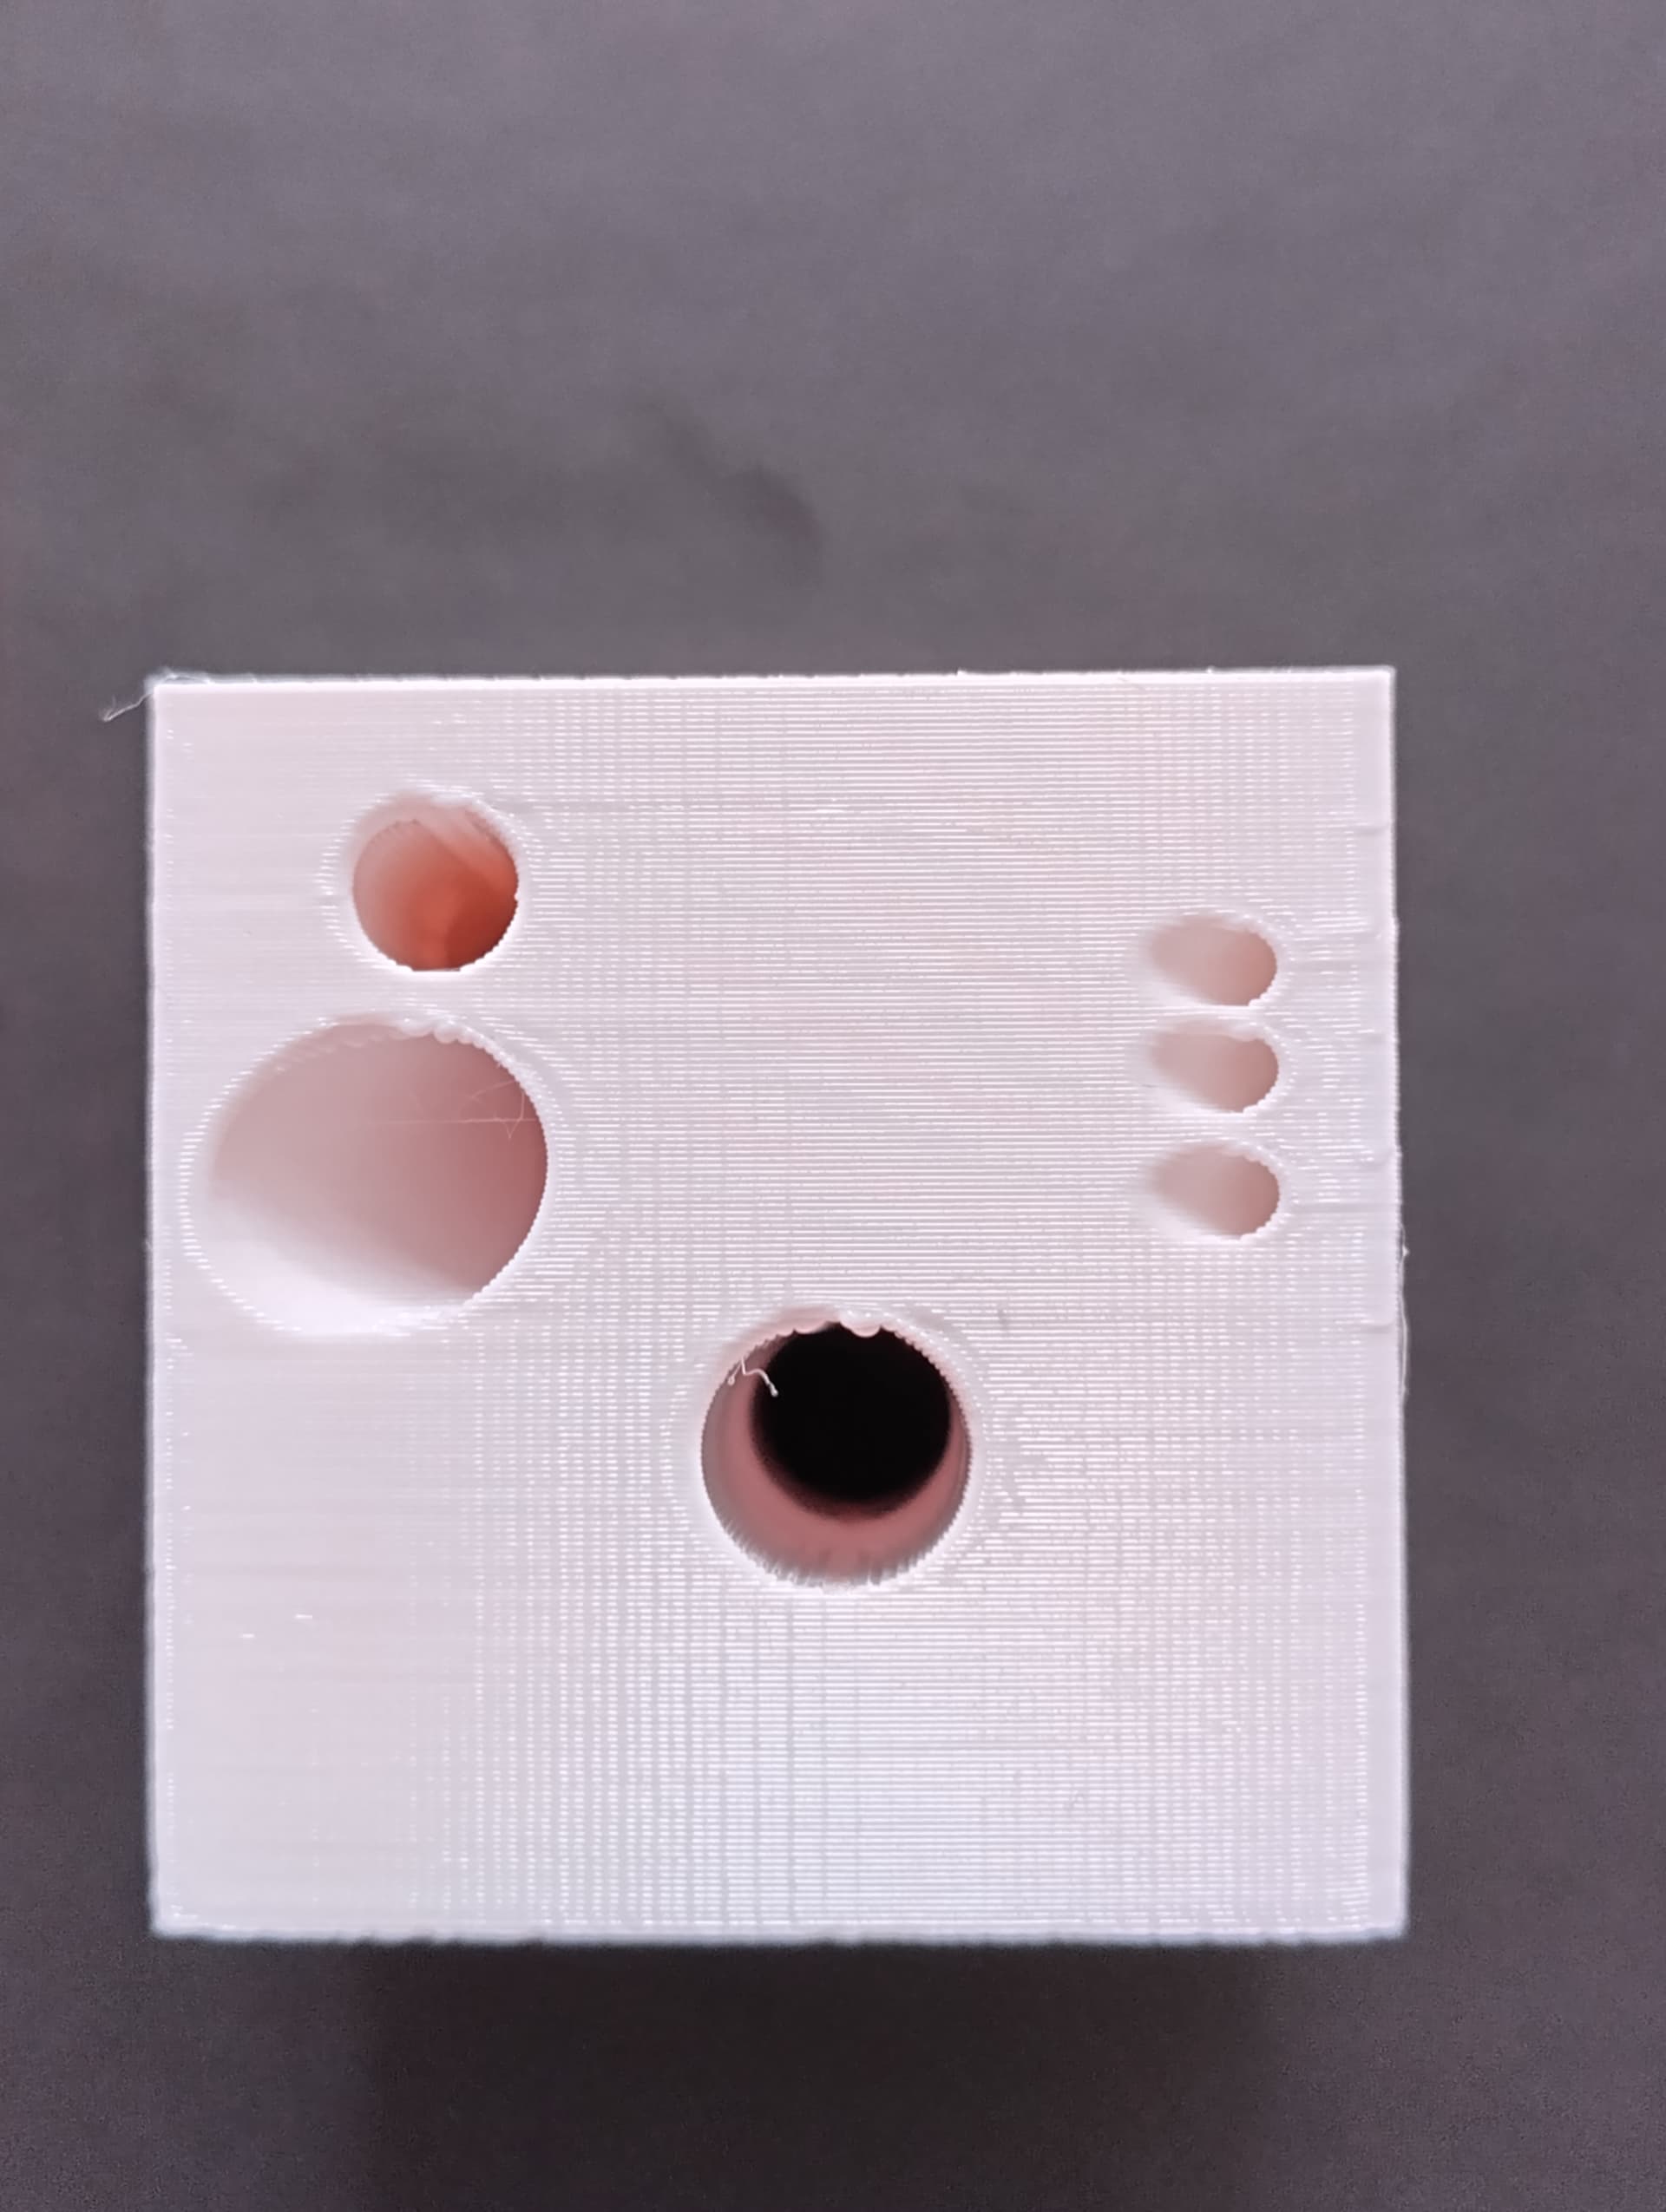
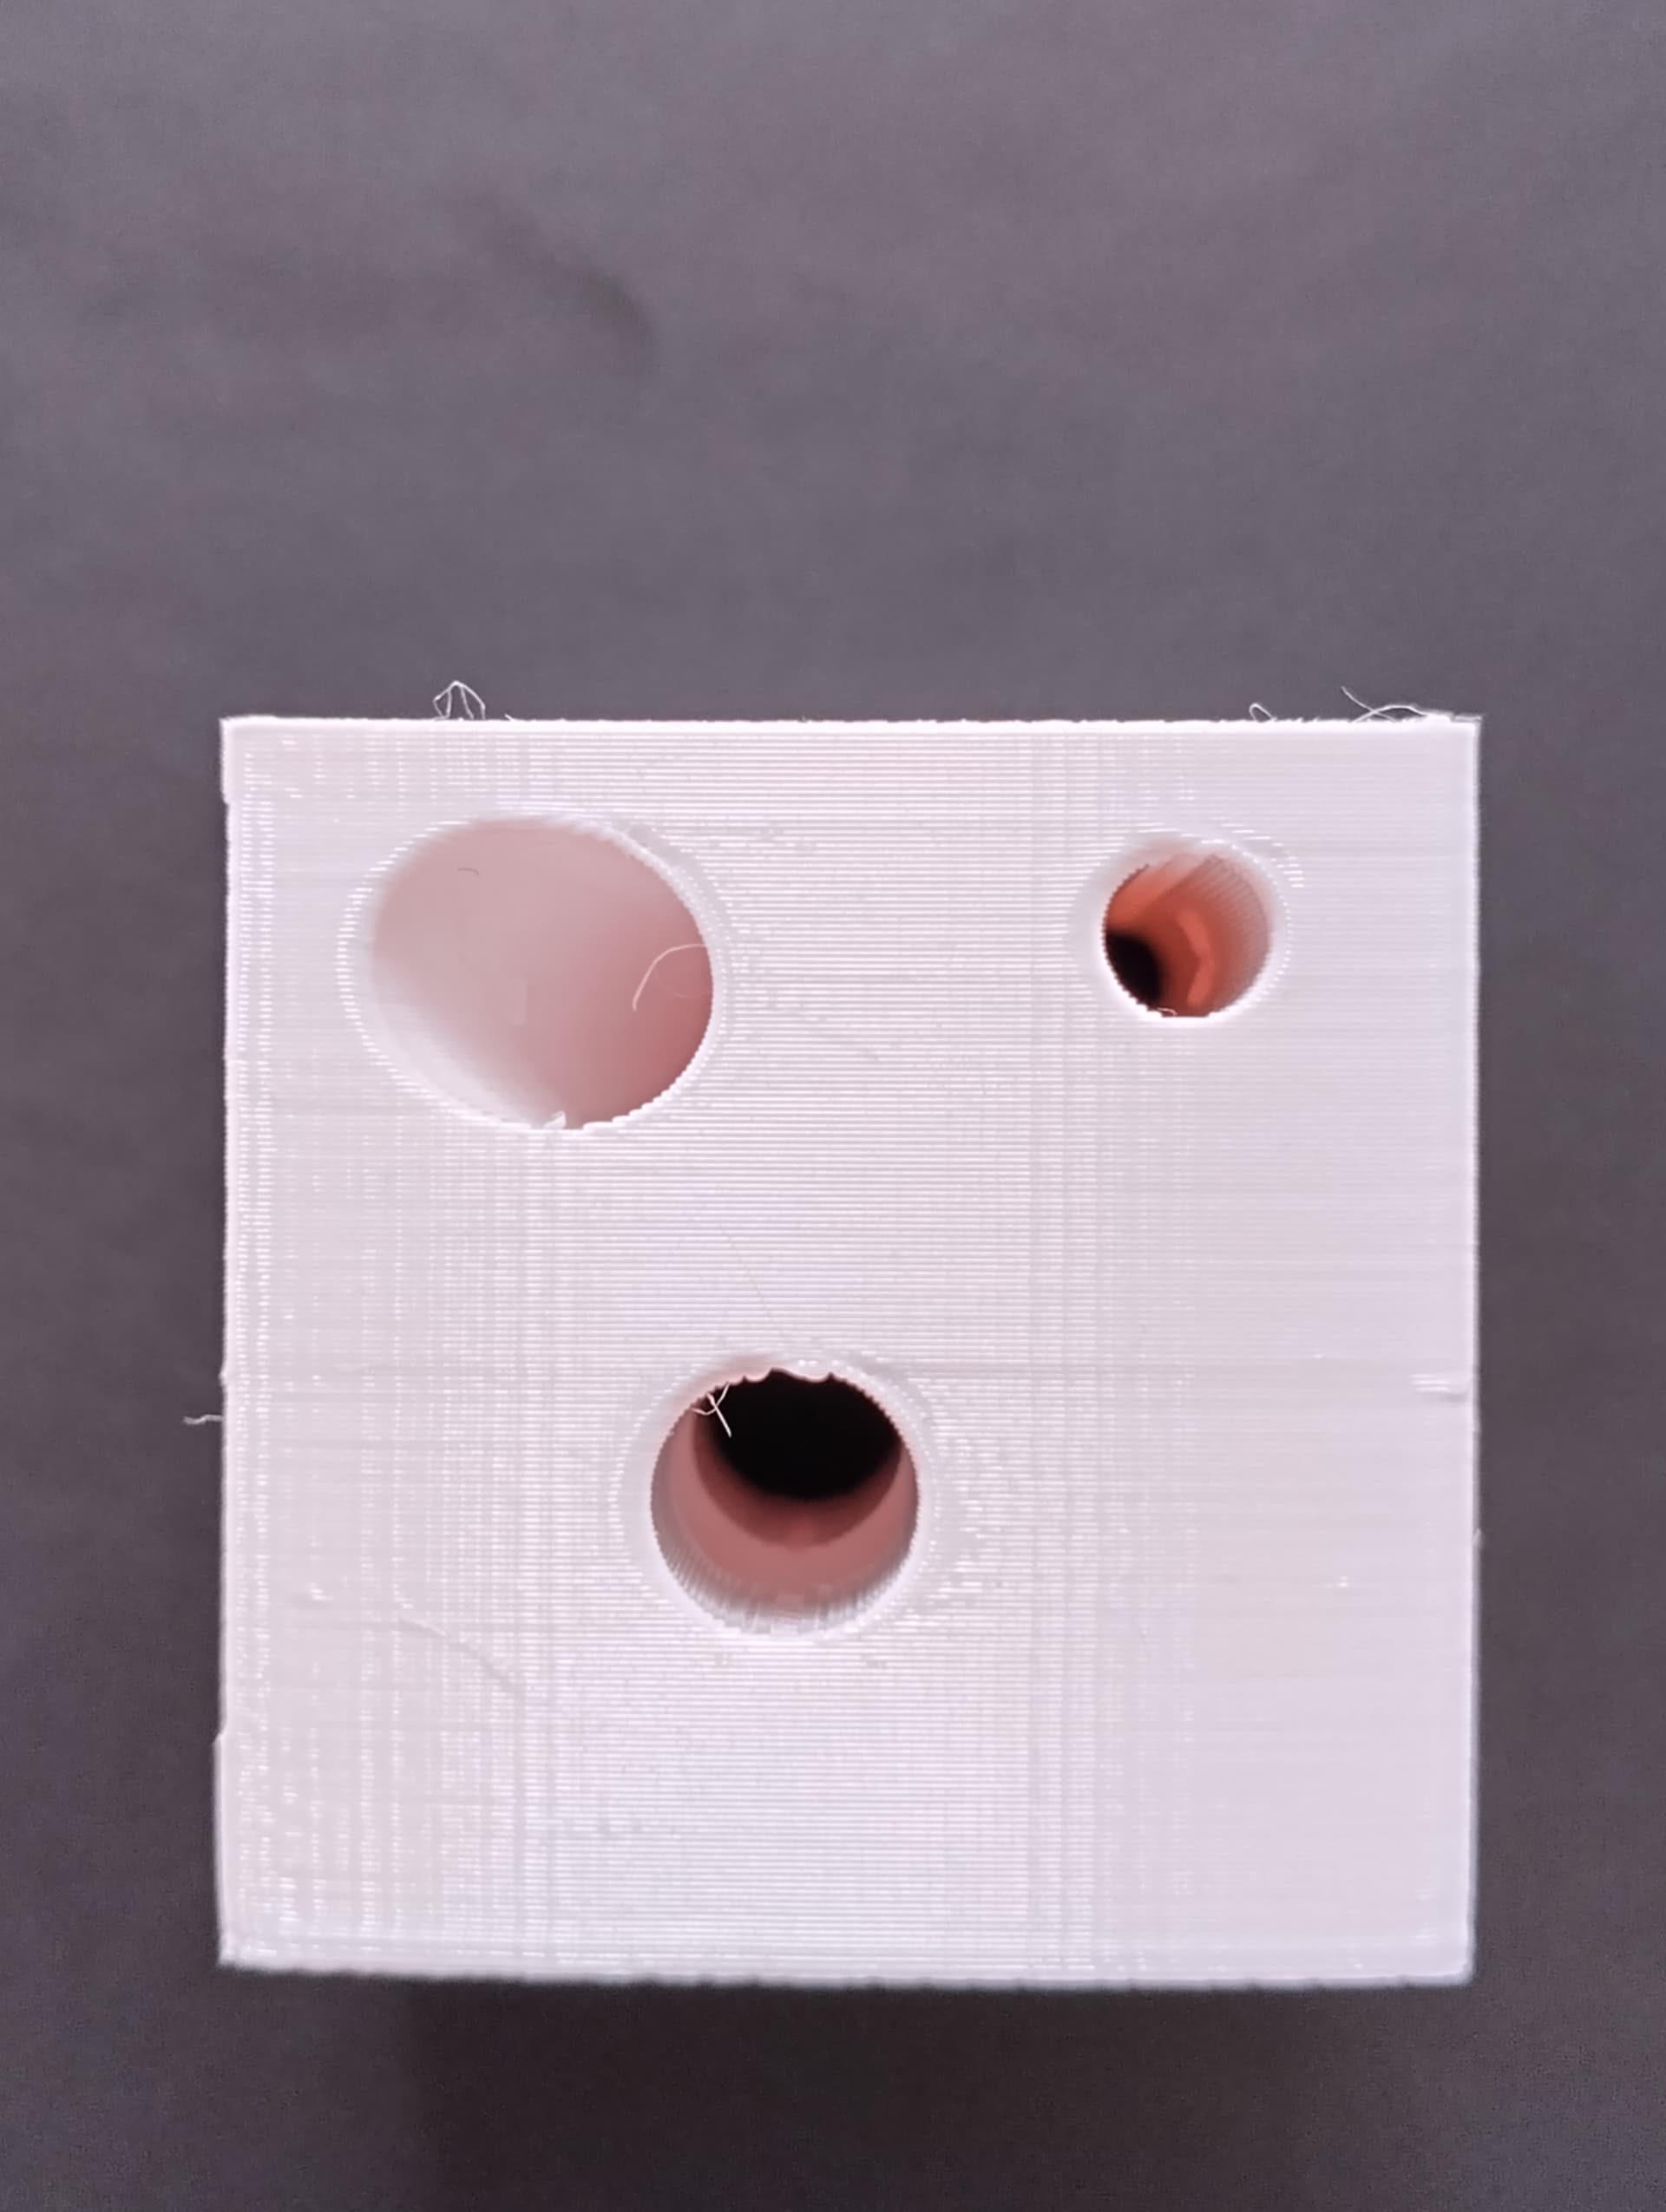
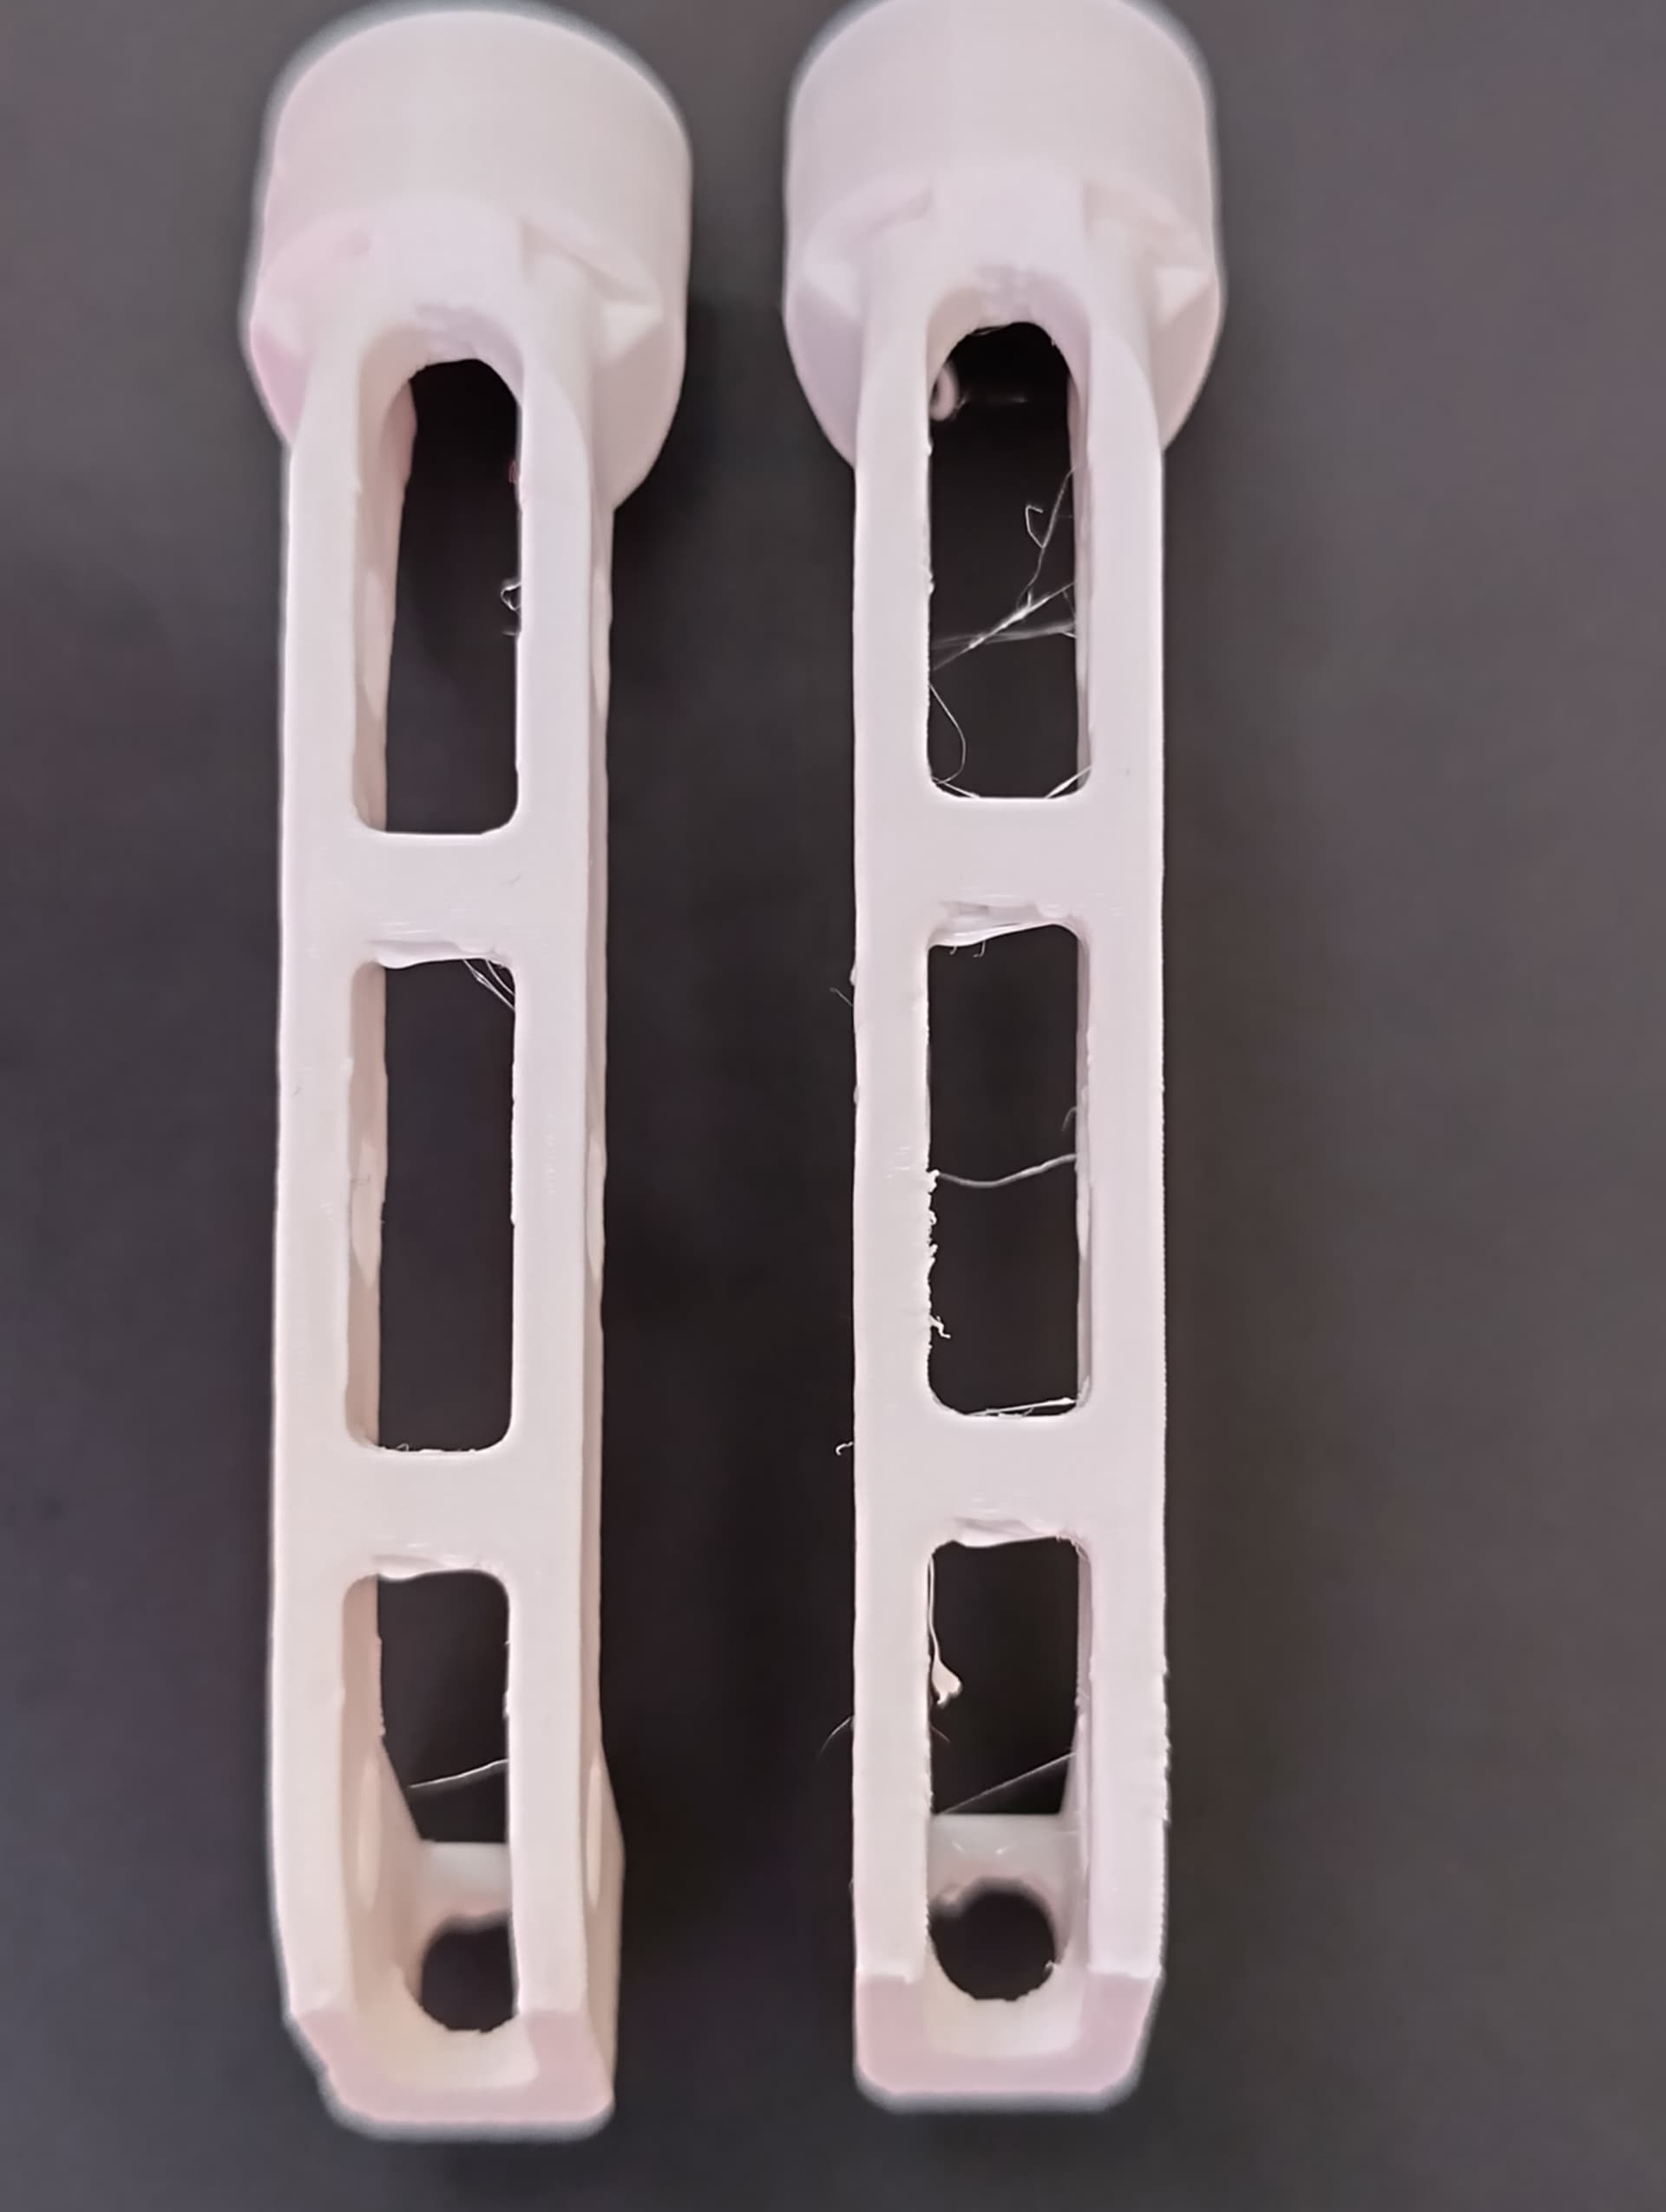
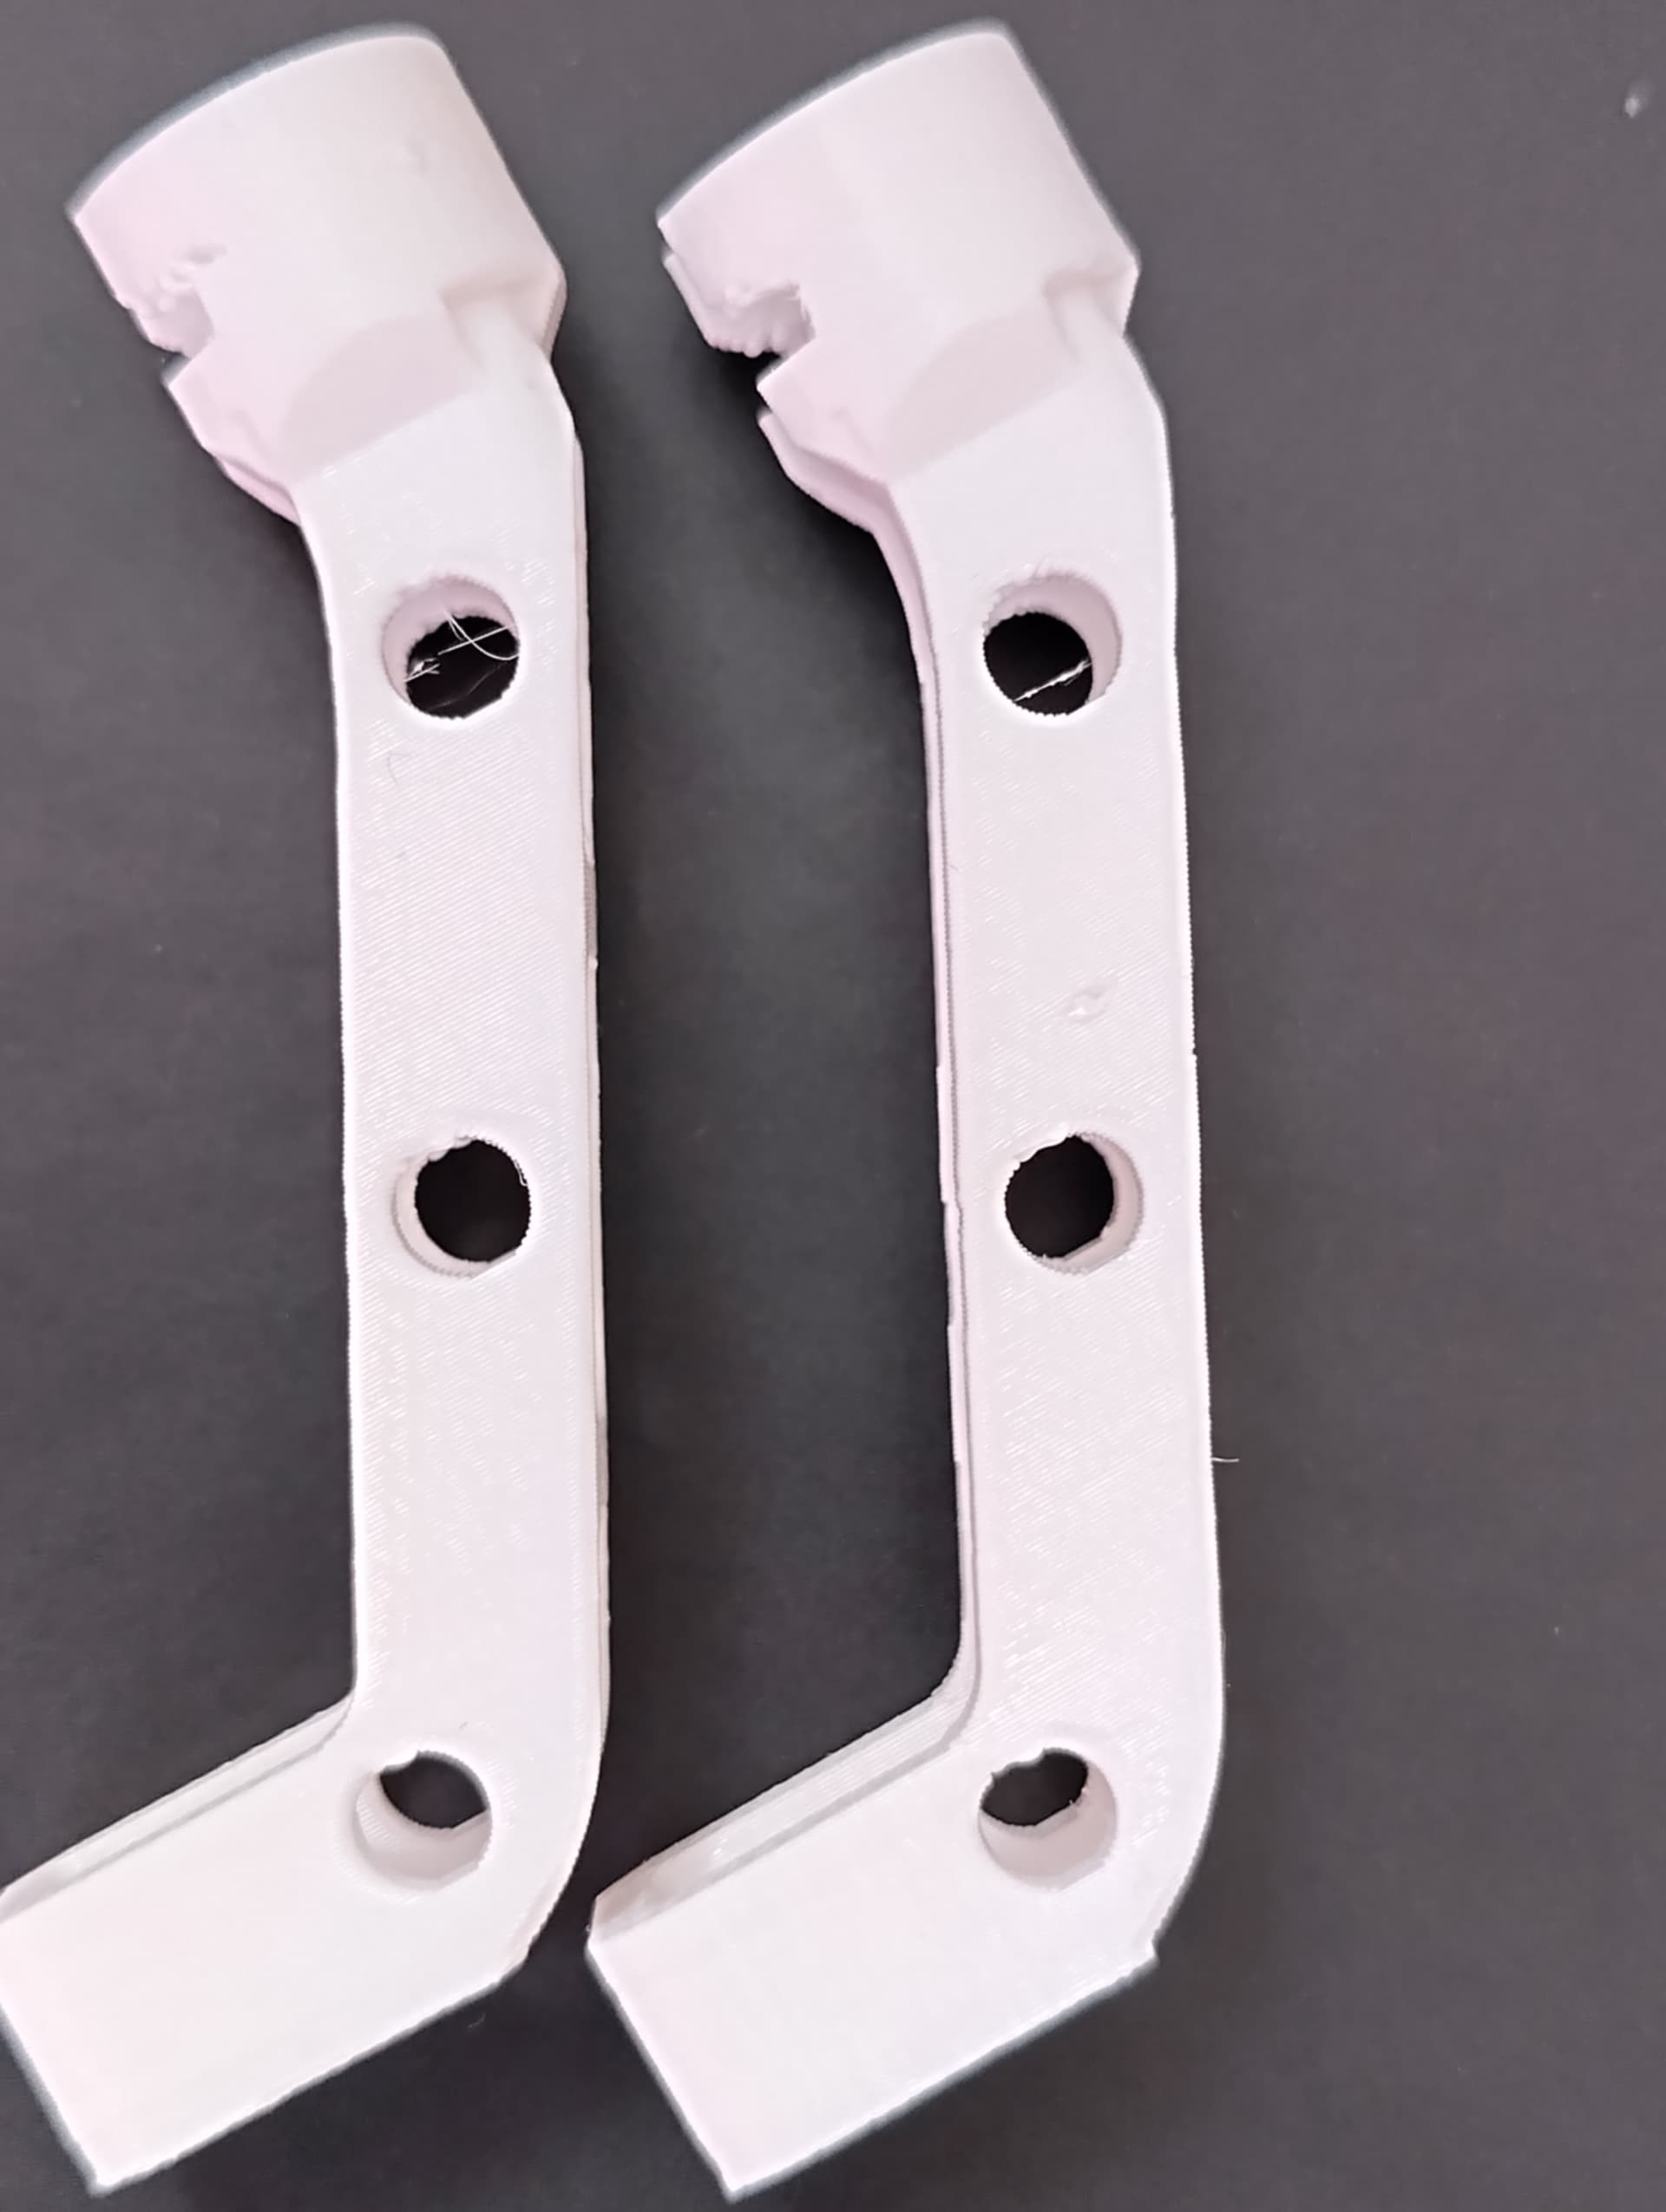
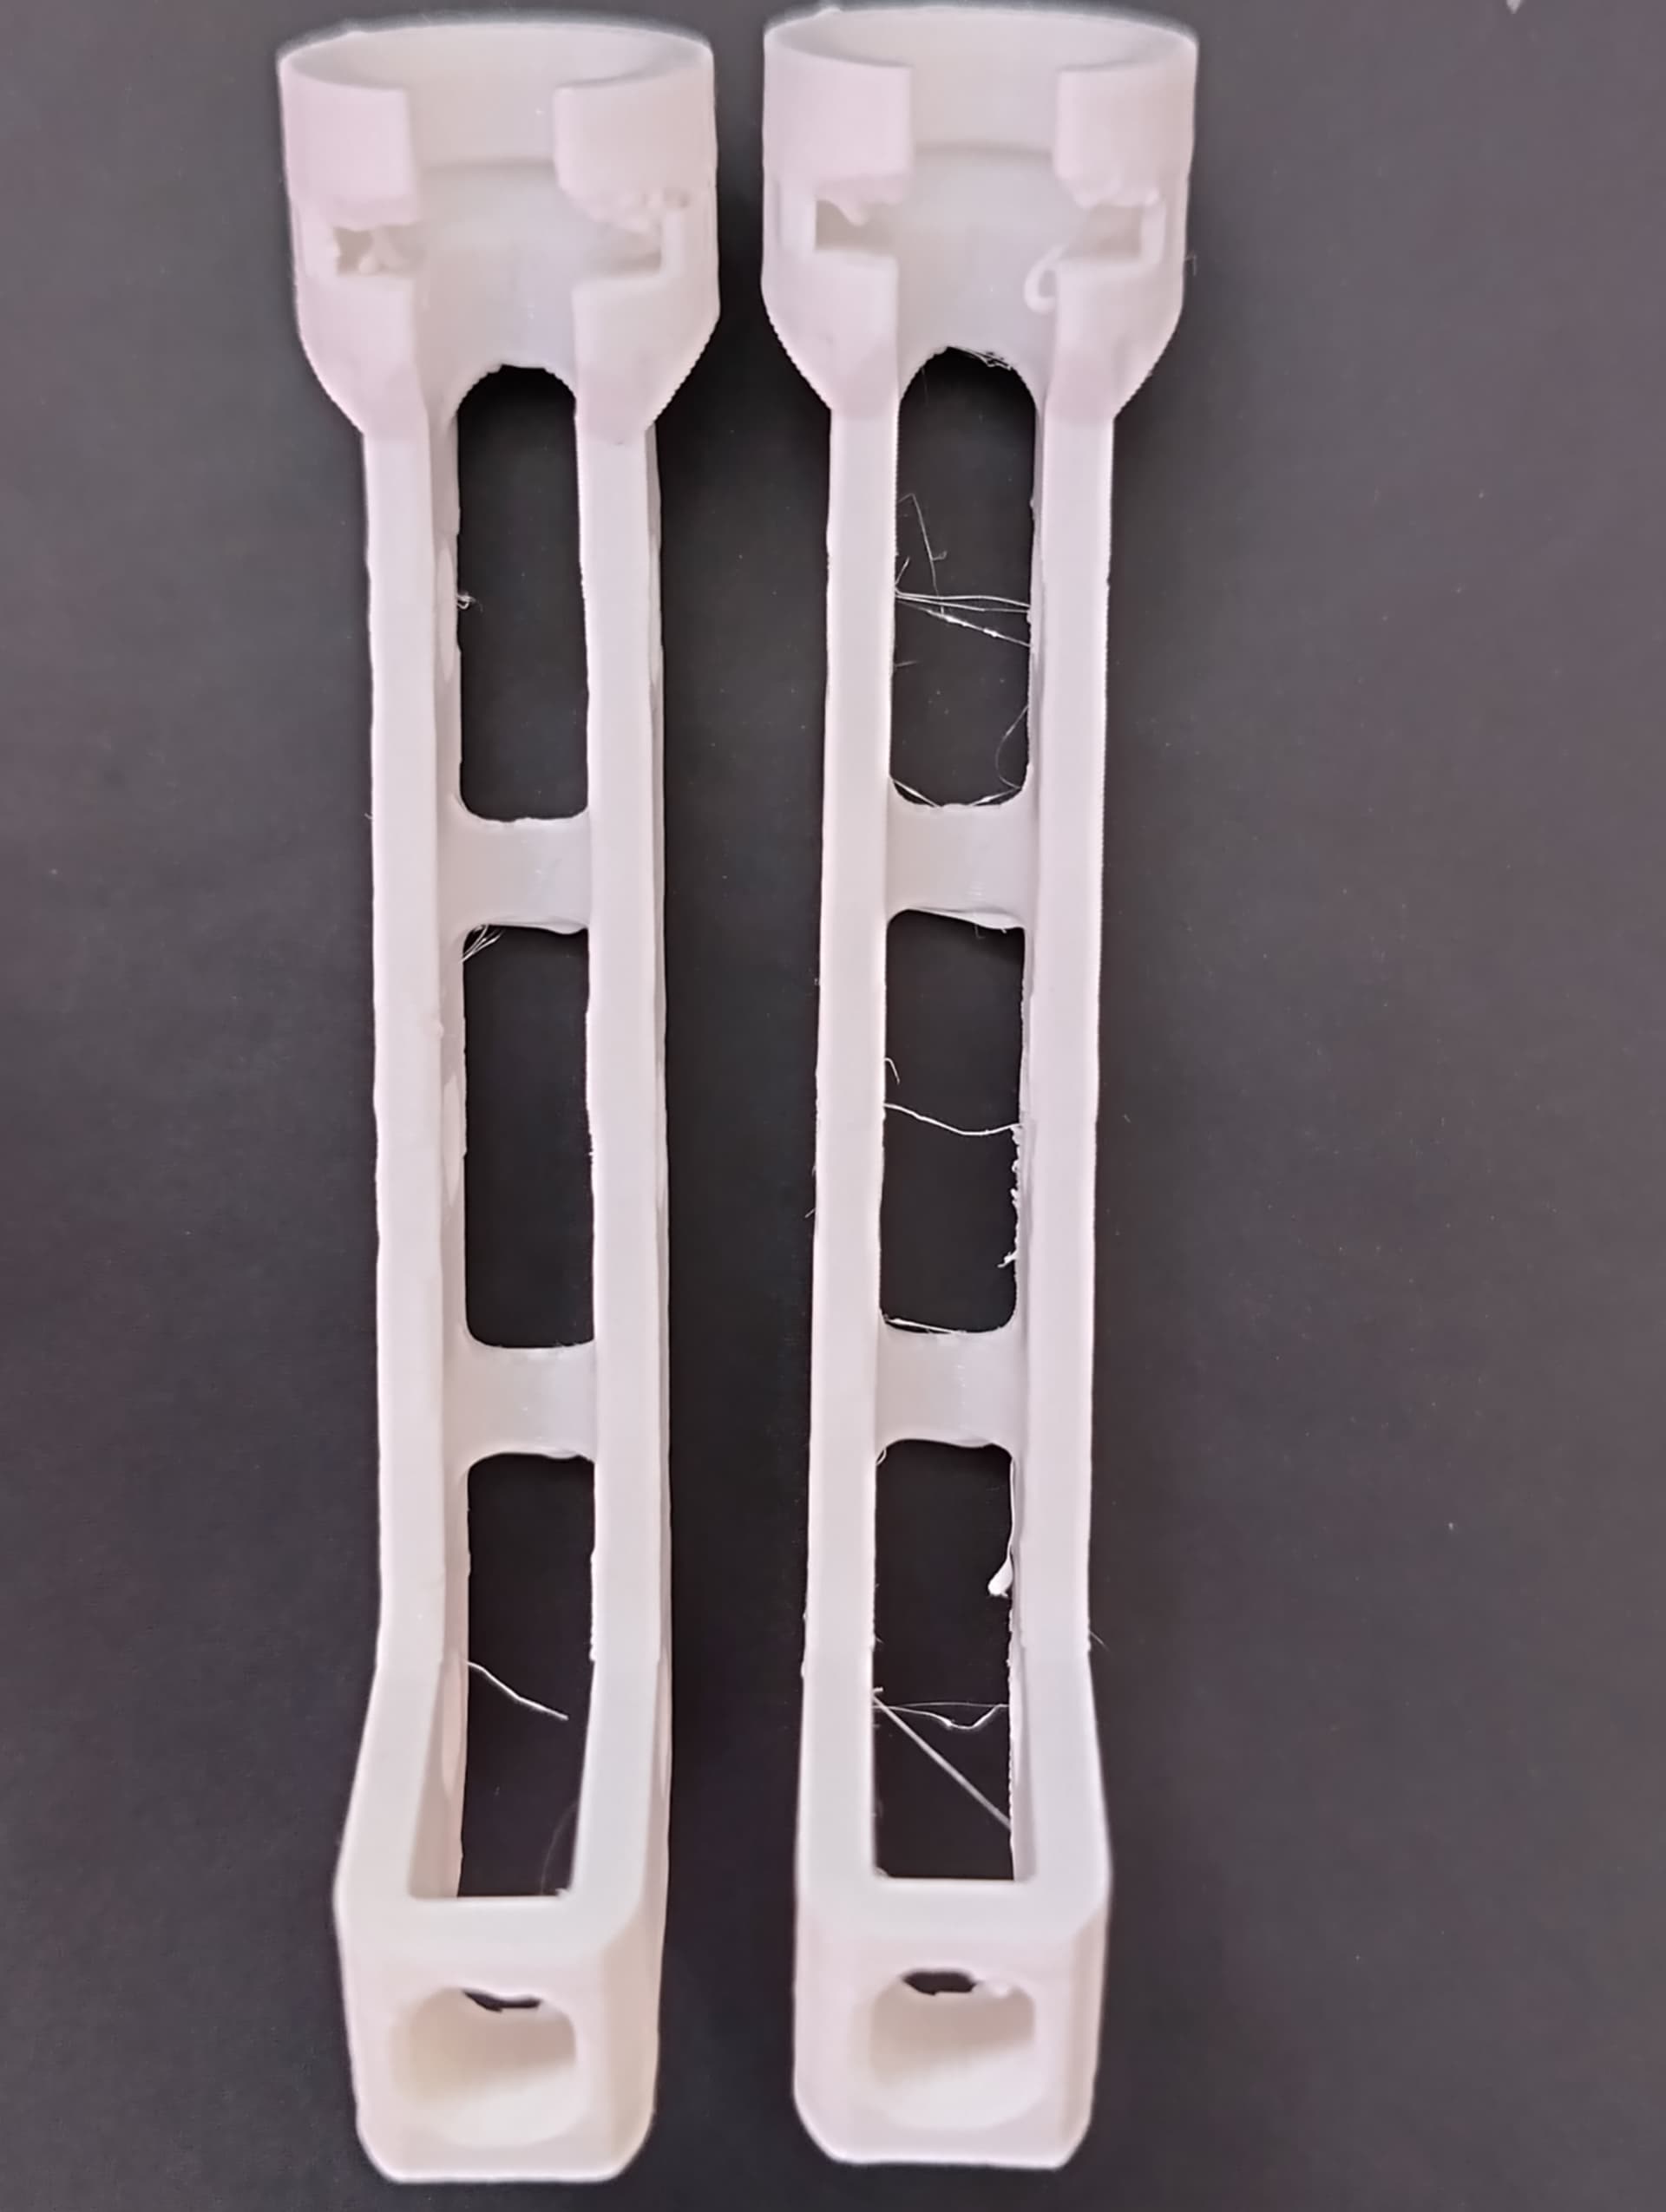
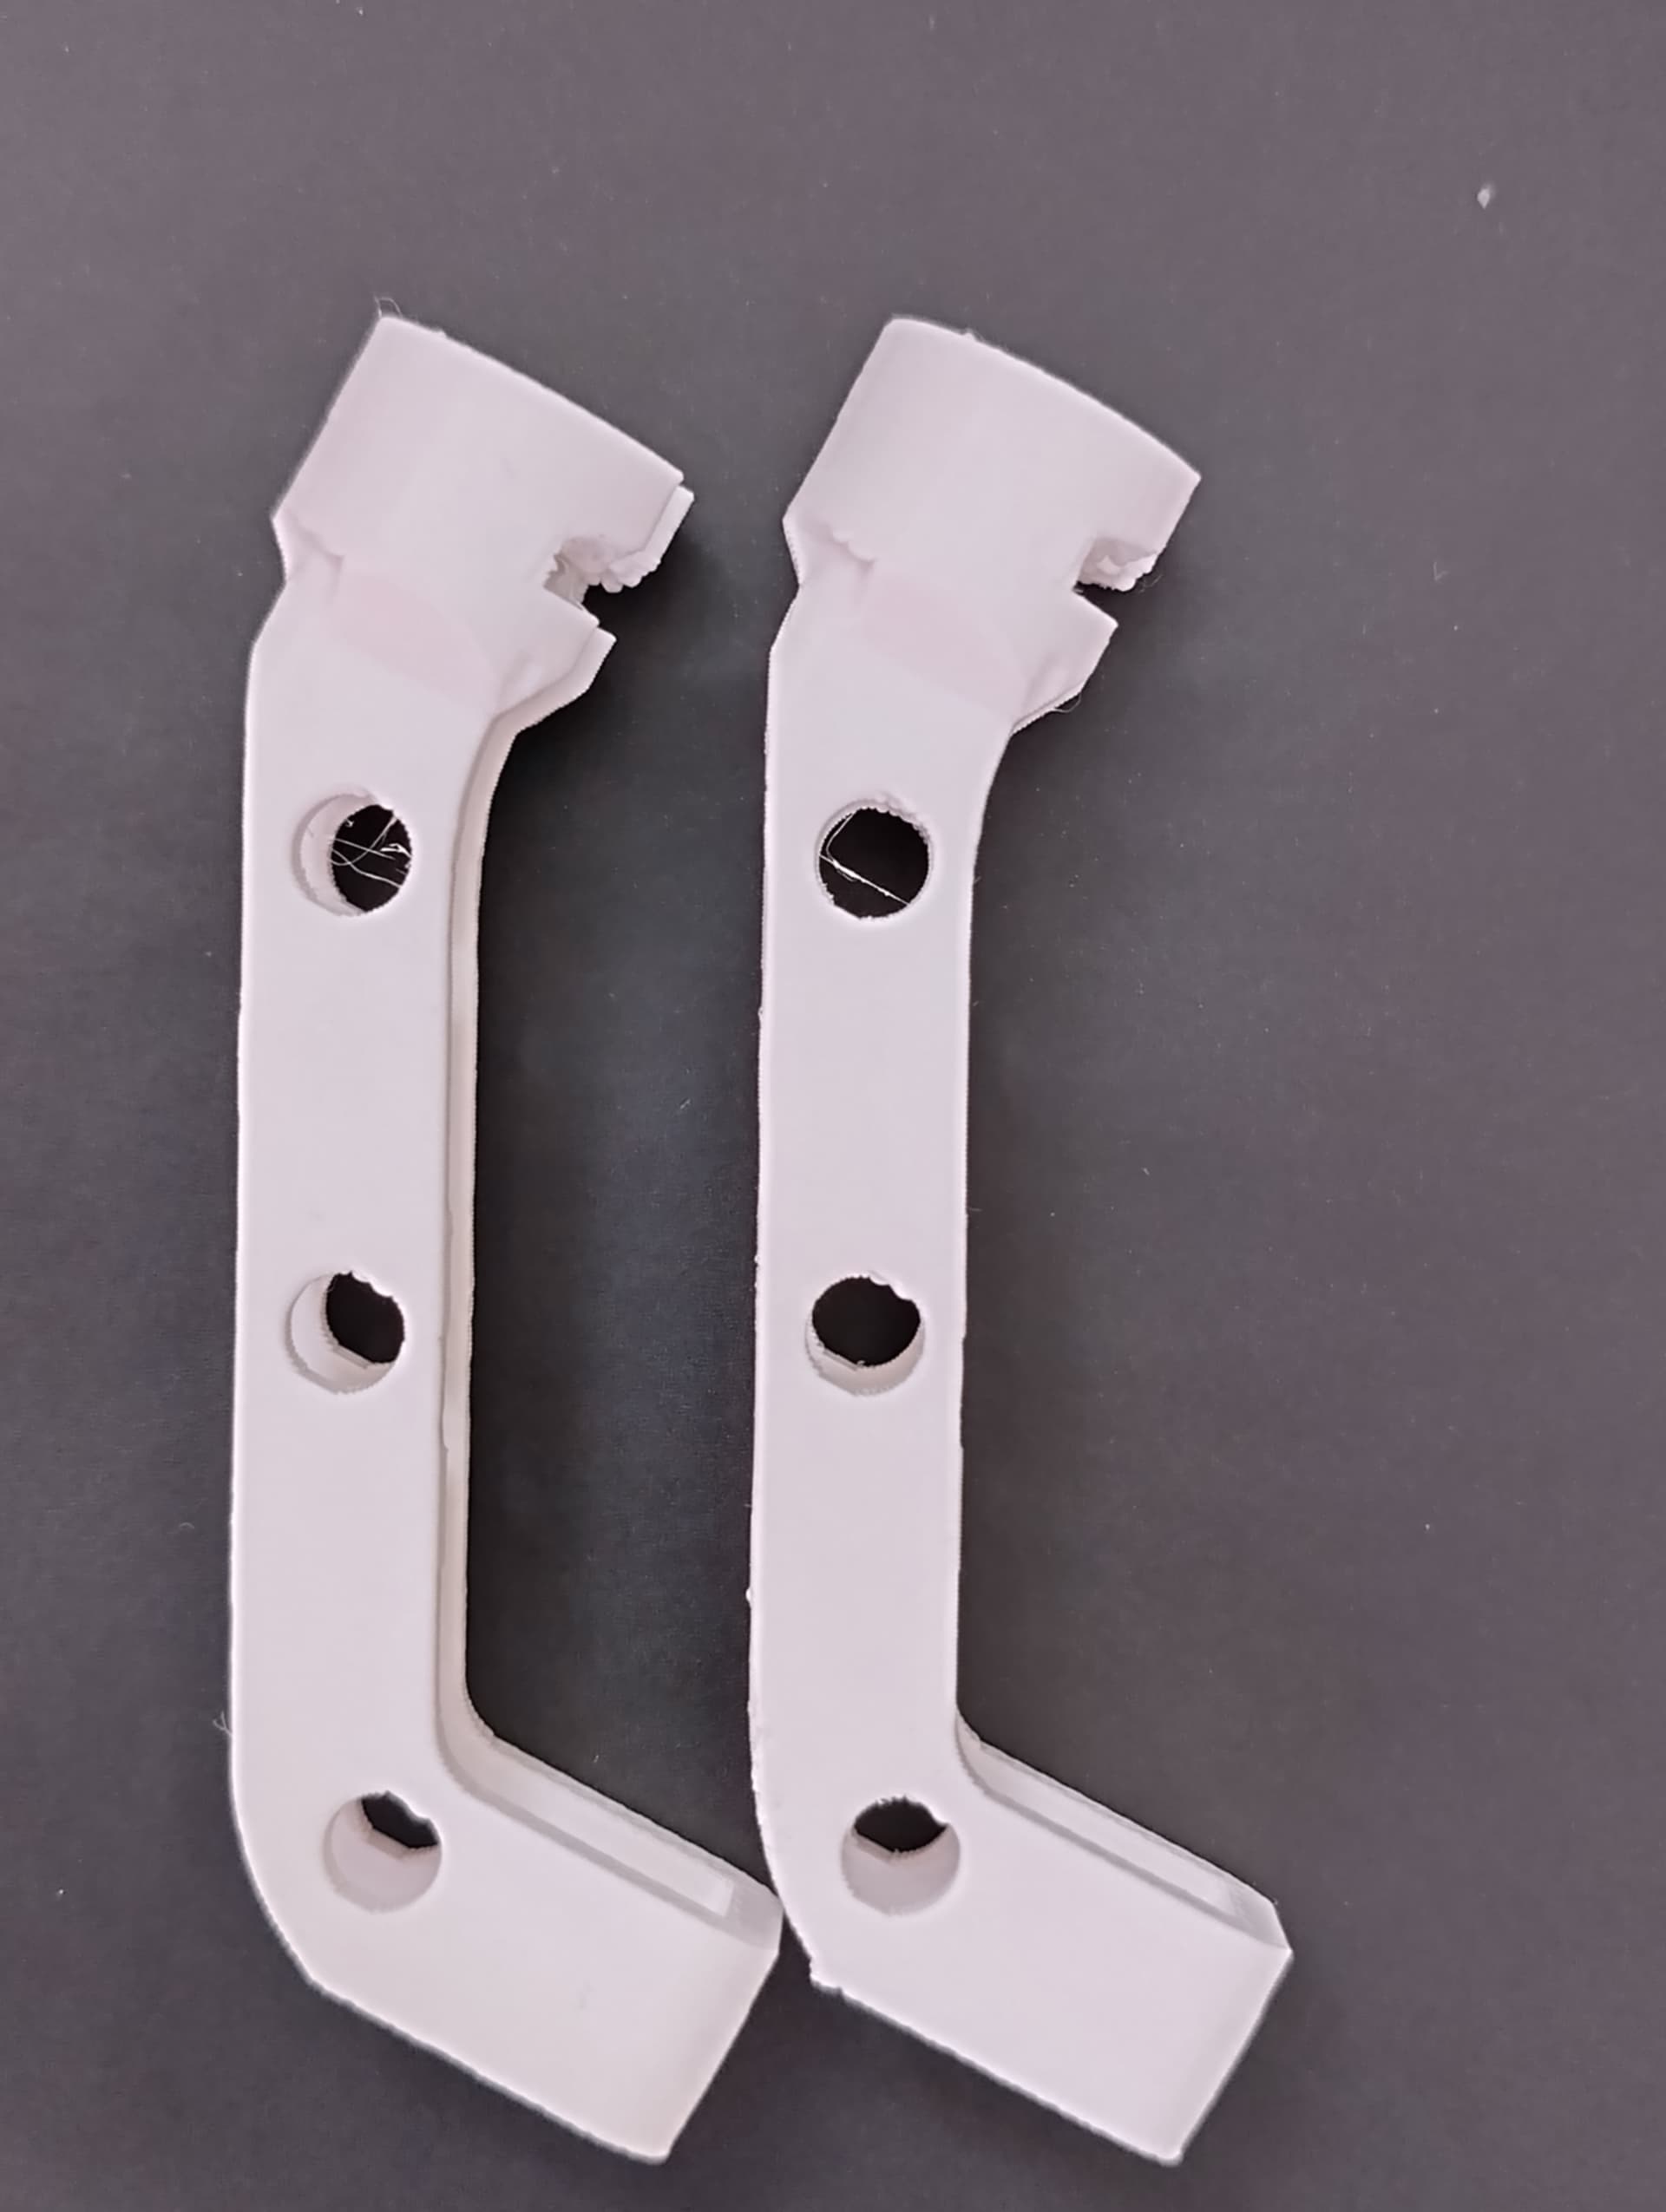
So i bought many “PETG Basic” spools from Bambu in the past months and i’m starting to use them, and sadly i’m encountering with most of them that kind of issues :
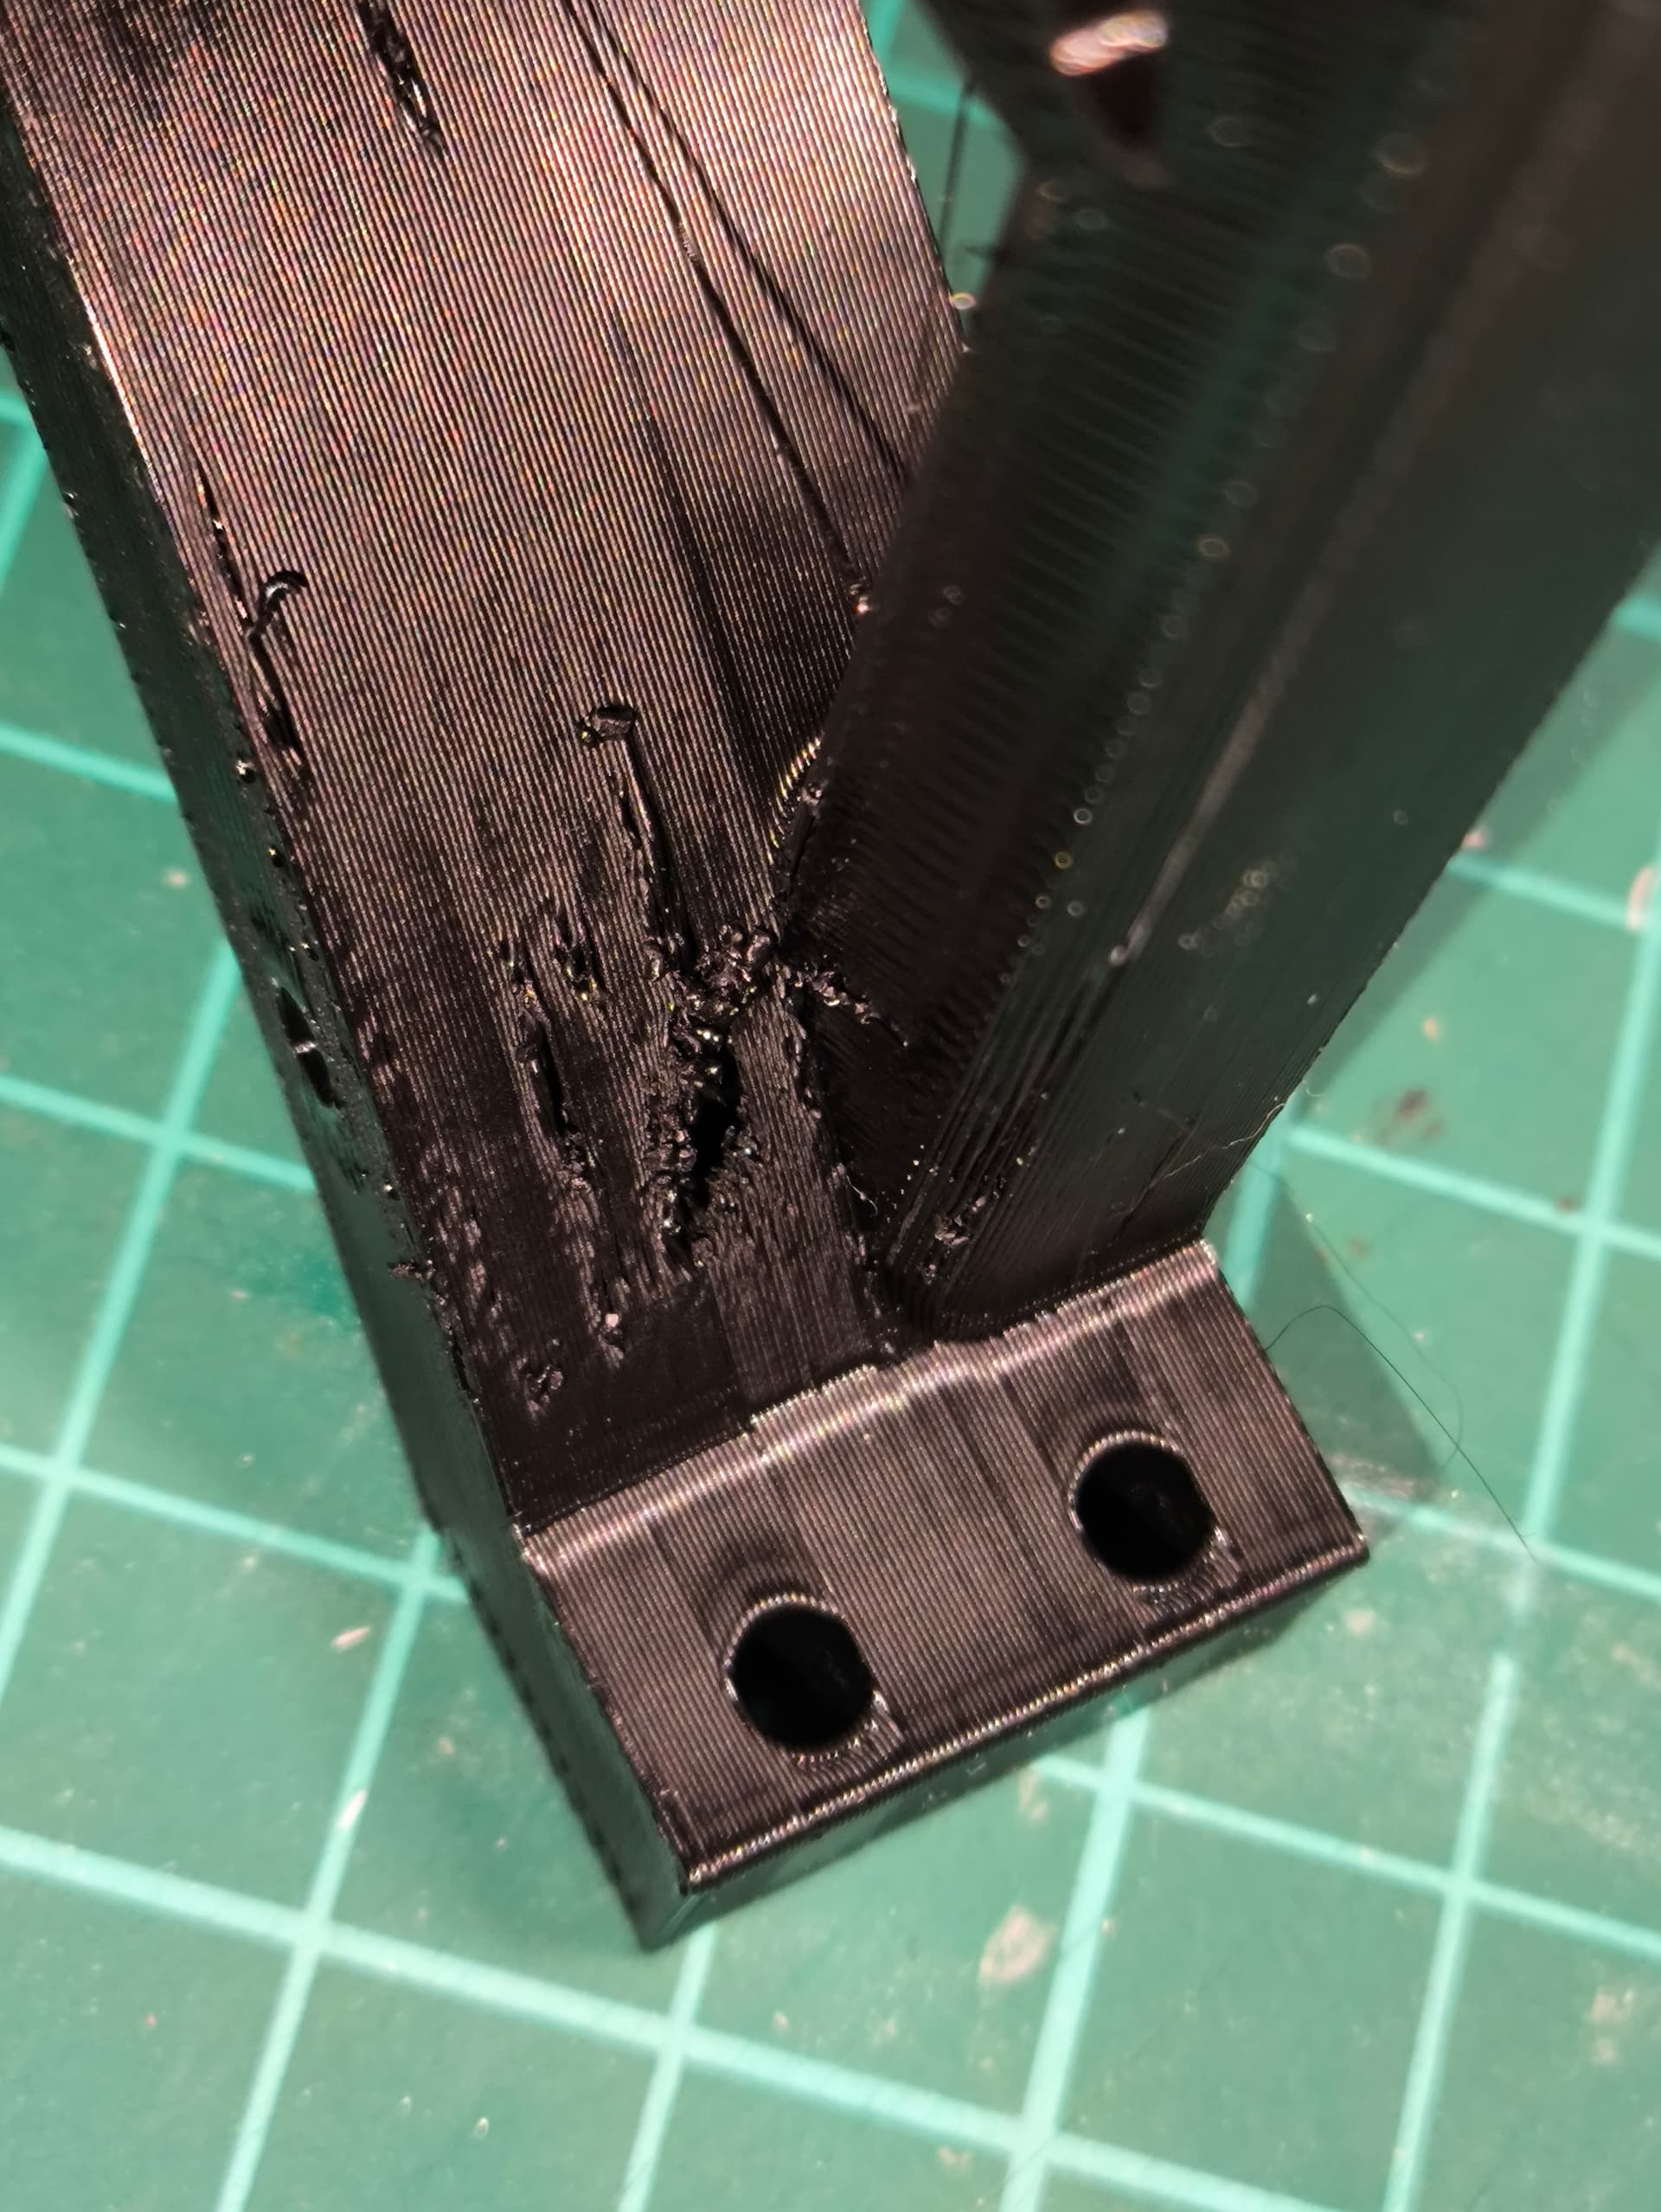
Whereas other parts are sometimes 100% OK.
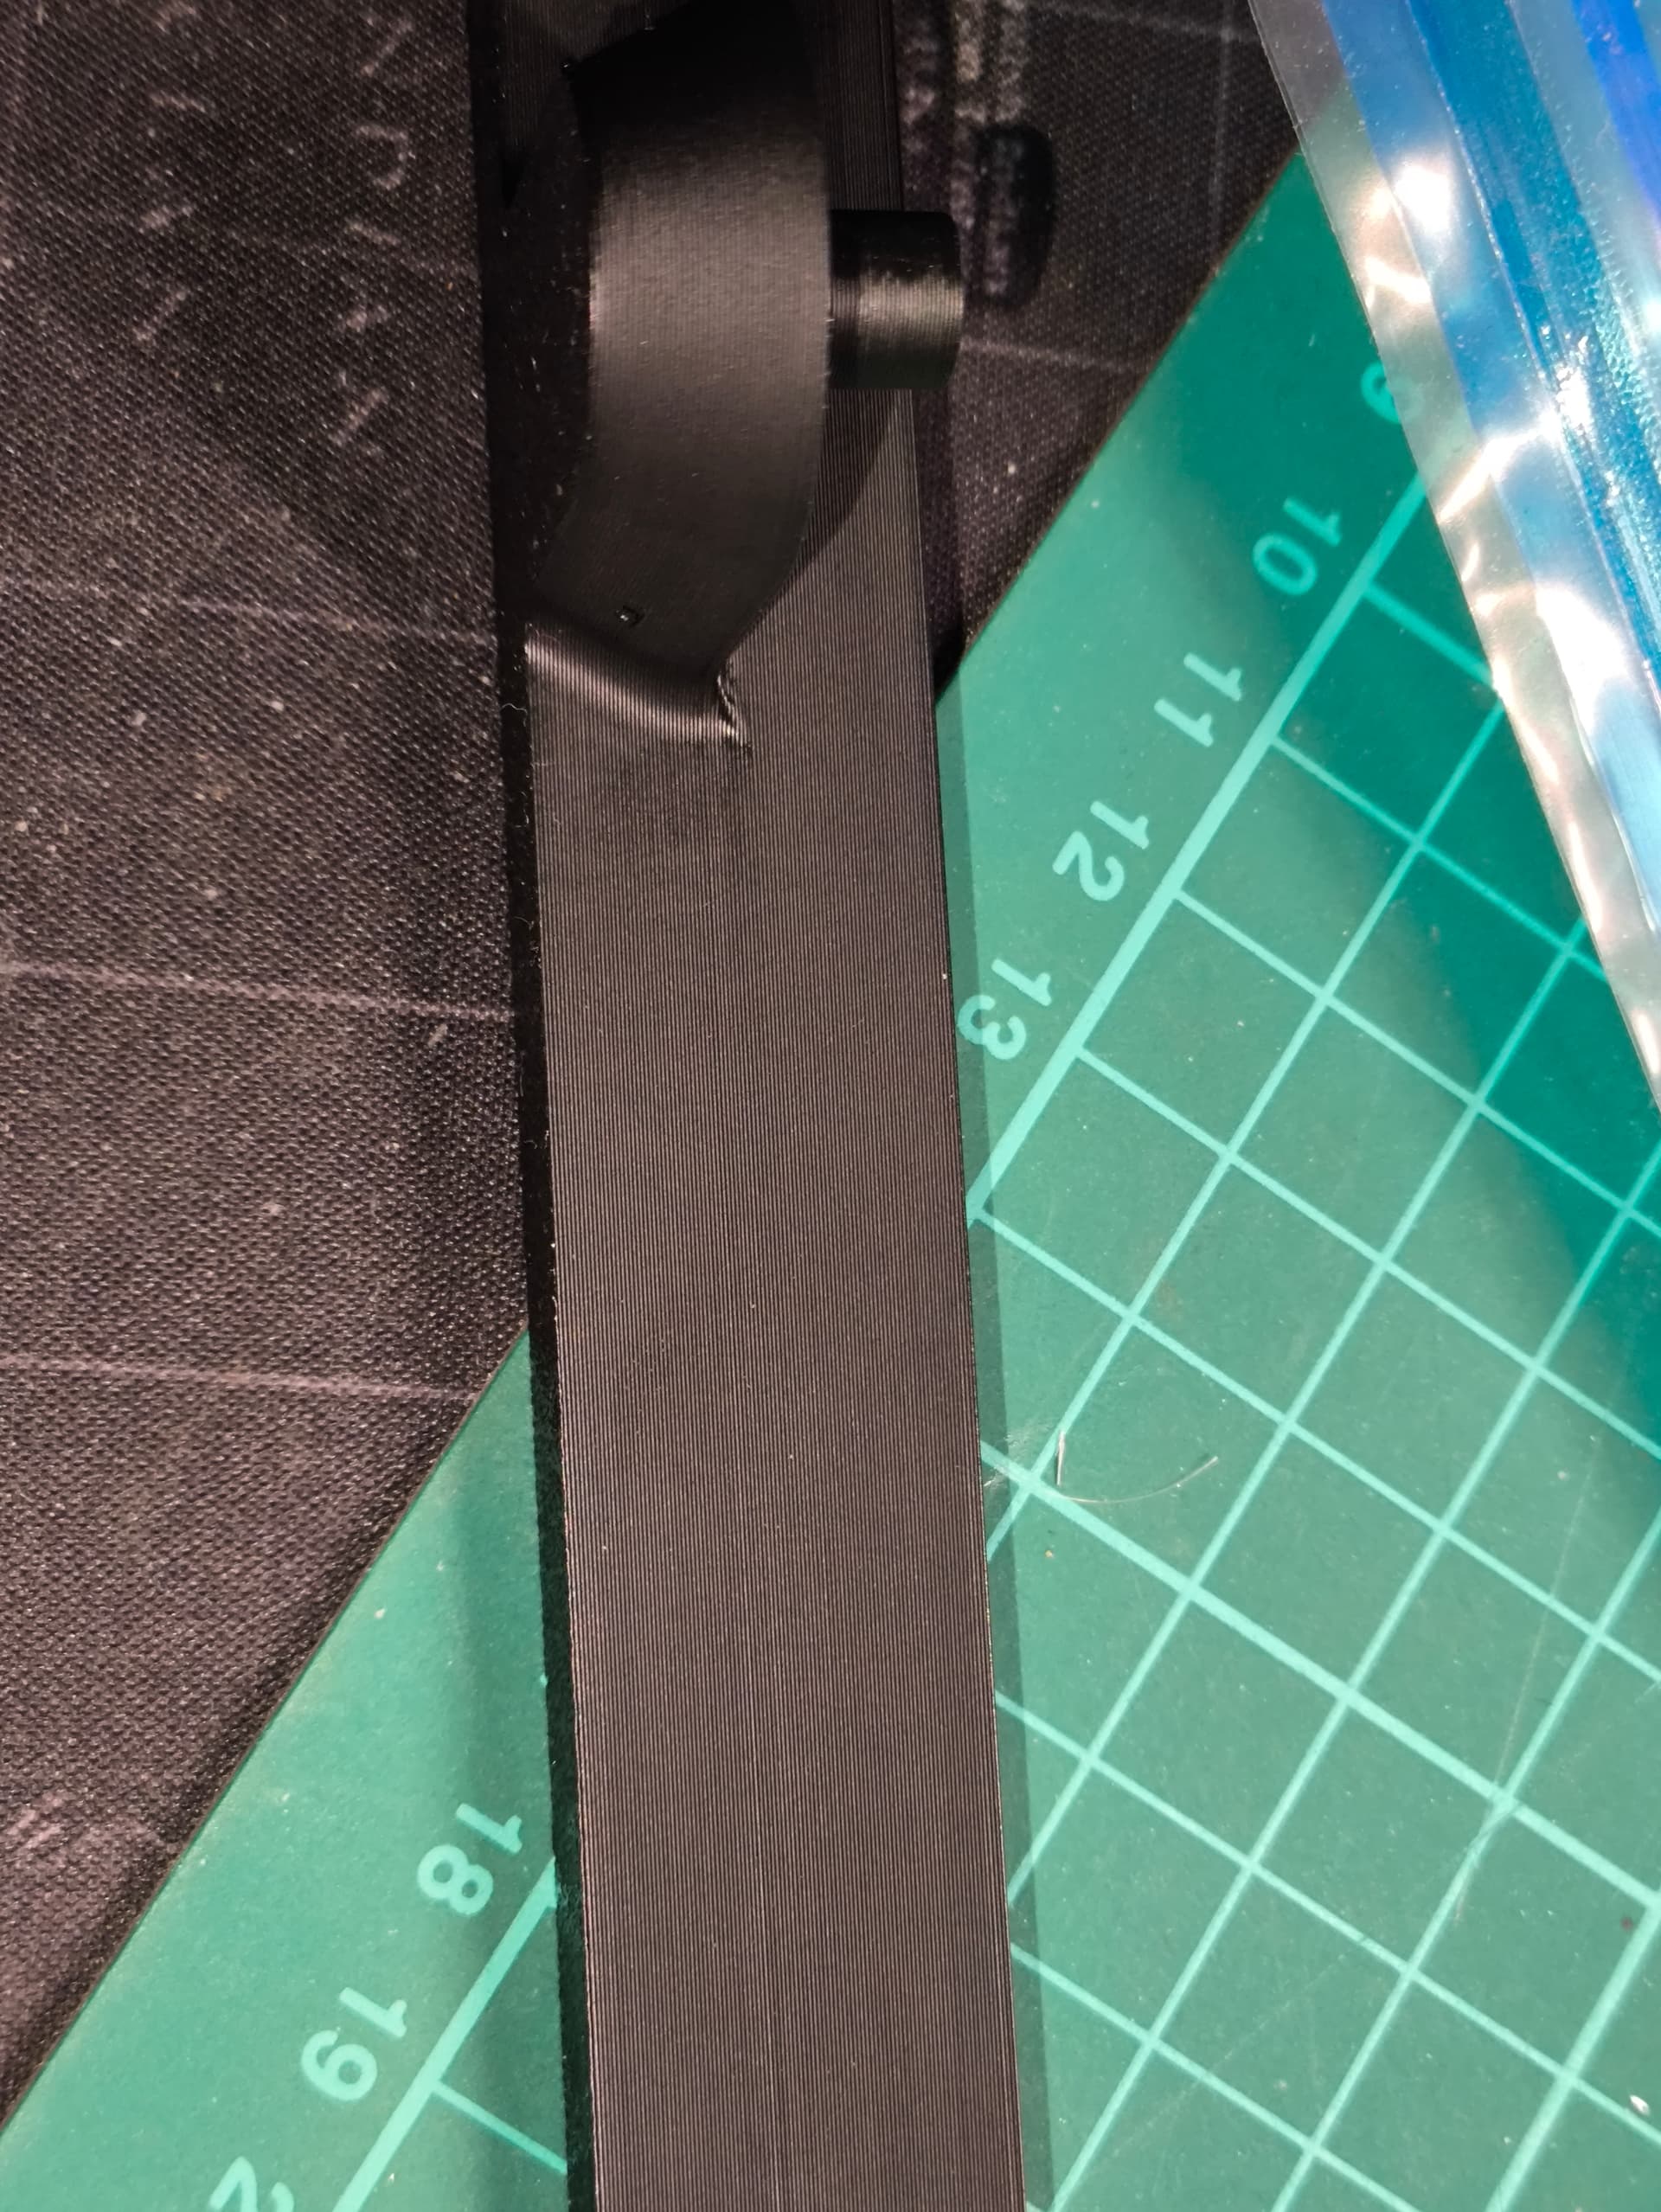
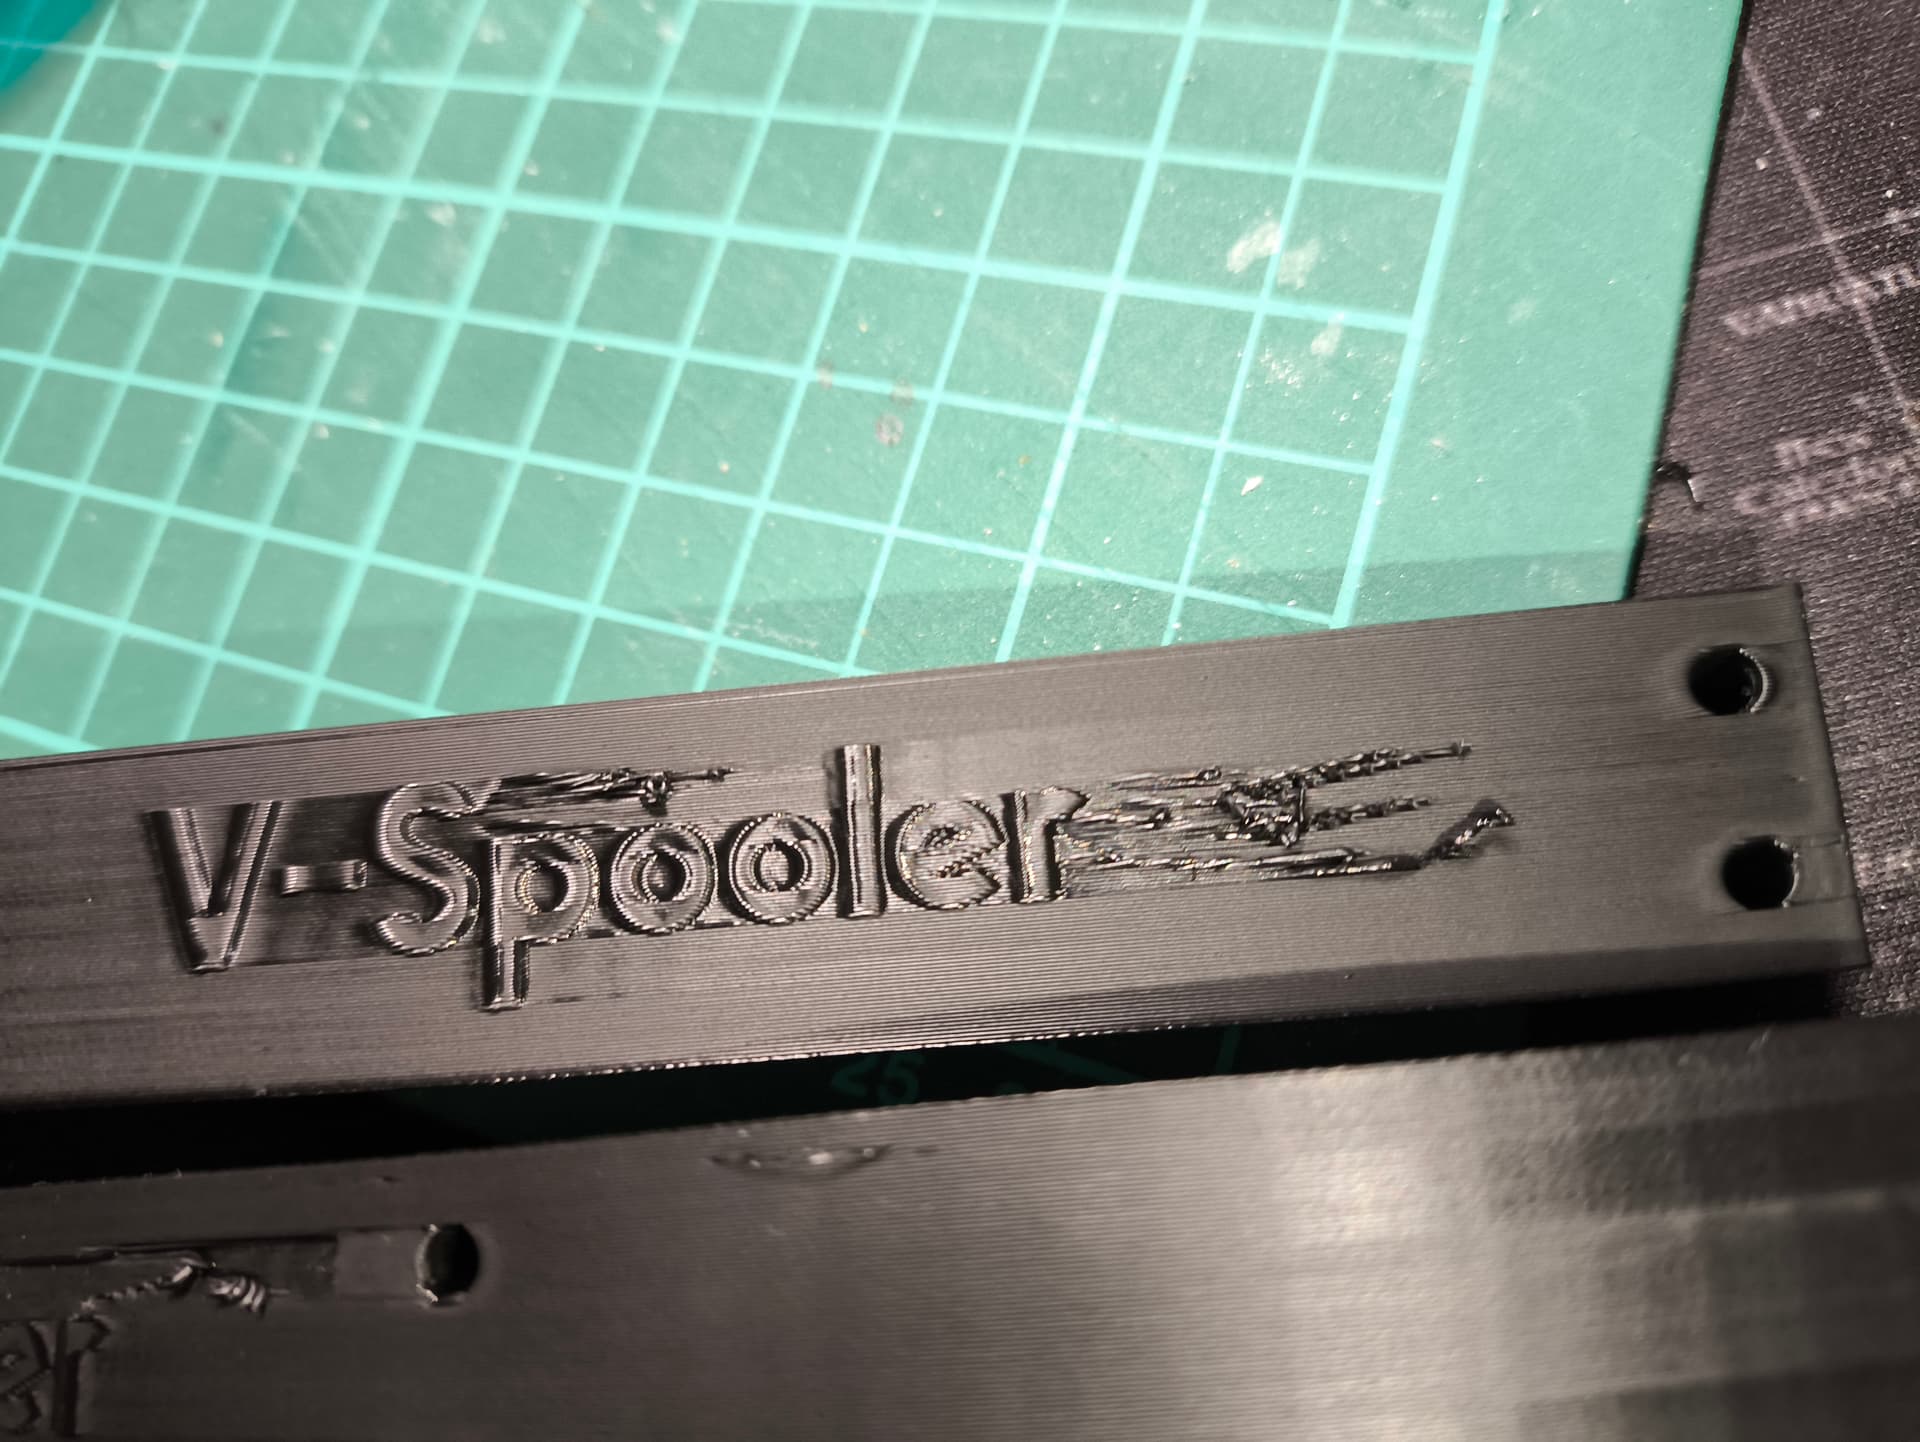
Other example : flat surfaces on the same printing are 100% ok, but when there are for example text, it’s awful :
After reading that thread again, I disabled that “Slow down for overhangs” option, but - sadly - it does not help at all ![]()

Otherwise :
- it’s happening even with spools that have just been opened (these photos were with a brand new spool)
- exact same issue after drying the spools 6+ hours in a filament dryer (Sunlu S2+ with PETG profile) so i don’t think it can be “humidity related”
I never had this problem with other PETG spools from other makers … sadly as i ordered a lot of Bambu ones, i’d need a solution now in order to have something working fine with them …
Any ideas ?
It’s not just slow for overhangs, all the print speeds basically need to be slower.
I found that I need to manually clean blobs that collect around the hot end nozzle, the build up is not cleaned automatically, and then gets deposited at random unwanted spots.
When you start your print, the bed heats, then the print head moves all the way to the front, then parks at the back above the garbage chute, right then you have about 20 seconds to use a pair of tweezers and grab and filament build up on the nozzle. Grab from the top of the cone and wipe down to the tip. Then the prints look great in my experience.
1 Like
Quindi che impostazioni hai usato per stampare bene il PETG Overture? Puoi Postarle? Grazie
@vladimir.minkov I just picked up a new spool of Sunlu PETG and found this thread, as I feel like my prints could be better. I have read through the whole thread and see people like your settings. I am wondering how your printing has gone and if you have further optimized your PETG settings regarding speed, cooling, etc. If not, I have a few questions.
My first question is, should I use your settings as a starting point before running the calibrations (flow ratio, PA, volumetric limit, etc)?
My second question is I noticed the screenshots posted in the thread had slightly different settings than the .3mf file. Some of the speeds were different, PA was disabled in the .3mf but set to 0.044 in the screenshot, etc. Which is more current/recommended between the .3mf settings and the screenshots?
I appreciate all the help you have given people on these message boards, and any advice you might have for me!
2 Likes
@MrMonoWheel unfortunately when you publish 3mf maker world drops some of the settings , not sure which ones but one of them might be the custom PA setting in the g-CODE and the Orca Slicer PA enable ![]() – all this should have a screen shot
– all this should have a screen shot
Probably is better to use the settings first and then do the calibration but there is one important setting speed bellow 140mm/S or lower the rest are not so critical . Also some times i do disable slow on over hangs which generally should be on
The PA enable (Orca slicer) or G-Coder(bambu slicer) you need it after you have done the first PA/K calibration for the initial flow calibration can be disabled ( eg default 0.02) important. 0.044 is for esun for sunlu will be different , have not checked with the latest Bambu slicer as not updating every release
I change speeds often and sometimes accelerations so might be a bit different between 3mf and screen shot. As the maximum or eSUN PETG is 150mm/S but some places not great and definitely not for external walls, but when a big prints try to keep it at the highest which model tolerate for quality /time .
1 Like
Another thank you! These settings are awesome.
1 Like
Yeah, about that. Just FYI to everyone, in case you haven’t been following recent events: you can now upload an entire project as a .3mf file to this forum in your post. Naturally, that will include all your printer settings. Thus, going forward, this will make sharing a complete set of printer settings very easy, because anyone can then upload the project and inspect the corresponding printer settings in their slicer. ![]()