I stumbled across this by accident, but, wow, what a difference it makes.
Previously I’d use slicer brims, set at a clearance of 0.0mm separation if I wanted to hold down some big object. However, with large objects, sometimes the model would pull away from the build plate anyway if there were strong warping forces.
However, I found that if I put on 1 layer height brims in CAD such as fusion360 so that they are simply part of the model and then slice using a non-concentric initial layer pattern like Octagram Spiral, then the hold down strength is just enormous. So much so that I have to use a spudger to release the print from the build plate. And then, of course, you’ll need a decent deburring tool to shave it all off in post-processing, but if you want to be as sure as possible that your print won’t curl, I’d say give it a try. You’ll likely be impressed at what a difference it makes.
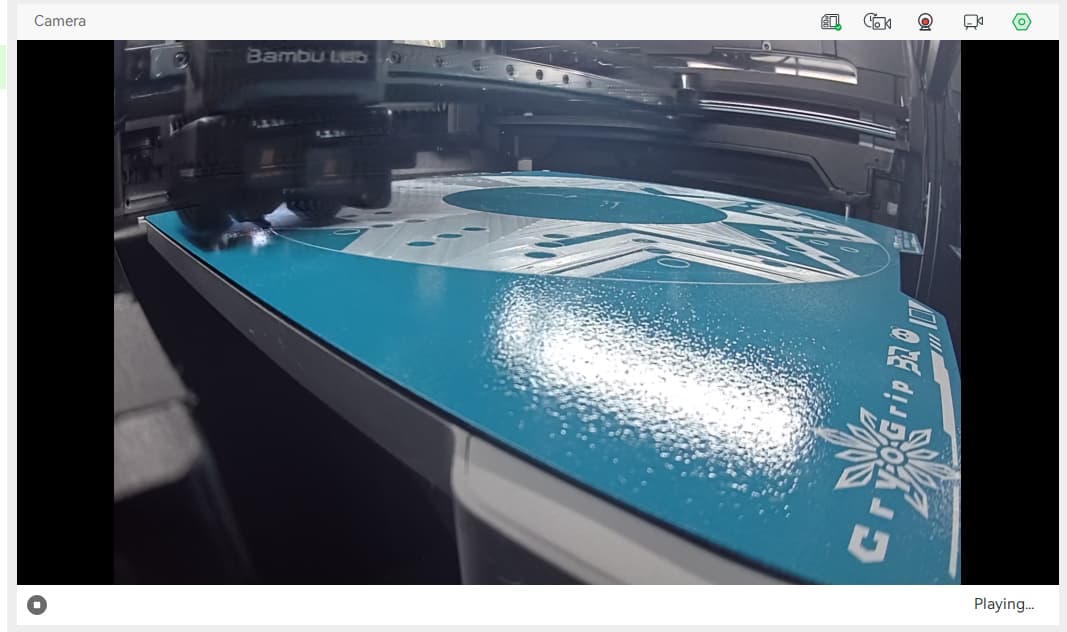
Here’s an in-progress snapshot of the first layer being printed so that you can see the structure of how tightly the brims are interwoven with the the initial print layer of the model:
There’s no single easily broken extruded line as there would be with slicer brims, which print concentrically.
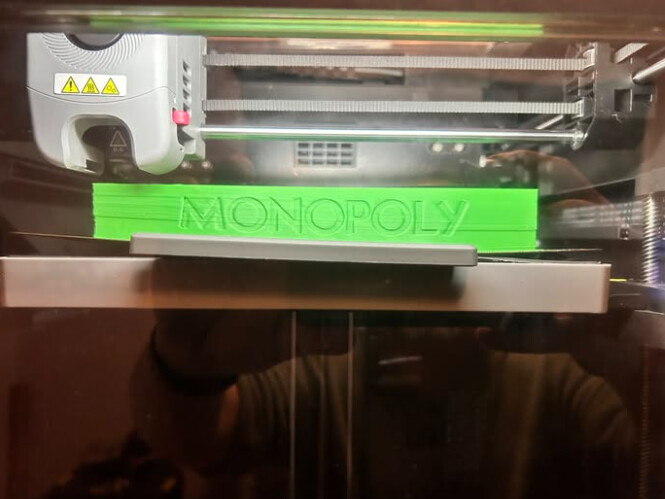
The brims are printed on only the initial layer, so if your initial layer print depth is 0.2mm, you make them 0.2mm high in cad. The rest of the model is untouched and prints as normal:
Is that a frostbite plate? You should not need any brims for that plate or am I wrong? Your model doesn’t appear to be a model that requires brims. Right now I am printing a 7h print that covers almost the entire plate and have no warping. This is about the 10th time Printed this diorama wall piece as part of a product I sell.
thing is, you can do that in slicer already.
But no matter how strong you make it, if it wanna warp that bad, its gonna warp with the buildplate along.
Does it warp after being removed from the build plate? Or crack, due to built-up stresses? Kinda hard to argue with rules of thermodynamic contraction… I mean if it works, right on, just curious about what happens later. Don’t know what material you’re using… I’ve had PETG objects change shape on me over the course of ~24 hours, for example.
In my experience, the end piece has only a tiny hint of bend still in it after you crack it from the plate - but only if it bended after it cooled - not during printing, where more new layers can build up and give it different shapes… See this piece, no print errors because it was flat till cooldown, but then it banana’d up.
That is a clever approach. By modeling the brim directly in CAD, the slicer treats it as part of the object, so the first layer pattern interlocks with the model instead of printing a weak concentric outline. This explains why the adhesion becomes much stronger and helps prevent warping on large prints. It adds a little extra cleanup, but the improved hold on the build plate sounds worth it for difficult prints.


 I mean if it works, right on, just curious about what happens later. Don’t know what material you’re using… I’ve had PETG objects change shape on me over the course of ~24 hours, for example.
